
How to Freeze Greens! Those deep, dark, vitamin filled greens!
In my last few posts, I’ve mentioned that I’ve joined a CSA (Community Supported Agriculture) this year so I’ve been receiving farm fresh, organic vegetables every other week for the past few months. For everyone else, this is a summer gardening thing but here in Florida prime farm and garden season is underway right now.
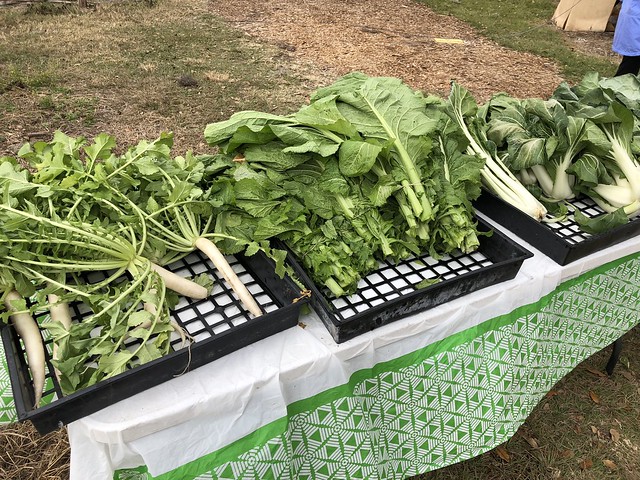
A staple of the CSA haul, especially for the first month or so, has been a variety of dark leafy greens. I’ve received huge bundles of mustard greens, collard greens, kale, and a few funky varieties of Asian spinach. My goal is to not waste or throw away anything from my CSA boxes…and so far, so good!
However, sometimes the greens schedule and the flute playing/travel schedule do not align so I had to quickly learn how to deal with big bunches of greens and figure out a way to save them for a later date.
Fortunately, it’s very simple to process and freeze any hearty, thick greens like mustard, collards, Swiss chard, and kale. More tender, water filled greens like lettuce and bok choy are better kept in the refrigerator as they will turn to mush when frozen.
The trick with these leafy greens is to blanch them in a big pot of water for only a few minutes. This quick cooking step stops enzymes within the vegetables that would make them continue to ripen and spoil. Most importantly, blanching locks in the brilliant green color and farm fresh flavors of your vegetables. Even after freezing they are vibrant, green, and flavorful.
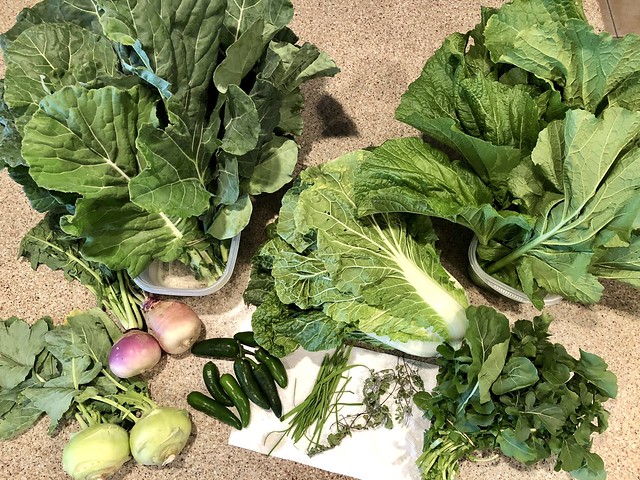
In the CSA box above, I received a huge bunch of collard greens (top left) and mustard greens (top right). Jim looked dubious as we were unpacking this as I was leaving the next day to go to MN for a week. He would probably be up for using a few of those jalapeños and some of the arugula on his own but not the greens.
So, blanching and freezing to the rescue!
Wash your greens thoroughly! You can rinse them under running water or if they are particularly gritty or sandy, submerge them in a big bowl of water and let the sand fall to the bottom.
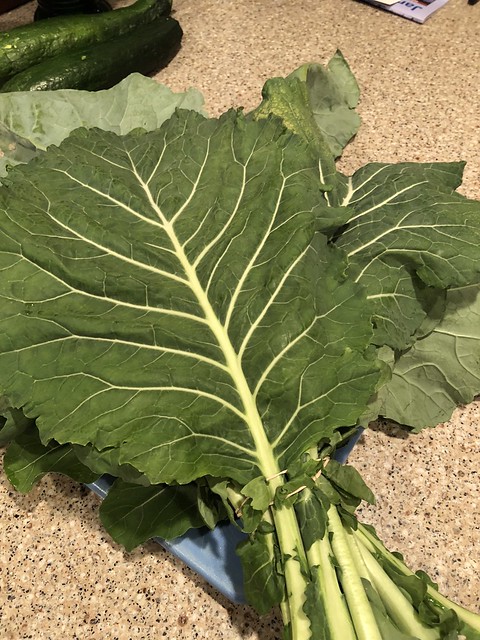
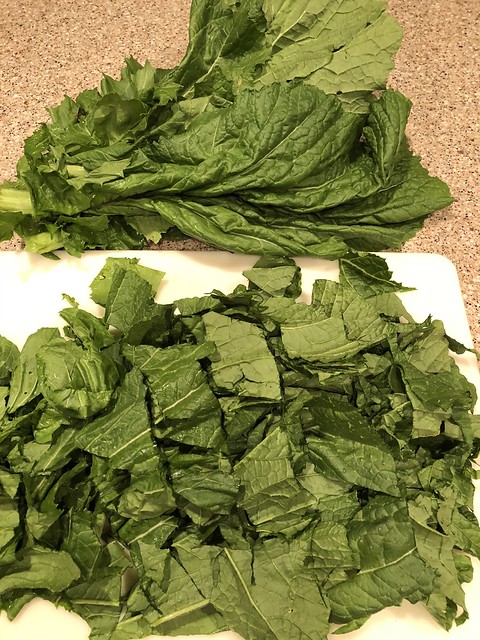
Once clean, cut your greens into big chunks. If they are thin and tender, you can use the stalks as well as the leaves. Just trim away and hard or brown ends.
Bring a large pot of water to a boil on high heat.
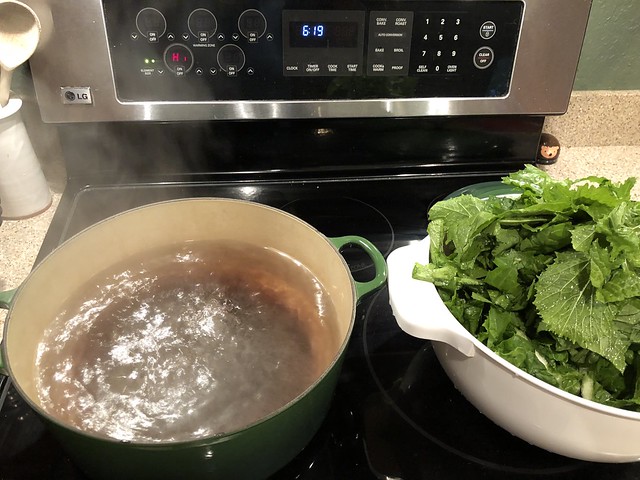
Also be sure you have an ice water bath ready to go. That’s the secret to locking the gorgeous green color!
Once the water is boiling, add the cleaned chopped greens and boil or blanch for only 30-60 seconds. Be sure to stir them around in the water so they don’t just float on top.
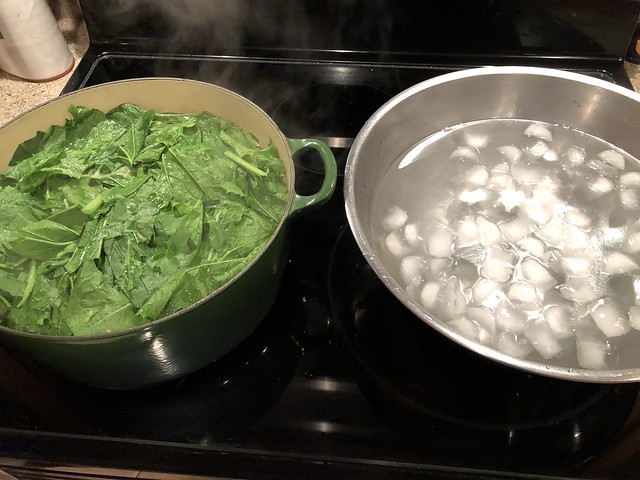
Use tongs or a big strainer to quickly move the wilted greens from the boiling water to the ice bath. Remember this only takes about 1 minute…we are parboiling not totally cooking.
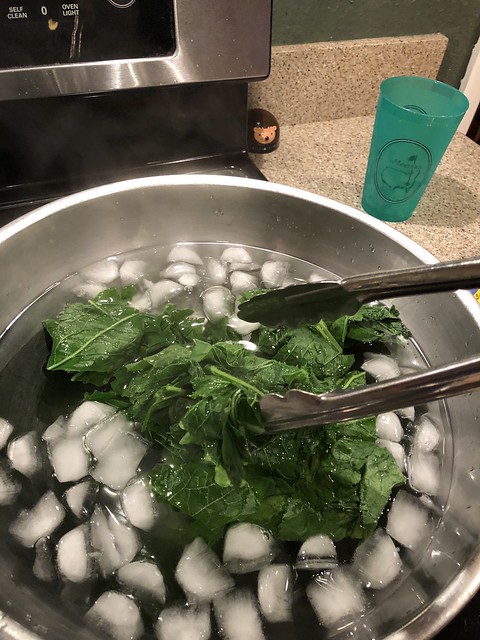
Give them a swish around in the ice water and let the greens cool completely.
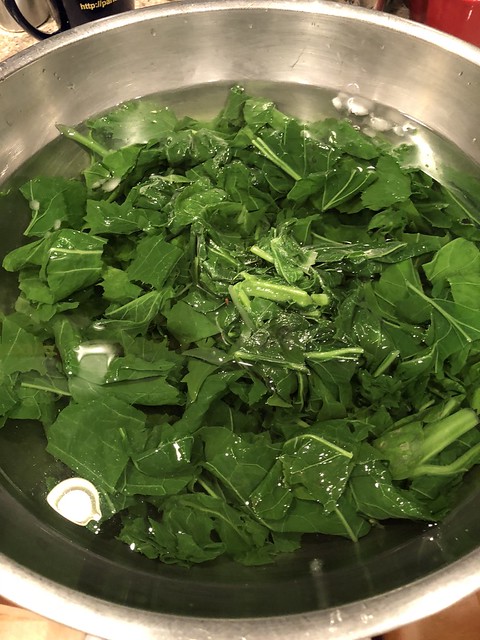
Drain the greens in a colander and take big handfuls and squeeze out as much water as possible. You will have little golf ball sized blobs of greens. I place them on a paper towel to absorb any extra water. Getting as much water out as possible cuts down on frozen crystals forming on your greens.
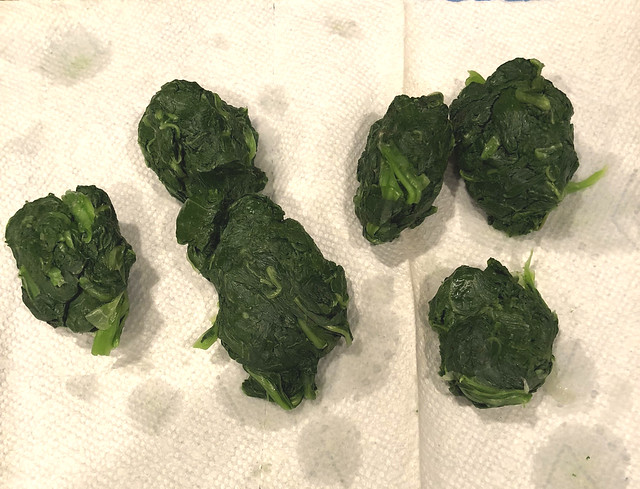
Separate them by type into zippered freezer bags. Try not to be despondent that your beautiful giant bunch of greens has been reduced to a tiny 1/3 bag. Sorry but shrinkage is a thing when it comes to greens.
I watched my friend Larry blanch and process kale from his garden last summer and a full brown grocery bag of kale cooked down into a quart sized freezer bag.
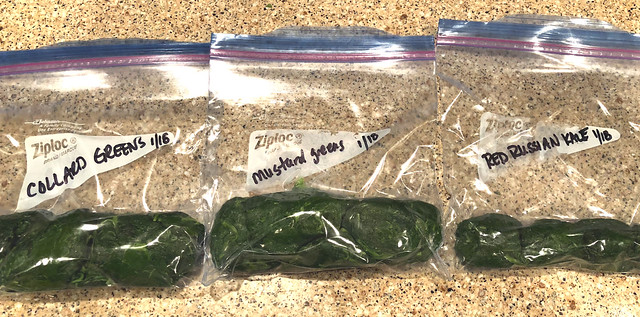
Pop these in the freezer and add to them as you receive more greens in future weeks. And yes, if you have a CSA the greens will keep coming. I’ve loved it!
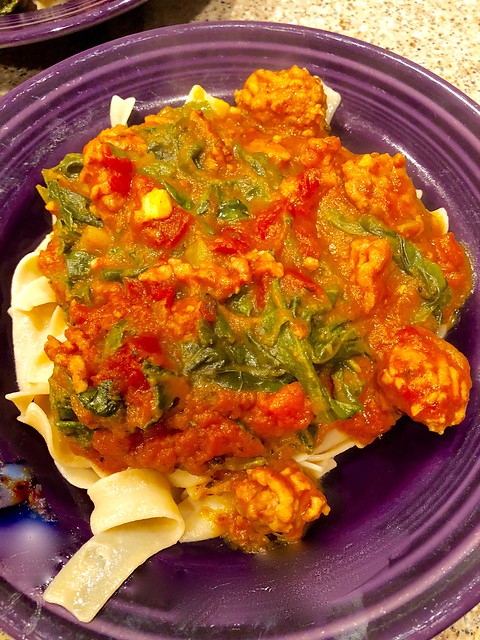
Then you can use them on your own schedule when you are ready to cook. Throw some kale into a Kalicious Green Smoothie (why Whole Foods stopped making these I’ll never know…good thing we have the recipe here!) or add some greens to Hearty Sausage & Pumpkin Pasta.
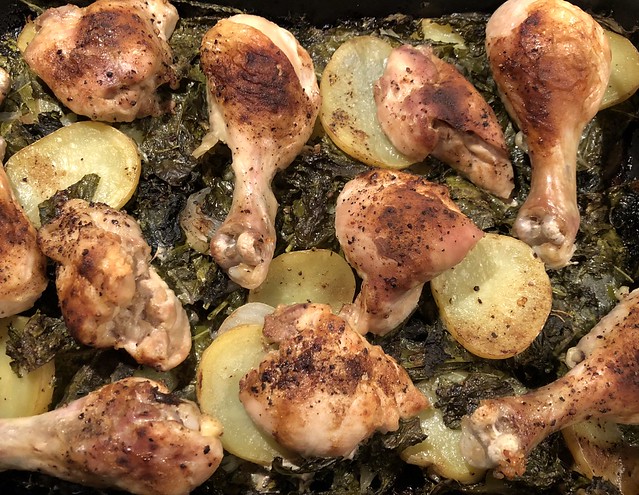
Last week I used half fresh and half frozen kale for one of my favorite dishes, Chicken Roasted with Potatoes & Kale. If you haven’t tried this one, you’re seriously missing out. While the chicken roasts, its juices run down flavoring the potatoes, onions, and kale below. It’s hearty and healthy and so good.
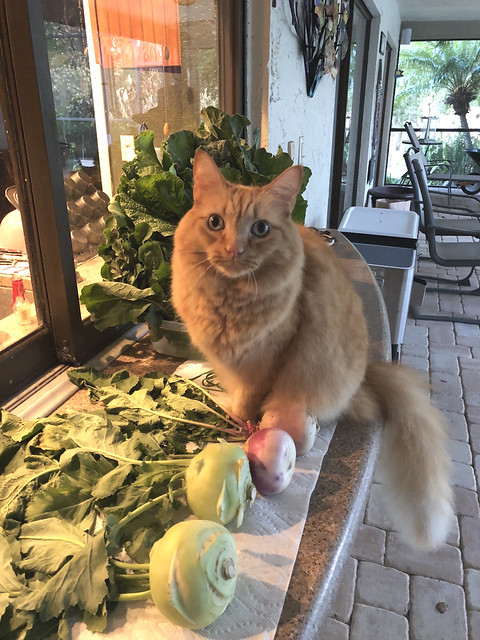
Henry, the CSA Inspector, wants to know your favorite way to prepare dark leafy greens!
Summer will be here before you know it so plan ahead for your garden and CSA produce!


3 Responses
Thank You so very much for the lovely mini kit !
Henry is such a beautiful little inspector. Well, I had no idea you could freeze the greens; what a great way to save them for later. We absolutely love collard greens; Jeff prepares them the old southern way. (smoked hog cheeks, onion and apple cider vinegar) They’re a favorite of ours.
Ooh, I’m not sure I have smoked hog cheeks but I’m sure I can find some sort of smoked ham bone situation to make this happen!