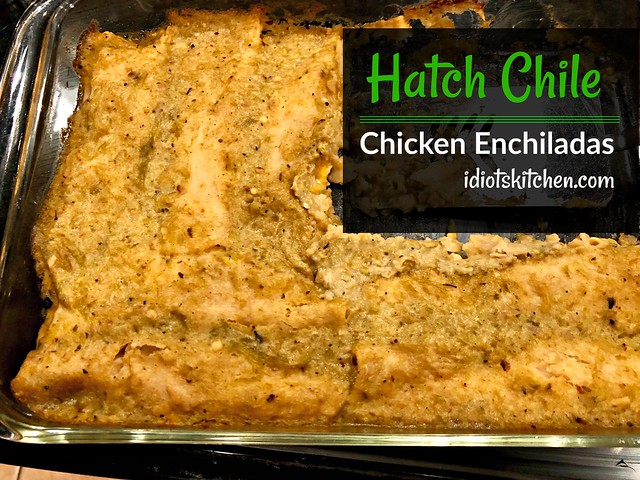
Hatch Chile Season has come and almost gone so I thought I’d better get back to Idiot’s Kitchen to evangelize about these awesome, seasonal peppers.
In case you’ve never had or heard of them, Hatch Chiles are a green chile pepper grown in the Hatch Valley in New Mexico. Similar in size and shape to an Anaheim or Cubanelle pepper, they are known for their mild heat and distinctive, slightly smoky flavor.
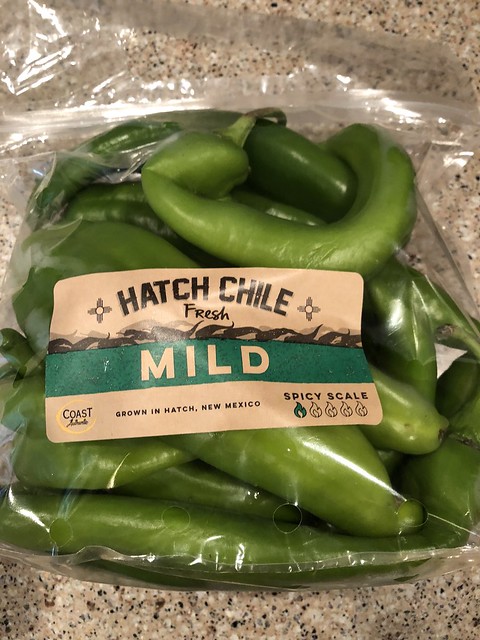
They are a seasonal pepper and are found in stores mid-August through September. Lucky for me, a couple of the grocery stores by my house have gotten on the Hatch Pepper bandwagon so I can get these babies from New Mexico (where people go crazy for them…have festivals, etc.) all the way over to Florida. Hooray!
I bought some last year and made enchiladas and when I went back to get more they were all gone. I didn’t make that mistake this year so over the course of the past few weeks, we’ve had about 6-8 pounds of Hatch Chiles go through the kitchen. I’ve made Hatch Chile Burgers, Hatch Chile Chicken Chili, Roasted Chiles for freezing, and these awesome Hatch Chile Chicken Enchiladas.
Not to worry though if you can’t find official Hatch Chiles. This recipe is a good, general green chile sauce and can be made with any combination of Anaheims, Poblanos, and/or Cubanelle peppers.
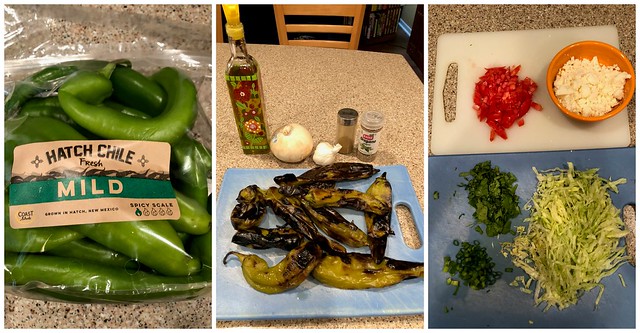
Not a great ingredient photo but here’s about half of what you need:
Click here for a Hatch Chile Chicken Enchiladas Shopping List
For the Sauce: Green Chiles, Onion, Garlic, Olive Oil, Mexican Oregano, Cumin, Heavy Cream (not pictured), and Salt & Pepper (not pictured)
For the Enchiladas: (all not pictured, what was I doing?) Chicken Breasts, Corn Tortillas, Cheddar or Jack Cheese
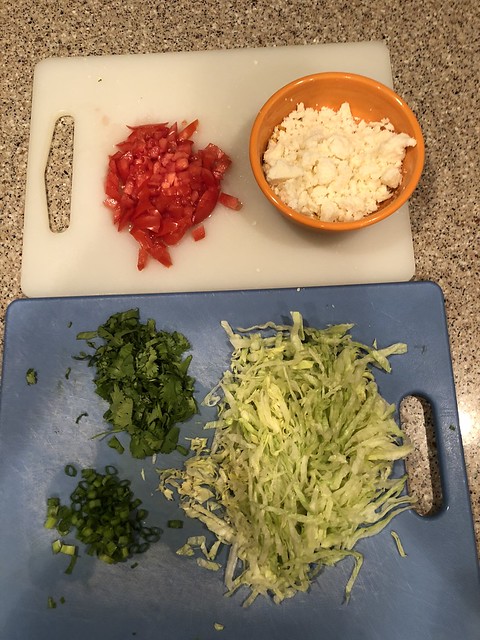
For the Toppings: Lettuce, Tomato, Cilantro, Green Onion, Queso Fresco
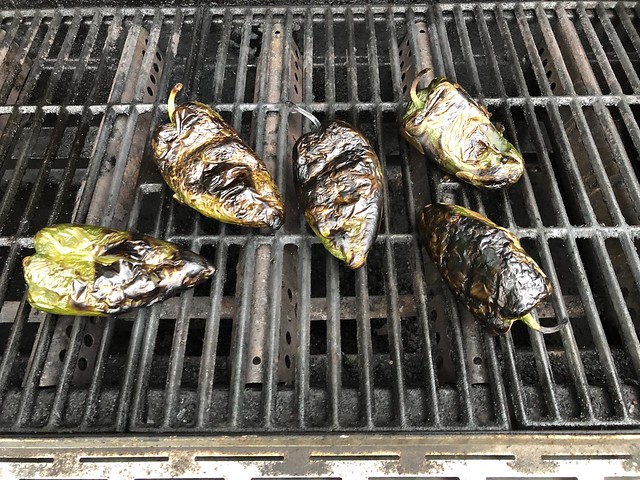
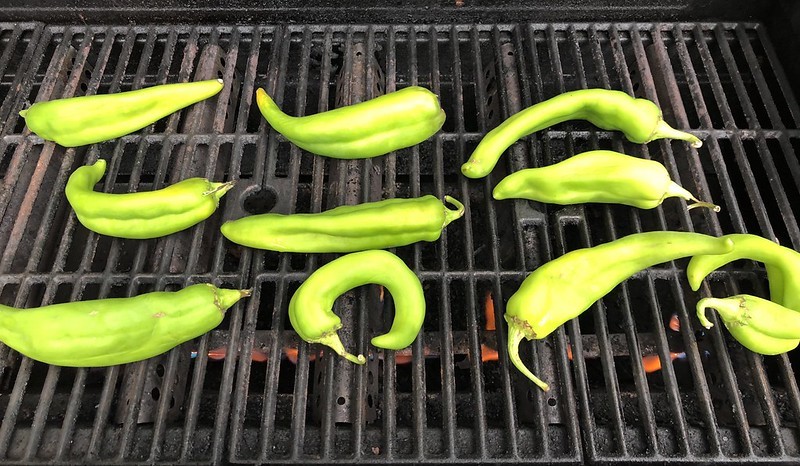
Those gnarly peppers up there in the photo once started out pristine and green, but the secret to good chile flavor is to roast the chiles until the skin is almost black. This cooks the pepper and also makes the skin, which can be bitter, easier to remove.
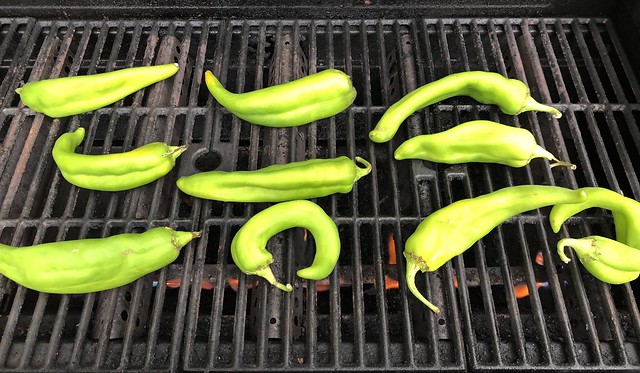
I put the peppers directly on a hot grill (highest heat setting) and let them go. Depending on size, roasting can take between 5-10 minutes on the first side and then usually only a minute or two for the second side.
You can do this in your broiler/oven or even directly on the top of a gas stove, BUT beware that if your ventilation is not good, and if your peppers and strong, you might be run right out of your kitchen by the smell.
These are poblanos but I wanted you to see that they can get really blackened and be perfectly fine.
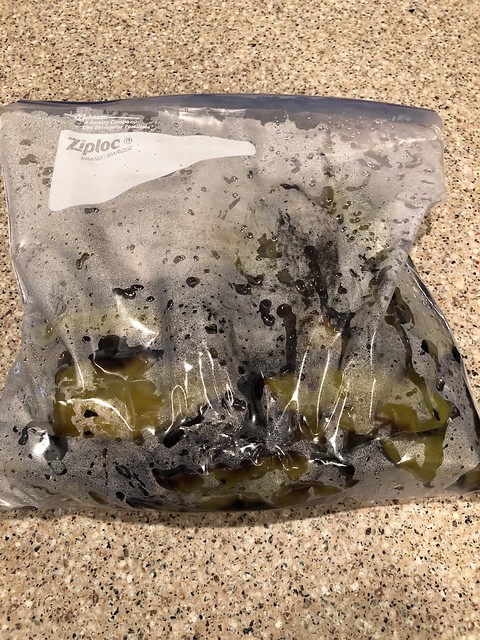
Once your peppers have roasted and the skins are blackened, remove them from the grill and place them in a large zippered bag. This allows the peppers to steam as they cool helping those skins slip off more easily.
While the peppers cool, or even earlier in the day, preheat the oven to 350° to bake some chicken breasts.
For this recipe you only need 2 breast halves but I always bake extra for soups, salad, sandwiches, pasta…you name it.
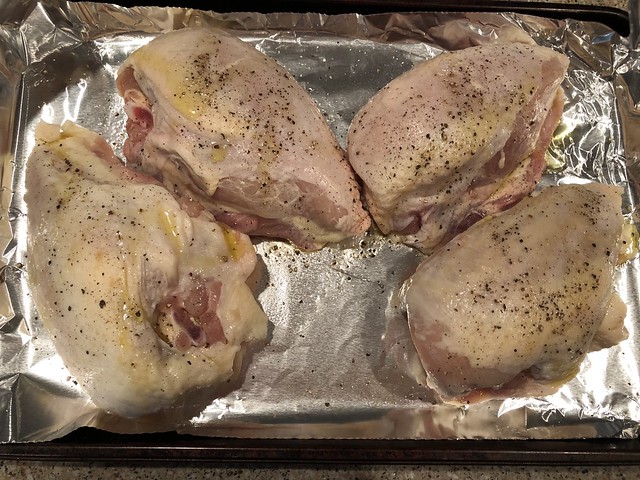
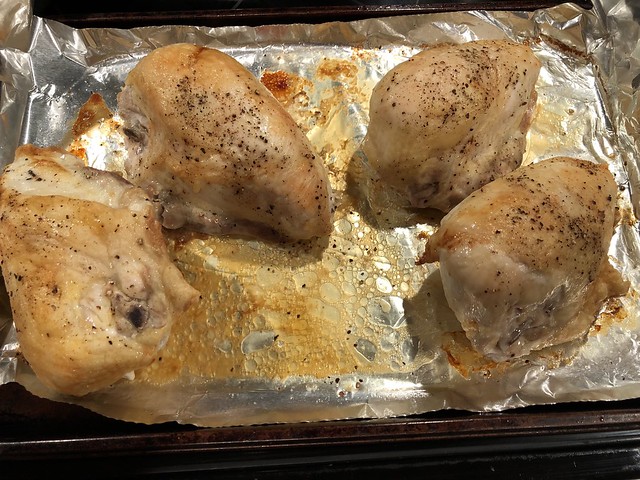
Season the chicken with salt & pepper and drizzle with a little olive oil. Bake at 350 for 30-40 minutes (again, depending on size) until the chicken is golden brown and the juices run clear.
Allow the chicken to cool slightly.
Those chiles are now going to become the base for our delicious green chile enchilada sauce.
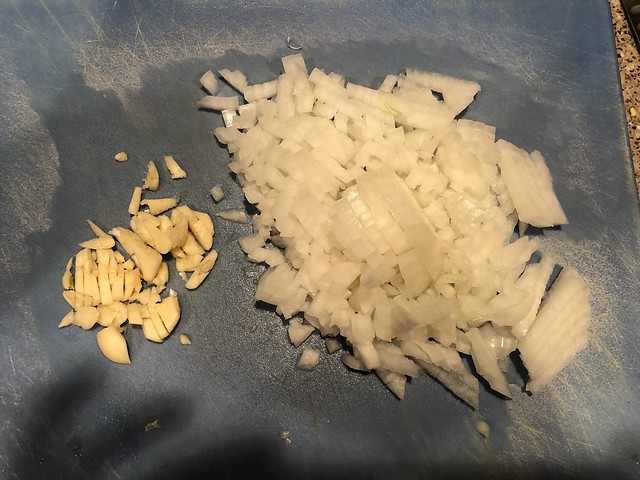
Chop up a medium onion and 4 cloves of garlic. No need to get too precise here as this will all get blended in a bit.
When the peppers have cooled to the touch, cut the stem end off the pepper and use a small knife or your fingers to gently peel away the blacked skin.
If you are sensitive to peppers, or doing several pounds of these, it’s not a bad idea to wear some disposable latex gloves.
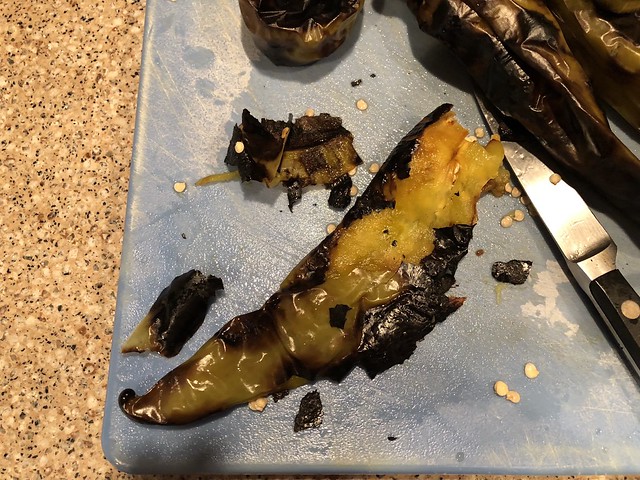
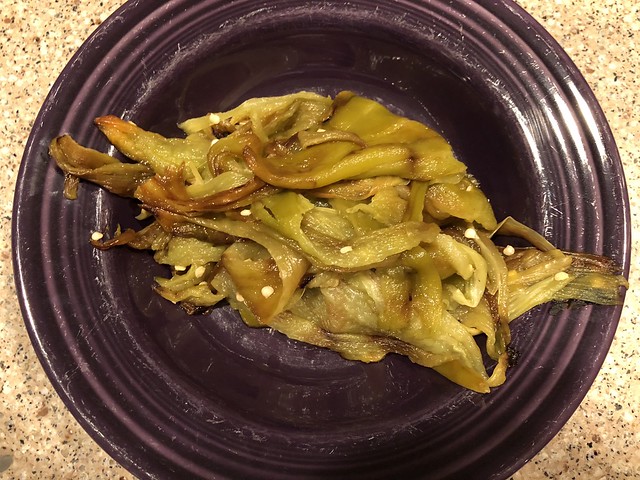
Slice the pepper open, remove as many of the seeds as you can, and put the strips of pepper into a bowl and set aside.
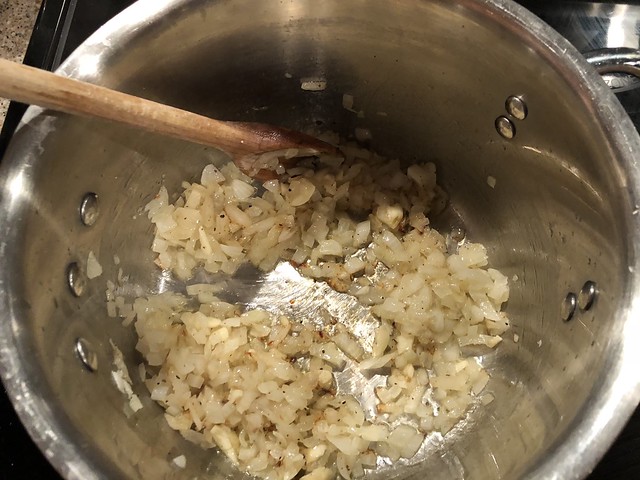
Heat 2 Tablespoons of olive oil over medium high heat in a large sauce pan. Add the chopped onion and garlic and sauté until tender and golden, about 5 minutes.
Add the peppers to the pot and pour in 2 cups of water. Season with 1 teaspoon Mexican oregano, 1 teaspoon cumin, and salt & pepper to taste. Let the peppers cook gently with the onions, over medium low heat, for about 10 minutes.
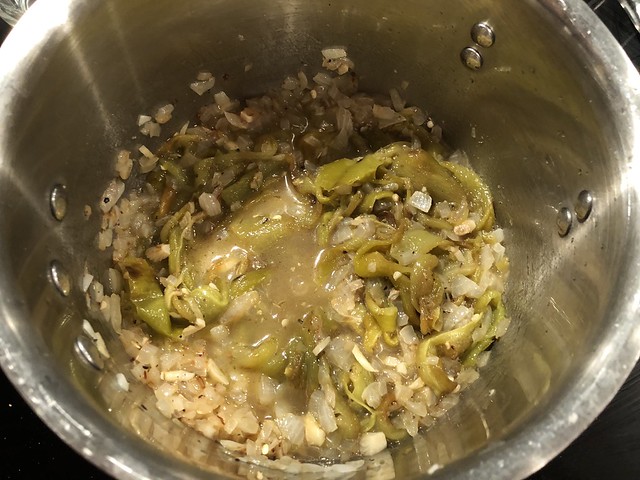
To blend I used my stick or immersion blender right in the pot but you could also transfer this to a regular blender or food processor.
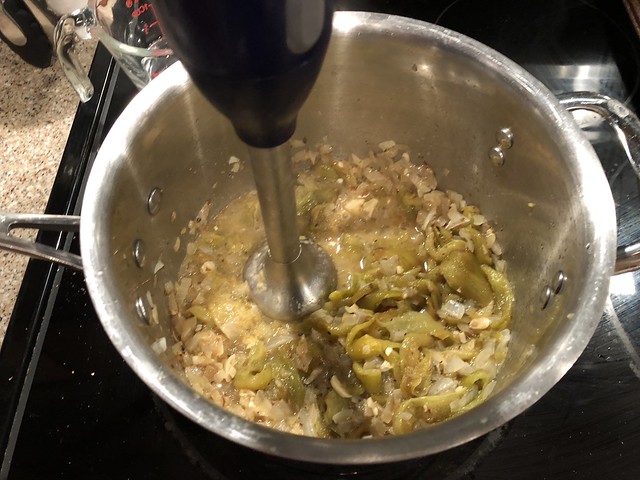
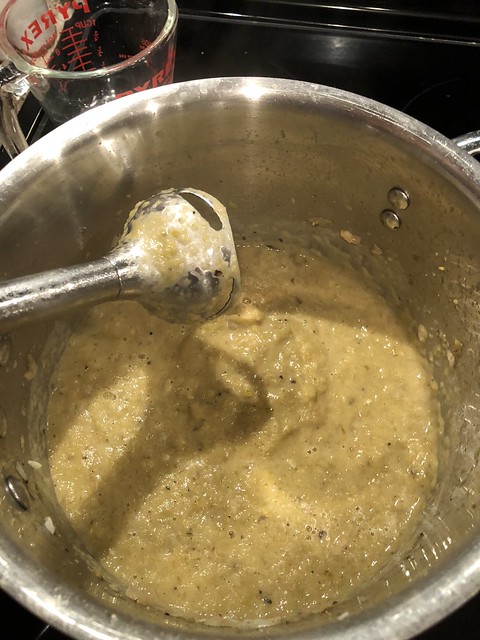
Blend the peppers and onions until smooth and creamy. You might need to add a bit more water if yours has cooked down. I added about an addition 1/2 cup.
Because I didn’t want to use any flour or thickener, I added 1/4 cup of heavy cream to the sauce and stirred to combine. Taste and season liberally with salt.
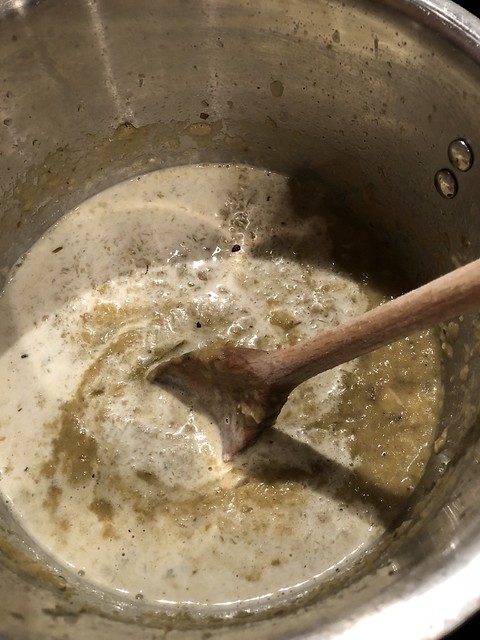
Turn the heat down to warm while you make the enchiladas.
If you oven is not still warm, preheat the oven to 350°.
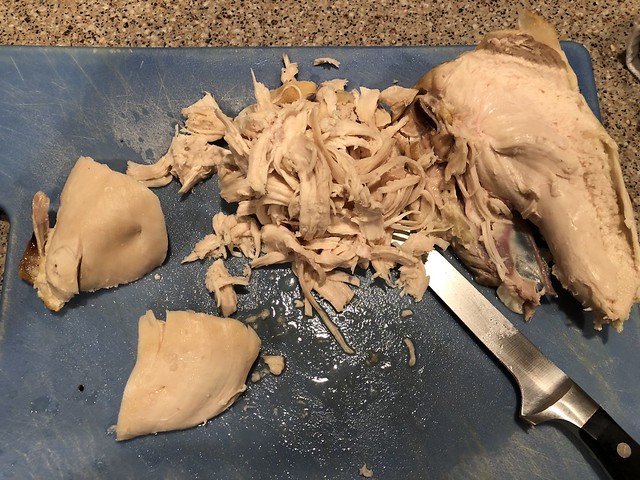
By now the chicken should have cooled enough to handle without burning your fingers. Remove the skin and shred the chicken off the bones of 2 chicken breast halves. (You could also skip cooking the chicken and buy a rotisserie chicken at the store.)
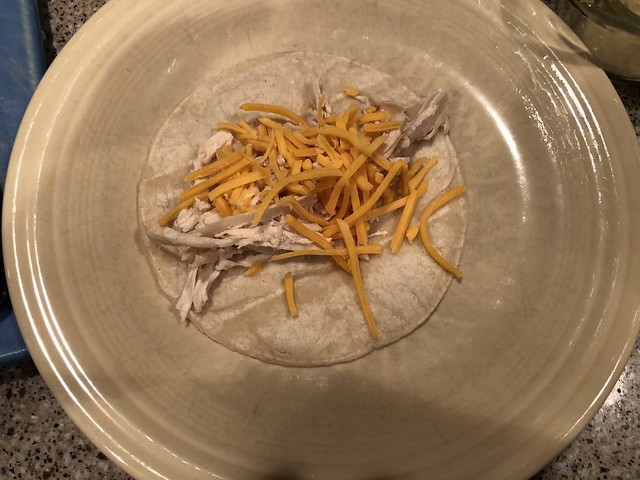
I know it is absolutely not authentic, but I like cheese in my enchiladas. All I had was cheddar so in it went. Place a corn tortilla on a plate, add shredded chicken and cheese and roll it up.
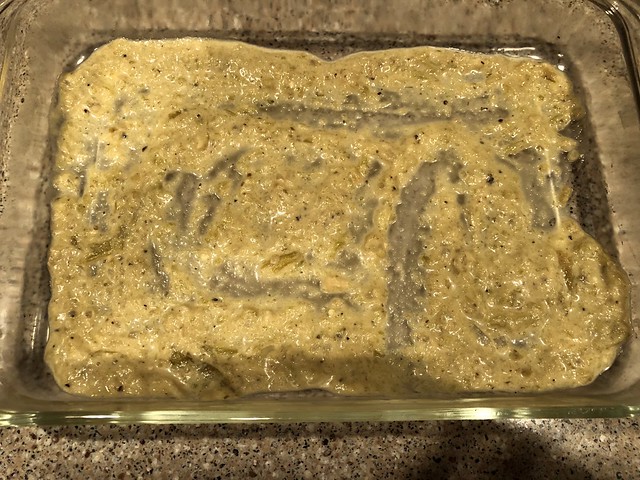
Cover the bottom of a 9×13 inch baking pan with a thin layer of the enchilada sauce…
and place the rolled enchiladas seam side down in the pan.
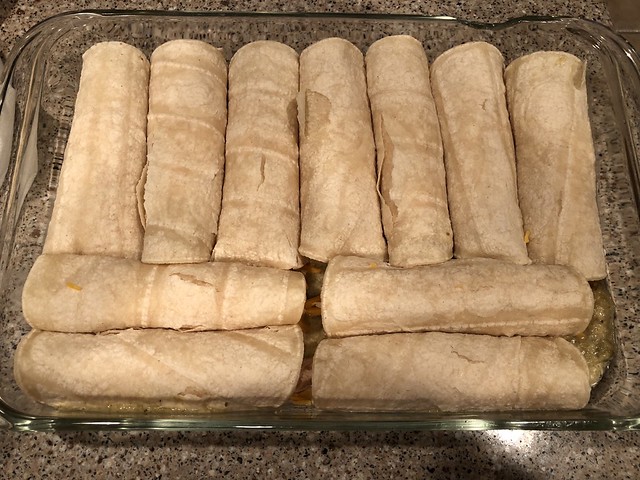
Pour the remainder of the sauce over the enchiladas trying to cover all of the corn tortillas so they don’t dry out.
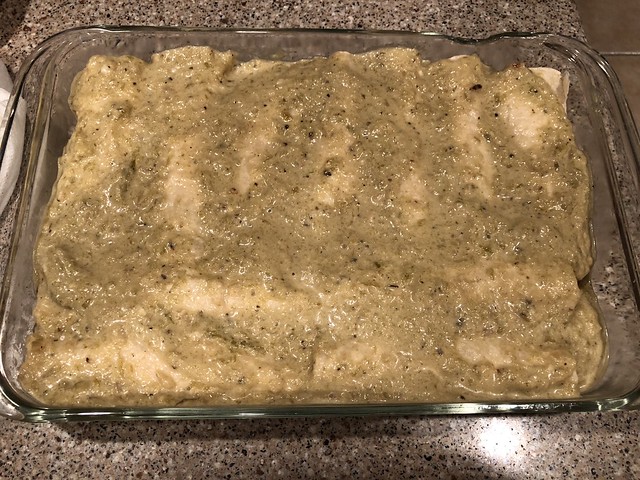
Bake at 350° for about 40 minutes until golden and bubbly.
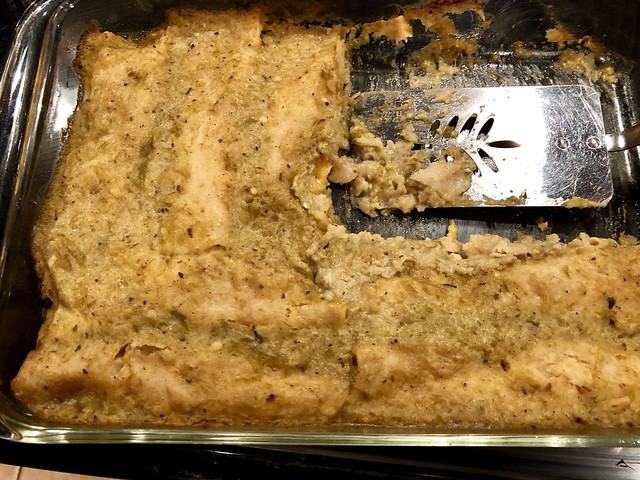
We were so hungry and excited to eat these that I didn’t even get a nice photo of my finished enchiladas.
I like to have some toppings on my enchiladas so I have some shredded iceberg lettuce, a chopped tomato, chopped cilantro, chopped green onions, and crumbled queso fresco.
Dig in!
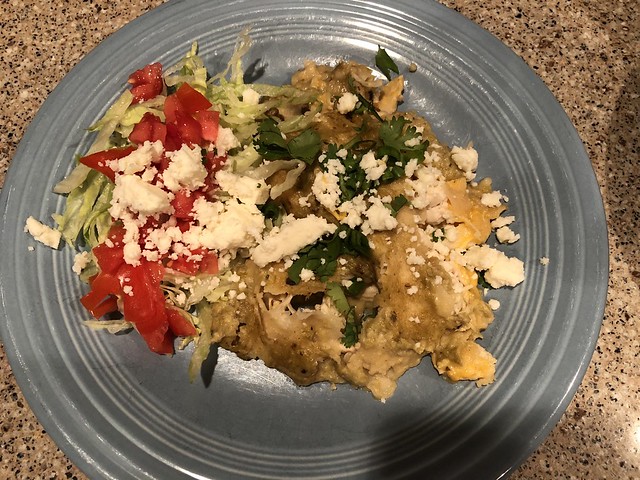
Homemade enchilada sauce is super easy to make and if you make a double batch, would store well in the fridge or freezer.
Depending on where you live, you might still be able to snag some Hatch Chiles this year. If not, hone your enchilada skills and keep and eye out next fall. I’ll be sure to let you know when the Hatch Festivities begin!
Here’s the recipe:



One Response
Yes, please.