Behold the Bread! The Life Changing Bread!
Would you believe me if I told you that this bread took about 10 minutes of work?
Really! Not counting the time that it takes to rise (40 minutes) or bake (30 minutes), this bread can be prepared in 10 minutes or LESS!
I have friends who can consistently turn out masterpieces of bread baking. While I’ve always been a good general baker and a pretty good bread maker, I would go in fits and spurts of bread baking never really able to get my act together to time everything correctly.
How long to proof the yeast? How long to rise? How long do I knead the dough?
Geez.
But then I got this FANTASTIC book:
I am not exaggerating when I say that it has changed my bread baking life.
The basic idea from this book is:
1.) you have a basic dough recipe that you can mix together in less than 5 minutes. (Really!)
2.) you keep your big tub o’ dough in the refrigerator and whack off a hunk when you want to bake bread.
3.) you shape your bread into a loaf, rolls, baguette, even pizza crust.
4.) let it rise while your oven heats up.
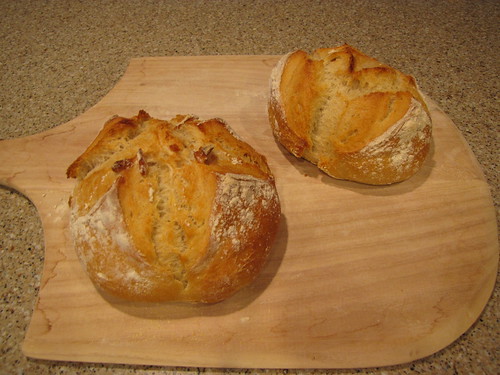
5.) plop it in the oven and 30 minutes later you have LIFE CHANGING BREAD! (I’m yelling, it’s just that good.)
So, shall we bake? I think we shall.
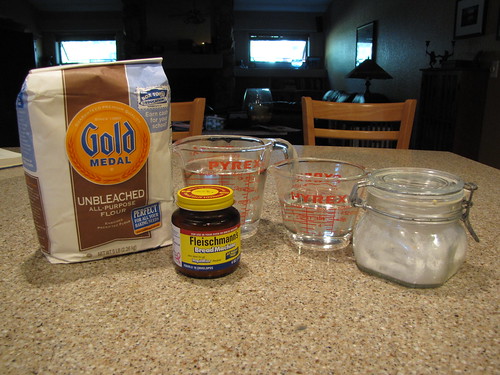
Here’s what you need:
Flour – regular Unbleached All-Purpose Flour, Yeast, Water, and Salt.
Could this get any easier? The answer is no.
If you have a big mixer, your arm will be happier. If not, invite a strong person over and grab a spoon and really big bowl.
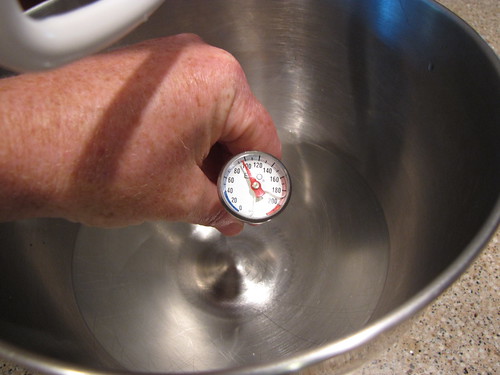
Pour 3 cups of LUKEWARM water into a mixer bowl. LUKEWARM, according to the recipe is not more than 100 degrees so I tested mine with my handy instant read thermometer.
Pretty darn close. I used 2 cups of regular old tap water and 1 cup of really hot water.
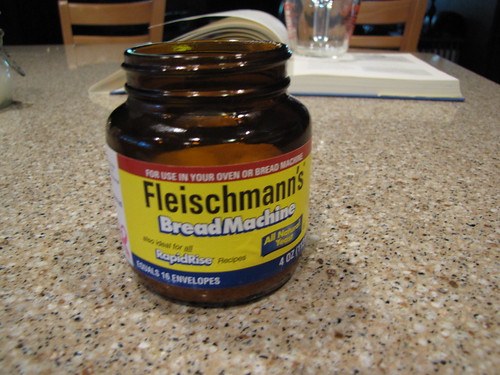
Let’s talk about yeast. I have what is labeled “Bread Machine Yeast” and yet I am not using and do not own a bread machine. It’s sometimes also called “Quick Rising Yeast”. You can also just buy regular old yeast. They all work the same for this recipe.
If you become hooked on bread baking (and I promise that you will) you should buy yeast in a jar. For the first time, you can buy yeast in a packet so you have a smaller quantity. This recipe takes 1 & 1/2 Tablespoons of yeast which equals 2 of the individual packets.
Forget all the horror stories you’ve heard about yeast not working, proofing yeast, etc. The only thing you MUST do is look at the expiration date on the yeast. If it’s not expired, you’re good to go. When in doubt, get some fresh yeast. Keep any extra in the refrigerator.
Add 1.5 Tablespoons of yeast and 1.5 Tablespoons of sea salt or kosher salt to your lukewarm water. I use sea salt in all my cooking so that’s what I used here.
You will already begin smelling the yeasty goodness. Give this a stir if you’d like but don’t worry if all of the yeast doesn’t dissolve right away.
Notice that I have a dough hook on my mixer. This is probably the easiest way to mix because the dough is very wet and sticky. However, remember that you can also always mix by hand.
Measure 6.5 cups of flour remembering to level off the top to get a good measurement.
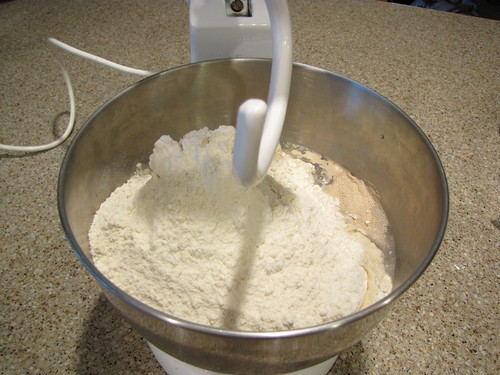
Dump the 6 & 1/2 cups of flour into the mixing bowl all at once.
Go ahead, dump it right on in.
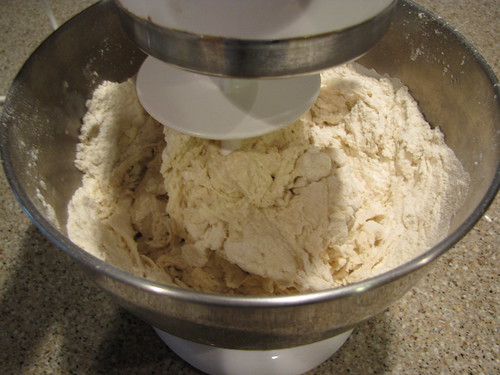
With the mixer on LOW (so you don’t end up wearing your flour), mix just until all of the flour is incorporated. Don’t over-do it, this dough does not need traditional kneading. Just mix it up.
Use a rubber spatula to scrape the sides and the bottom of the bowl to get all of the flour in the mix.
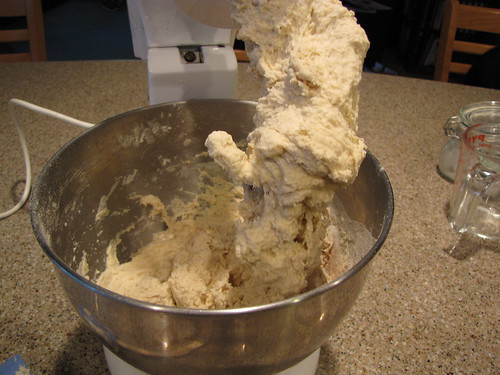
Now you should have a big gloppy mess of dough. And I mean gloppy in the best way.
Grab a large container with a lid. Your dough will AT LEAST double in size so pick something big enough to allow plenty of space for rising.
Also, it is important that you have a lid that is NOT airtight. If your lid is on too tight, you might have an explosion in your refrigerator. We want bread, not a science experiment.
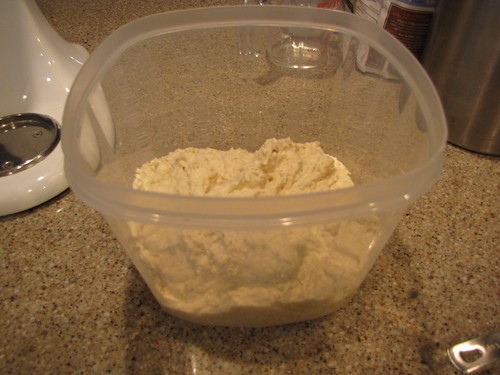
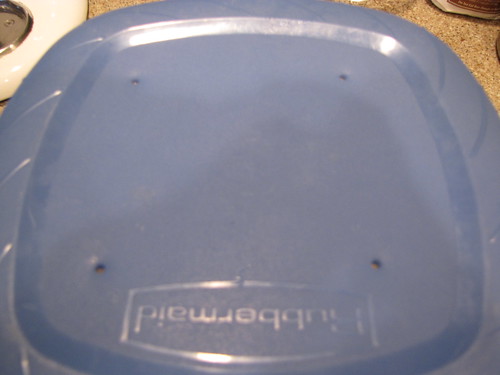
I have a large plastic tub with a lid that I have poked 4 tiny holes in to let the air escape.
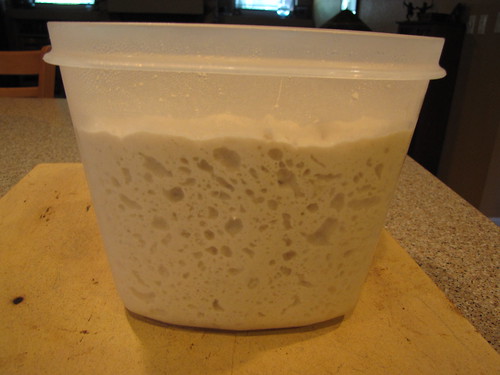
Plenty of room to expand….lid with tiny air holes….
Now, if you want to bake bread immediately, you will need to let this rest on your counter for about 2 hours until the dough doubles in size.
However, I like to use the refrigerator method. Make your dough up in the morning, put it in the container and put it in the fridge. When you get home from work, 8 hours later, your dough is magically ready to go. OR I make the dough the night before, put it in the fridge and it’s ready to go any time the next day.
This dough will keep in the refrigerator for 14 days. The great secret to this recipe is that the dough actually gets BETTER the longer it sits. Although this isn’t really a sourdough recipe, by resting in the cold refrigerator, the dough takes on a very lovely and slightly tangy sourdough character. YUM!
When you are ready to bake, your bread should have risen in the container and be full of bubbles.
This dough makes about 4 medium sized loaves of bread but the great thing about this recipe is that you use only the dough that you need.
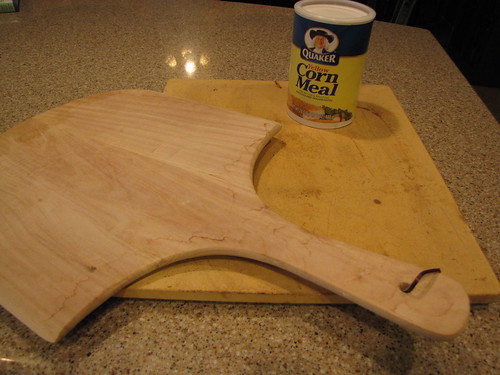
If you work according to the instructions in the book, you will need a couple of special kitchen items: a pizza or baking stone and a baking peel.
The Kitchen Gadget Queen just happens to have both of these items. However, my guess is that you could also bake your bread on a regular baking sheet.
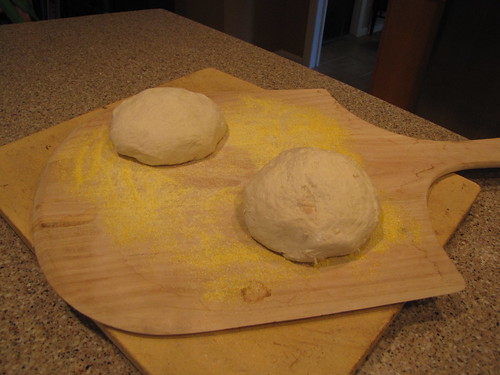
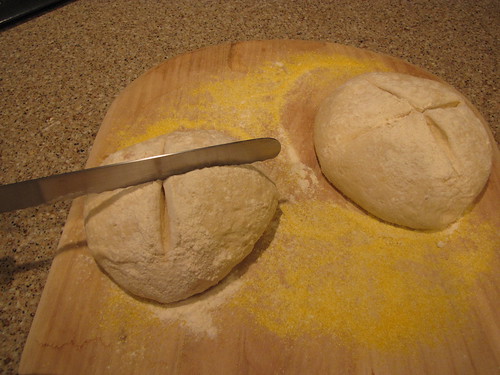
You will need cornmeal to coat the peel or whatever you are going to put your bread on for the time that it rises. Without the cornmeal, you will have a sticky mess.
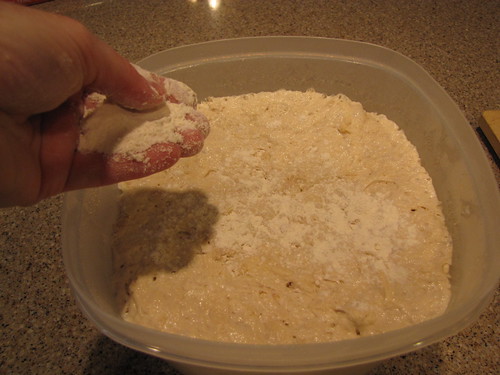
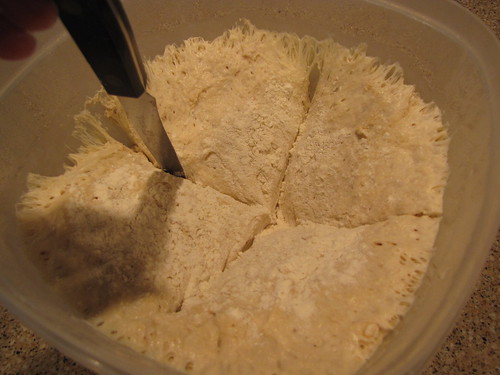
Take your big tub o’ dough and sprinkle a little flour over the top.
With a serrated knife, cut the dough into quarters.
Put a little flour on your hands so that the bread doesn’t stick. This is fairly wet dough so adding a little flour to the surface makes it easier to handle and doesn’t effect the dough.
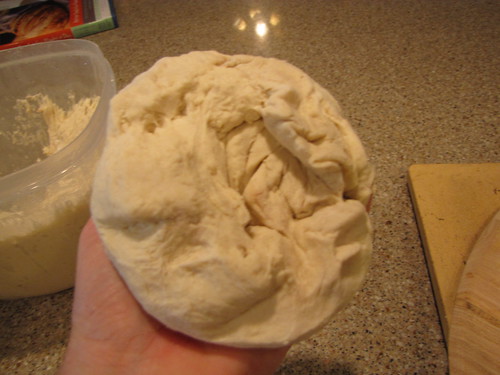
Grab 1/4 of your dough and working quickly simply tuck the ends under and form it into a ball.
Remember, there is no need to knead. The less you work the dough the better. Using little quarter turns, simply tuck the sides of your dough blob under to form a ball.
It’s okay for the underside to look a little ragged like this:
It will smooth out as it rises and bakes. Besides, we’re going for RUSTIC bread here, not some store bought tasteless loaf.
Put your loaf on the baking peel that has been covered in a bit of cornmeal. Remember to use the cornmeal so your bread doesn’t stick. Even if you’re using a baking sheet, add the cornmeal so the bread moves easily on the pan.
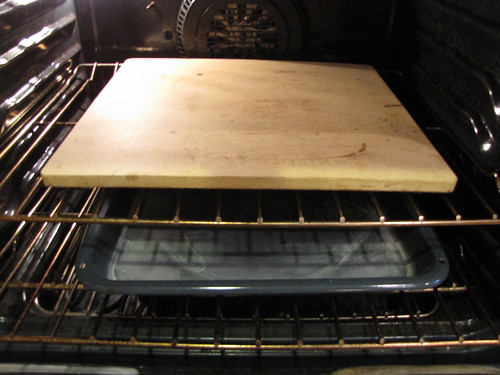
The dough needs to rise for 40 minutes total. However, 20 minutes into the rising time, pre-heat your oven to 450 degrees. If you are using a baking stone, put it into the oven NOW so it also pre-heats.
An oven thermometer is also a good idea if you’re unsure about the heat and consistency of your oven.
So, to review, let the dough hang out (covered or uncovered, it doesn’t really matter) for 20 minutes, pre-heat the oven and baking stone to 450 for a additional 20 minutes for 40 minutes total.
There is a nifty trick to add steam to the oven to help the bread have a delicious crusty exterior using our friend the broiler pan. (Hey, it’s not just for meatloaf.)
Put the bottom of the broiler pan on a rack below the baking stone. When the oven is hot, we will add water to the hot pan to create steam.
DON’T WORRY IF YOUR OVEN IS NOT AT 450 DEGREES WHEN THE 20 MINUTE TIME IS UP. GO AHEAD AND BAKE YOUR BREAD AND THE OVEN WILL CATCH UP AS THE BREAD COOKS.
I’m not sure why this works, but that’s the way they say to do it in the book and I’m an instruction following kinda gal.
After the dough has rested for 40 minutes, flour and score the top of each loaf. Simply sprinkle a bit of flour over the top and using a serrated knife, but an X or a few slashes through the top of each loaf.
Don’t worry if your dough hasn’t risen much, it will continue to rise in the oven.
Also don’t worry about any excess flour, it will come off or bake into the loaf.
Carefully slide the dough off the peel and onto the baking stone. Immediately pour a cup of water into the broiler pan (be careful!) and close the oven door to trap in the steam.
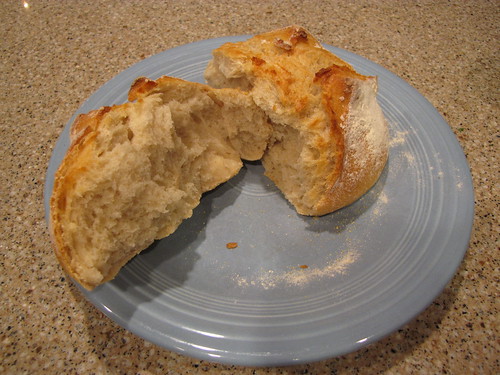
Bake for about 30 minutes until the bread is golden brown, crispy and lovely.
This is truly WONDER BREAD!
Let the bread rest on a cooling rack for as long as your self-control allows then DIG IN!
Mmmmm…please pass the butter!
I would HIGLY recommend the book, Artisan Bread in Five Minutes a Day. Although in the spirit of full disclosure, I should mention that I have yet to move on from the original master recipe…it’s just that good.
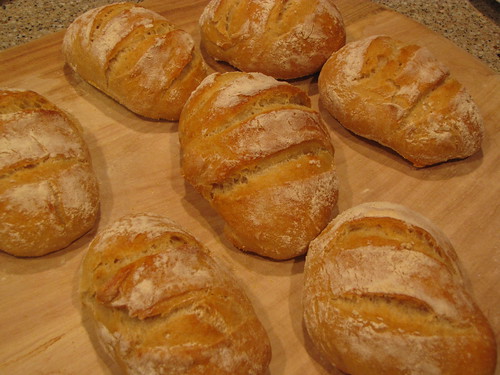
Oh, by the way….using half the dough, you can make a larger loaf.
OR even little small dinner rolls! (shorten the baking time to 20-25 minutes)










3 Responses
Claudia, this looks awesome. I love baking bread, so I’m eagerly awaiting delivery from Amazon of my own copy of the book you mentioned. A few thoughts: King Arthur bread flour–it’s good and Publix carries it. Saf instant yeast–I buy this in one-pound vacuum blocks at my local restaurant supply store. Latex food prep gloves–I buy these at Publix in boxes of 100. I kind of enjoy kneading bread dough, and disposable gloves keep my hands clean. For mixing, I keep a wooden spoon in one hand and wear a glove on the other. For shaping, I wear gloves on both hands. Easy to take one or both off if the phone rings . . .
YES. Dummy-bread-baker-oboist thanks Idiot’s Kitchen 🙂