Let’s hear it for butter! Hooray for Pineapple!
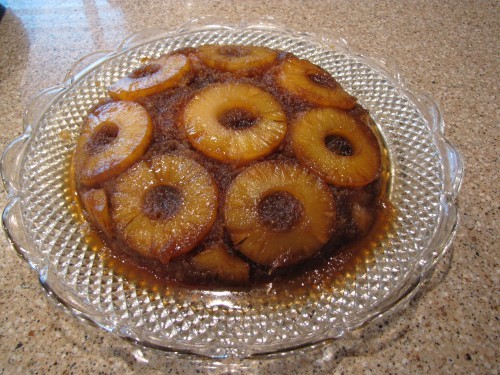
Hallelujah! It’s Pineapple Upside-Down Cake!
This is an old-timey southern dessert…so simple and tasty. It uses regular old canned pineapple from the store so no waiting for fussy fruit to ripen. Good any season of the year.
Here’s what you need:
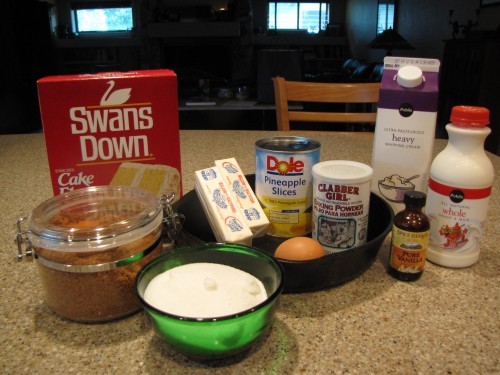
Cake Flour*, Brown Sugar, White (regular) Sugar, Butter, Egg, Pineapple Slices or Rings in their juice, Baking Powder, Vanilla, Milk, Salt (not pictured), and Whipping Cream (optional, but you know you’re going to want real whipped cream).
*Cake Flour is lighter than regular all-purpose flour. It’s made from soft wheat and has very low gluten, or proteins. In desserts like cake or pastries, Cake Flour is used to make a lighter, moister dessert. Look for it in the baking aisle either near the regular flour and sugar or (in my store) over near the cake mixes.
Click HERE for a Handy-Dandy Shopping List
Pineapple Upside-Down Cake is traditionally baked in a Cast Iron Skillet like the 10 inch one pictured above. I LOVE cast iron. In fact, at our house we refer to this as the “Magic Pan.” You can find cast iron skillets, pre-seasoned and ready to go at your local hardware store or even at garage sales. They’re inexpensive and great for cooking just about everything.
However, if you don’t have one, don’t sweat it. Simply use any 9-10 inch cake pan or even a really deep pie plate.
Pre-heat your oven to 400 degrees.
Did I mention that this recipe uses just a wee bit of butter? Melt 6 Tablespoons or 3/4 of a stick of butter in your skillet.
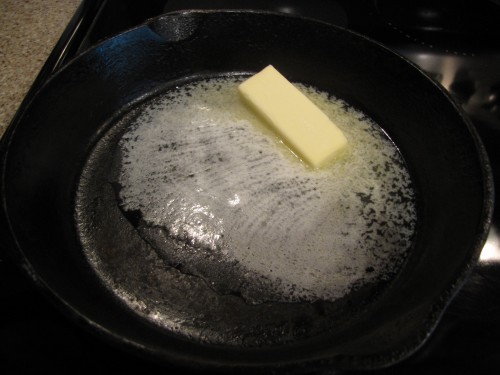
Note: if you don’t have a skillet and are using a cake or pie pan, melt the butter in any medium sized sauce pan.
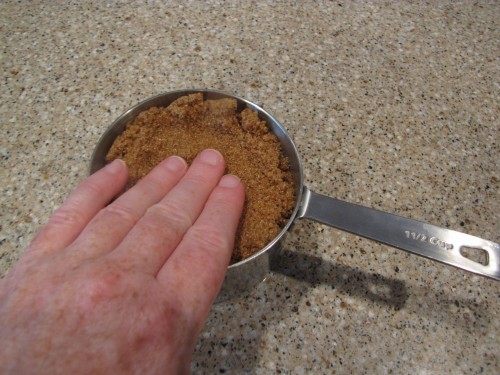
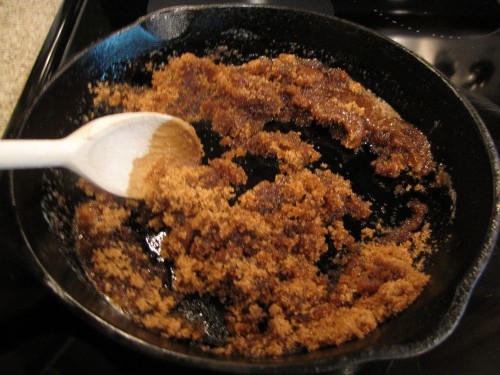
Add 1-1/2 cups Dark Brown Sugar to the melted butter and stir to melt. Remember to lightly press the brown sugar into your measuring cup to get an accurate measurement.
Strain the pineapple rings from their juice and save the juice.
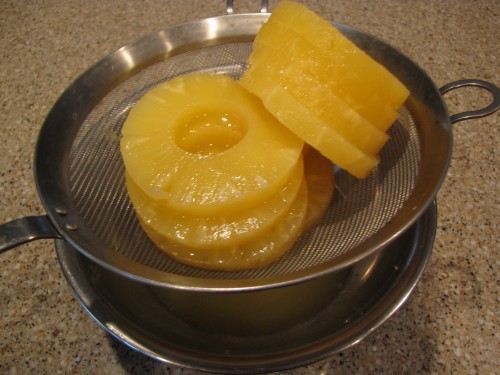
Add 1/2 cup of the pineapple juice to the pan and stir. This should help the sugar to melt into a thick, dark syrup. Yum.
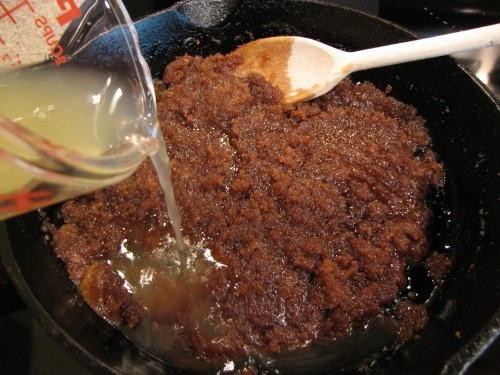
Stir the sugar/juice mixture and over medium heat until it simmers. Simmering has small little bubbles not huge, boiling bubbles. Cook, simmering and stirring for about 1 minute.
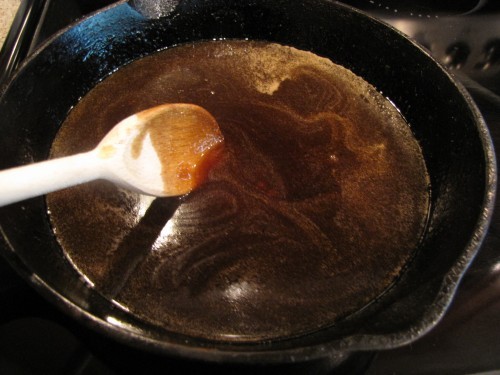
Remove from the heat and set aside while we make the cake batter.
For an extra light batter, we are going to sift the cake flour. You can do this in a special flour sifter OR use any large strainer with a fine mesh. Sifting helps lighten the flour and also ensures us that our batter will not be lumpy and weird.
Sift 1-1/2 cups of cake flour into a mixing bowl.
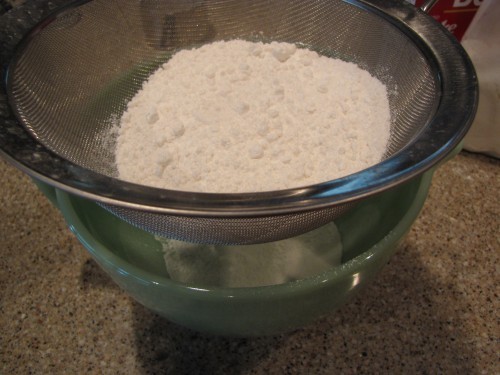
Add 2 teaspoons of Baking Powder to the sifted flour.
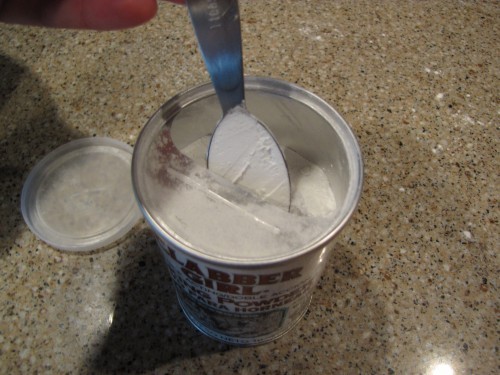
Important Note: Baking POWDER is different from Baking SODA. Baking Powder comes in a round can. It’s NOT the stuff in the orange box that you put in the back of your refrigerator to keep it from stinking.
Baking Powder also doesn’t last forever. If you have “issues” with your baked goods not rising or being hard as rocks, old, stale Baking Powder may be to blame. If yours is over a year old (or you don’t actually remember buying it or know how it got in your kitchen cabinet) toss it out and buy a new can. End of sermon.
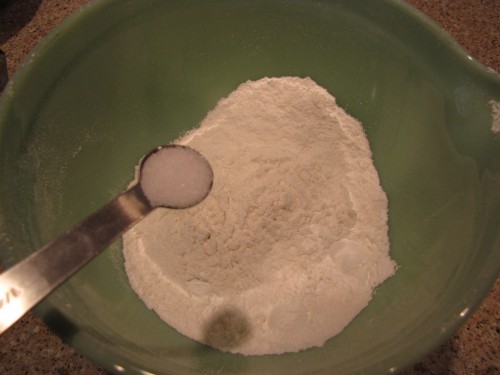
Add 1/4 teaspoon of salt to the flour and baking powder.
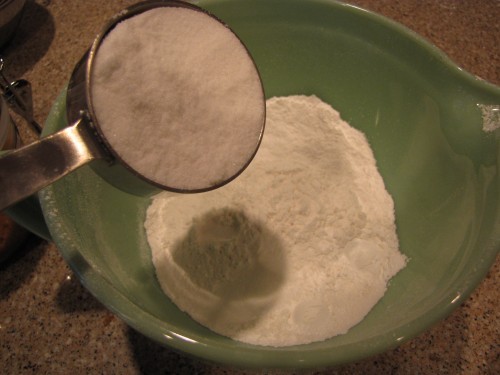
Add 1/2 cup of regular old white sugar to the dry ingredients.
Stir these dry ingredients with a whisk or fork to blend them together.
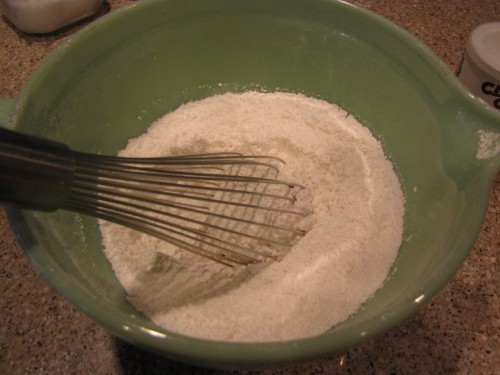
This is actually a pretty good tip for all baking. You need to whisk or stir your dry ingredients to mix them thoroughly together BEFORE adding the wet ingredients to make the batter. Once the wet stuff goes in, we don’t want to over-stir or the cake will be tough.
Moving on. In a separate bowl, lightly beat one egg.
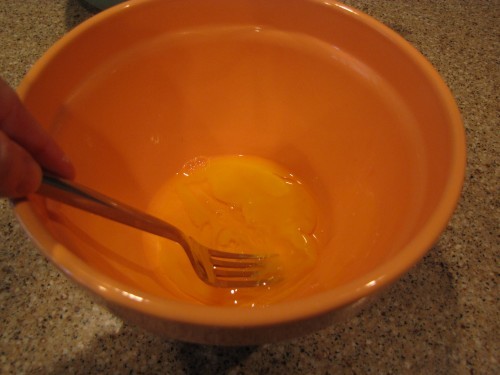
Add 1/2 cup of whole milk and 1 teaspoon of vanilla extract. (Use real vanilla, please.)
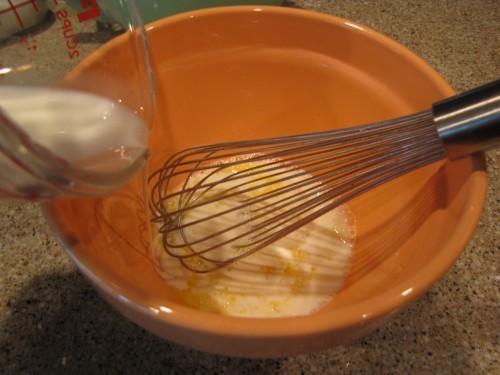
Melt 1 stick (8 Tablespoons) of Butter. I’m using unsalted butter but I don’t think it’s the end of the world if all you have is salted butter. I melted my butter in the microwave for about 30 seconds. Add the butter to the wet ingredients and mix well.
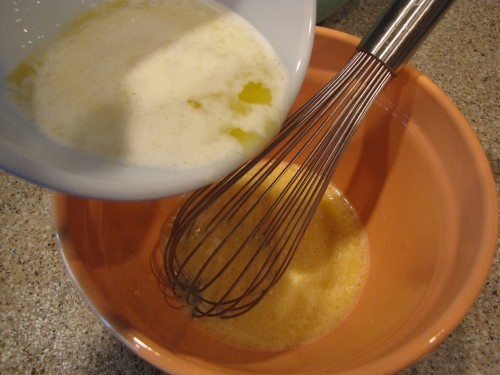
Pour the wet ingredients (milk, egg, butter) into the dry ingredients (flour, baking soda, sugar).
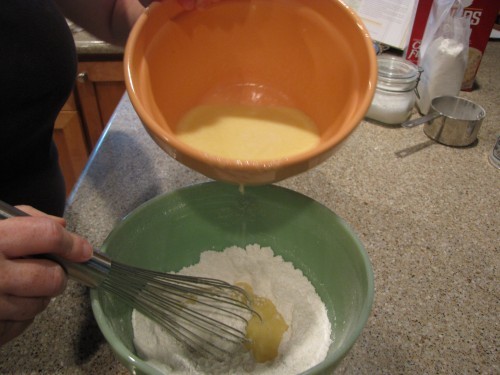
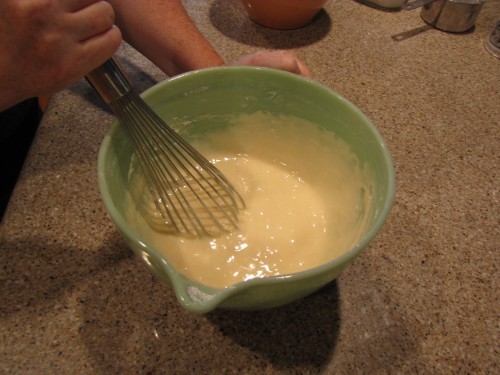
Wisk together just until smooth. Don’t over-stir your batter. Just get them combined and smooth and stop there.
Now the fun part! Go back to your pan of butter, sugar syrup. Don’t be alarmed if a little crust has formed on the top. Simply put it back on the heat for a minute and stir to re-combine.
CAREFULLY lay the pineapple rings in the pan of hot sugar syrup.
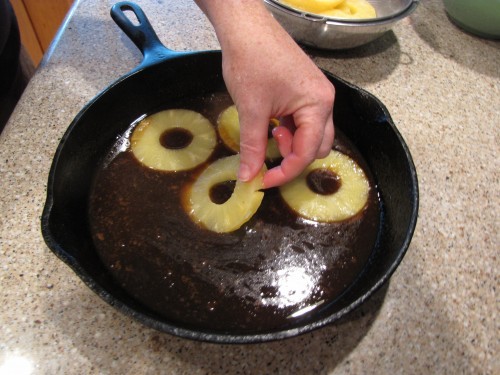
Get the rings pretty close together so they all fit in the pan. Break up any pieces that won’t fit in whole and nestle them around the edges. It’s okay if the pineapple overlaps a little bit. You want to use ALL the pineapple in a 12 oz can.
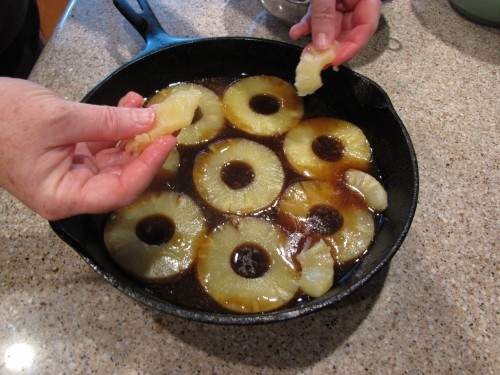
Keep in mind that this will the the TOP of the cake once it’s Upside-Down.
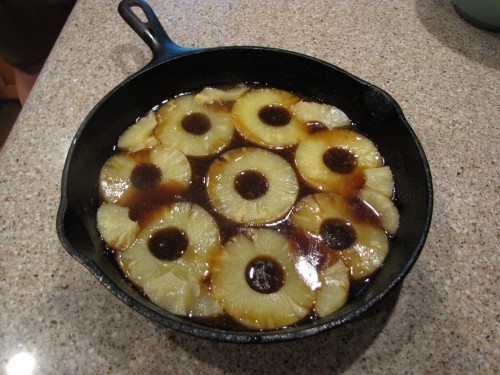
Gently pour the cake batter over the top of the pineapple.
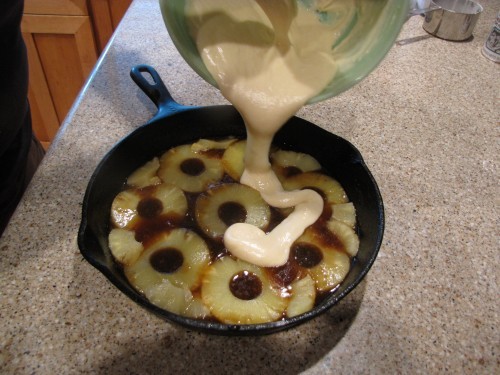
Take a spoon or spatula and carefully spread the batter evenly over the top.

Work the batter all the way over to the edges.
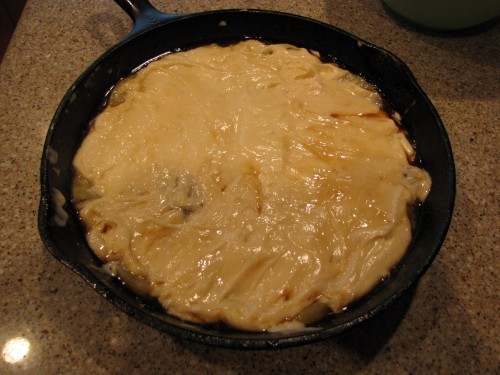
Bake at 400 degrees for 20-25 minutes until the top is golden brown.
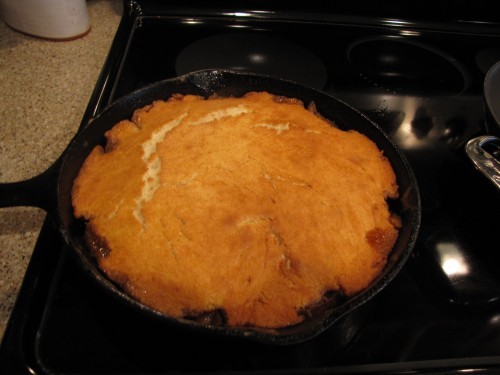
You can test the cake with a toothpick to see if it is done. Insert a toothpick into the center and if it comes out clean, you’re done. If it comes out gooey, you need a few more minutes of baking.
Don’t worry about any cracks, this is the BOTTOM of the cake once it’s Upside-Down so no one will know.
Let this rest and cool for 5 minutes…but only 5 minutes. You have to get it out of the pan while it’s still pretty hot.
After 5 minutes, carefully run a knife or small spatula around the edges to loosen any stuck bits.
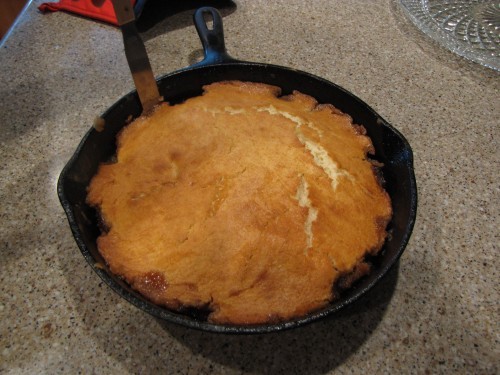
Find a serving dish slightly larger than your pan (there will be some ooze from the buttery goodness so choose a big enough plate or serving dish) and place it on top of the pan.
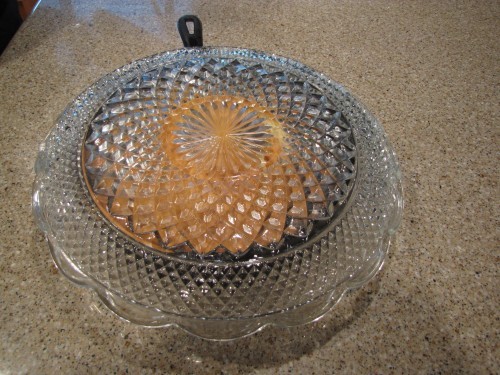
With GREAT CONFIDENCE and a hot pad (remember this pan is still screamin’ hot), turn your cake UPSIDE-DOWN!
(Sorry that I don’t have a picture of this, but I was busy turning hot cake over. It’s not too tough to do. One hand with a mitt or hot pad on the bottom of the pan and one hand on top of the plate. Remember, GREAT CONFIDENCE!)
Remove the pan and admire the loveliness that you have created.

Seriously, this is one good cake. Just try to wait for it to cool a bit so you don’t burn your face off. It will also be easier to slice once it’s cool.
Serve with whipped cream or even a scoop of vanilla ice cream.
Do you know how to make your own REAL whipped cream? A cake this good deserves the real stuff.
It’s easy.
Pour 1 cup of Heavy Whipping Cream into a bowl.
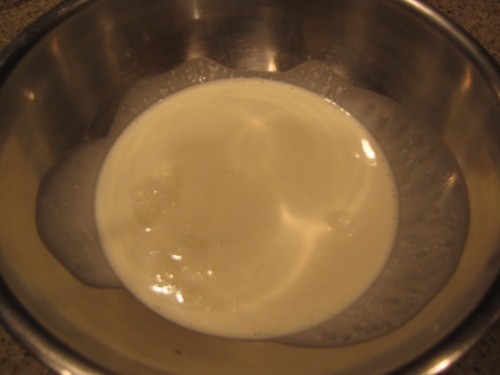
Beat it, on HIGH with an electric mixer (or by hand with a whisk if you are overly industrious).
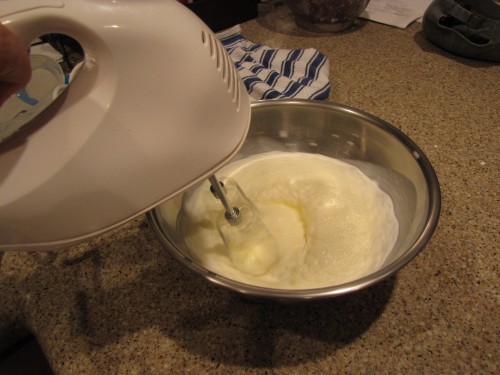
As you whip, it gets thicker….
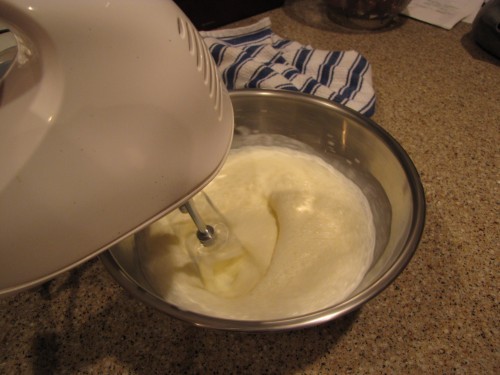
And thicker. You can flavor it with a little powdered sugar (it dissolves better than regular white table sugar)…
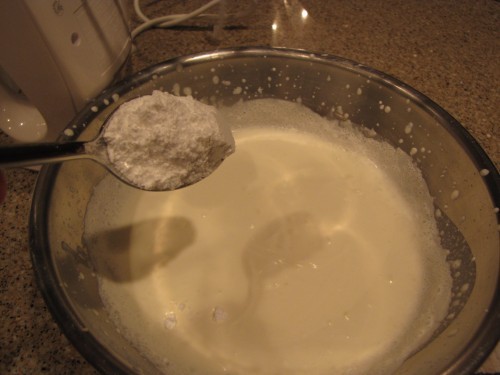
And even, some bourbon (don’t ask) or a tiny bit of vanilla.
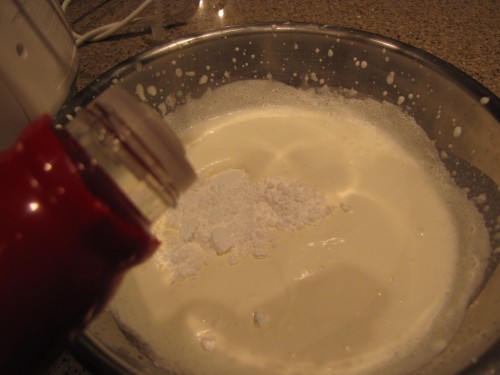
Whip it until it is thick, fluffy and lovely.
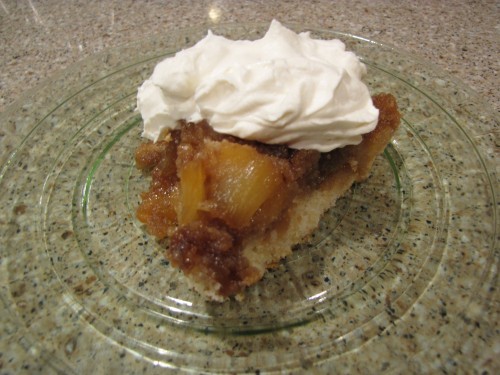
Hallelujah!
This recipe comes from a wonderful cookbook, The Gift of Southern Cooking by Edna Lewis and Scott Peacock. If anyone knew about southern goodness and cooking, my money is on Miss Edna.
Here’s the recipe:


