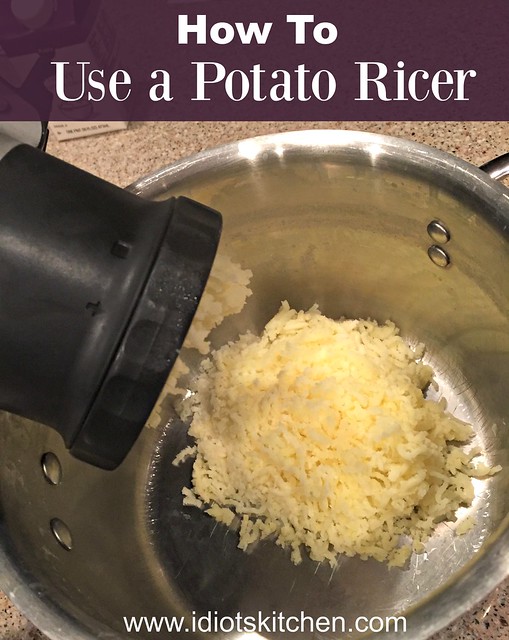
Just in time for Thanksgiving, I have a gadget that you need to know about…
How to Use a Potato Ricer!
I am something of a kitchen gadget queen, although with my limited storage, (no basement, very few upper cabinets) I’ve been trying to wean myself off of gadgets that have only one purpose.
I happily BREAK that rule for the trusty Potato Ricer. It is the ultimate tool for smooth, creamy, lump free mashed potatoes.
In the past I’ve been a hand masher or stand mixer whipper of potatoes but NO MORE! The potato ricer is inexpensive, quick and easy to use, and the texture of the potatoes can’t be beat.
The potato ricer looks like a giant garlic press. Mine is an OXO Good Grips and you can find them at amazon, Bed Bath & Beyond, kitchen stores, or even some well stocked grocery stores.
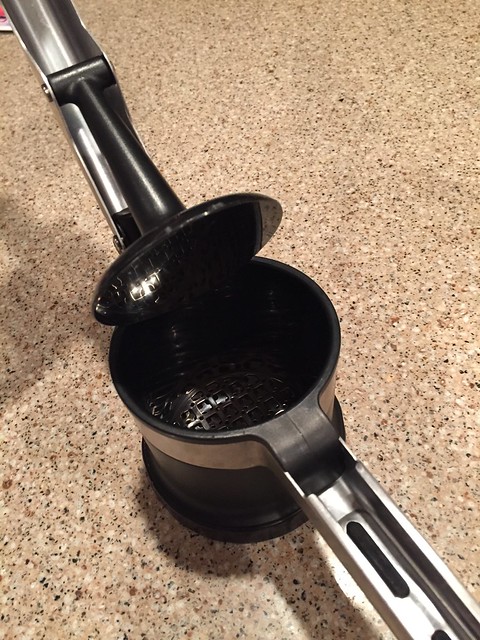
On the bottom are 2 plates with interesting lines. You can turn the outer ring a quarter turn to get squares, smaller rectangles, or my favorite on the right, a funky pattern. This gives you the finest bits of potato goodness.
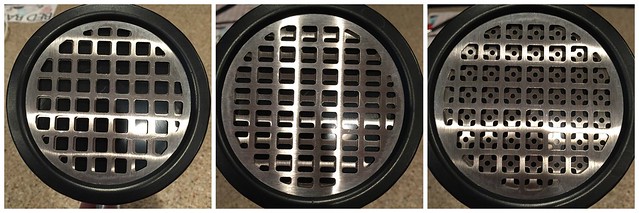
It is super important to understand that if you continue to turn the outer ring, you can remove the bottom plate for easy cleaning. I can’t remember who was helping me clean up and thought they had to try to wash all those little stuck bits of potato out of those tiny holes. Nope, twist off that bottom ring and it practically rinses clean!
Gather up the usual suspects for making mashed potatoes. Here’s what you need:
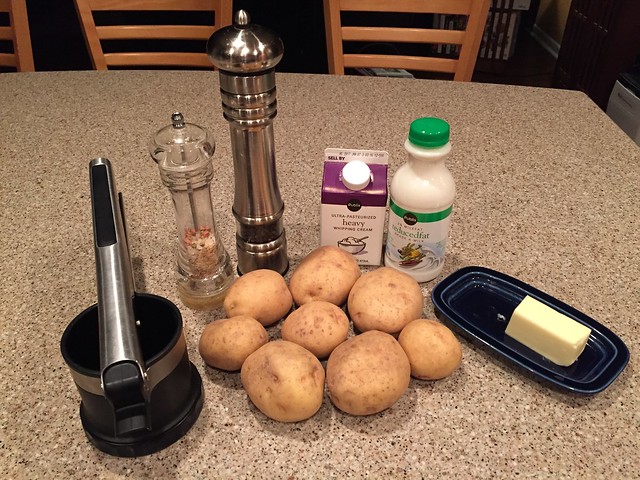
The Potato Ricer, Potatoes (I like Yukon Gold), Butter, Milk, Cream (optional, but come on), Salt & Pepper.
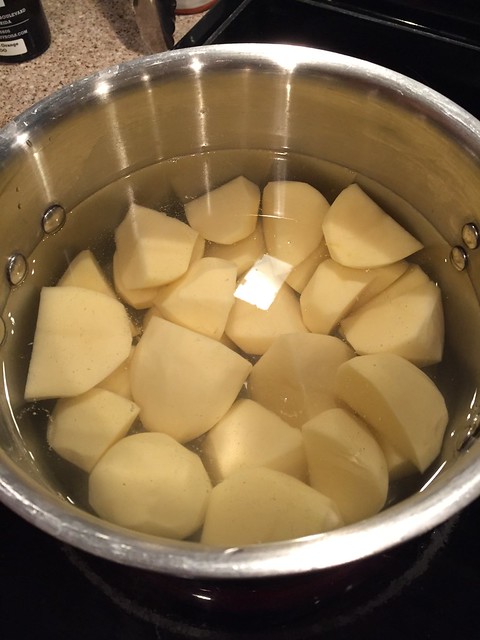
Peel 2 pounds of potatoes, cut them into halves or quarters if they are large, and place them in a big pot of cold water. If you want to work in advance, you can hold the potatoes covered in water. Left peeled and uncovered without the water, they will turn icky and dark. When I hold them, I drain the holding water which is usually cloudy and use fresh water when I’m ready to cook the potatoes.
Bring the pot of potatoes to a boil, watch that it doesn’t boil over on your clean stove, and cook until fork tender, about 20 minutes.
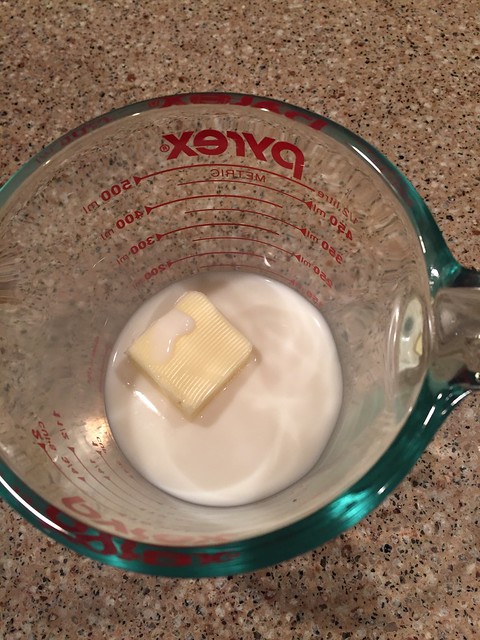
When the potatoes are almost done cooking, gently warm 3/4 cup of milk and 3 Tablespoons of butter in the microwave for about 1 minute. We don’t need this boiling, just melt the butter and warm the milk so you don’t cool off your potatoes when you add it later.
Drain the potatoes very well in a colander. Shake out as much excess water as you can. You can transfer them to a bowl or just work out of the colander.
Place your potato ricer on the top edge of the warm pot used to cook the potatoes. Use a big spoon or tongs to fill the ricer with several potatoes.
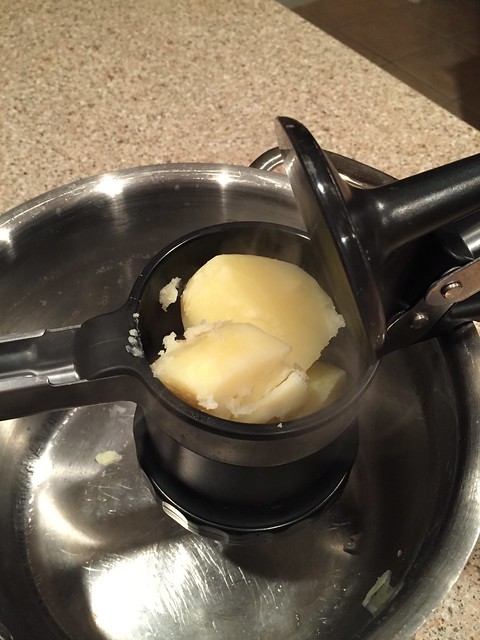
Notice that there is a handy little notch that rests right on your pan. This will give you the leverage you need to squeeze the potatoes through the ricer.
Squeezing the potatoes through the ricer does take a little bit of elbow grease but you can always pass this task along to a strong armed person in your family.
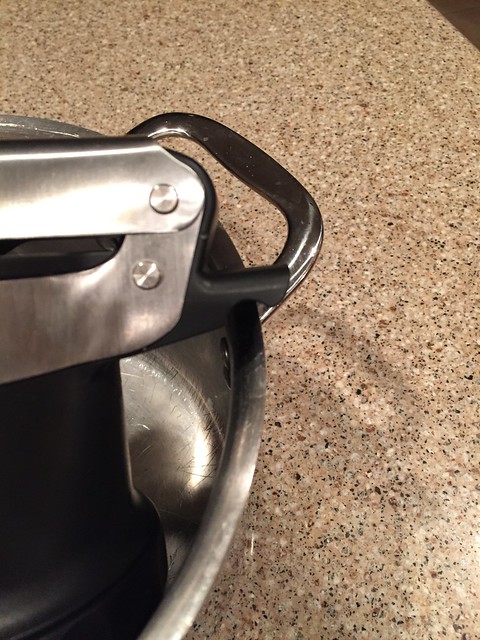
Close the handles together and the little plastic insert pushes the potatoes out the metal discs in the bottom. The result?
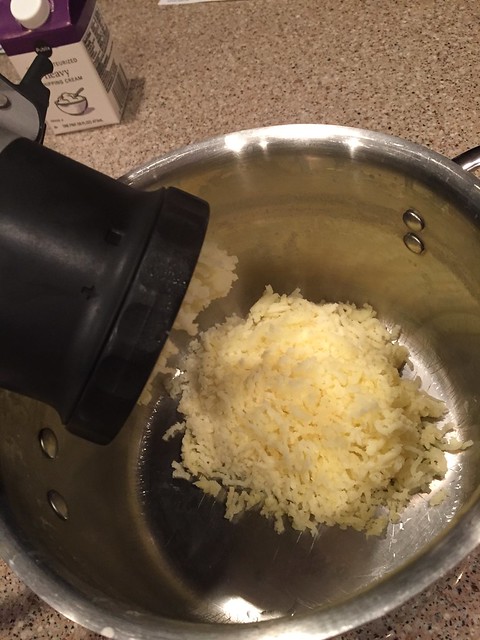
Light, fluffy, rice shaped, potato bits of love.
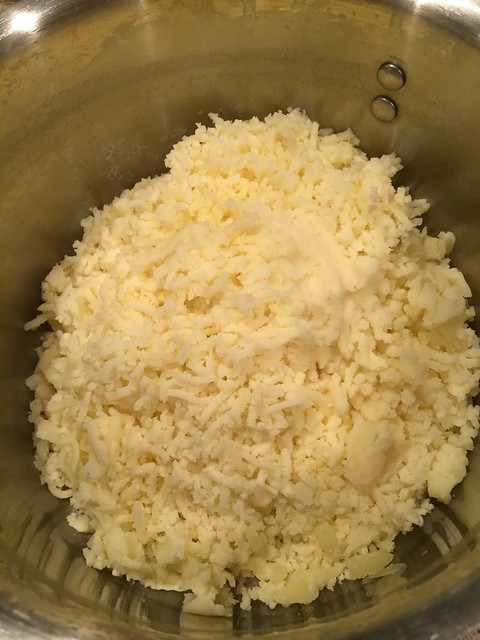
Add the milk and butter and stir to combine. You might want to add more milk or butter to get the potatoes to the creamy texture that you like.
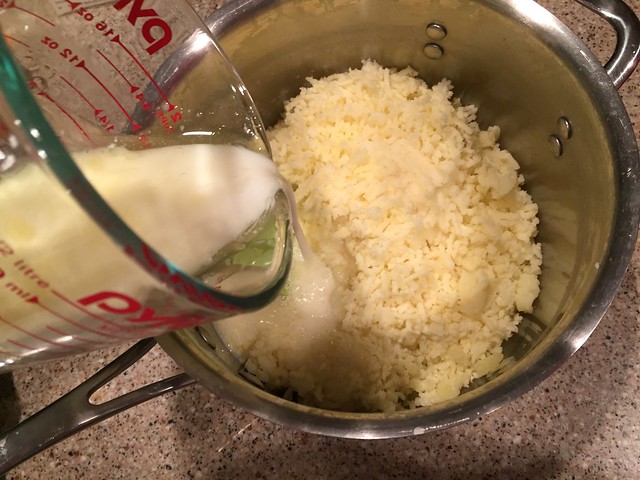
I added a bit more butter, about 1/4 cup of cream, and salt & pepper to taste.
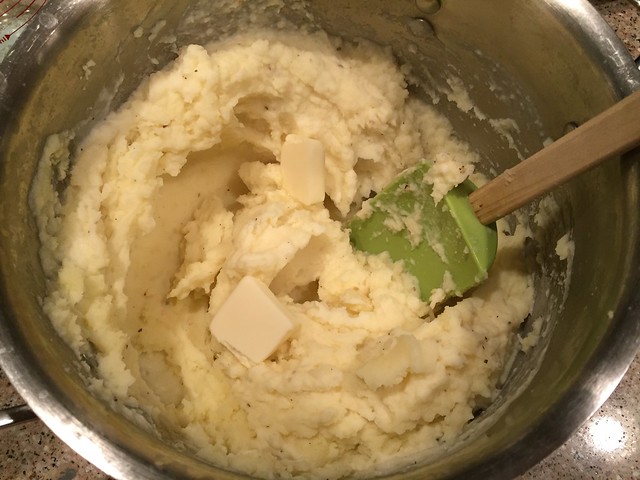
Spoon these into a warm serving dish and dig in. Or, eat them right out of the pot on the stove…not that I would know anyone who would do that.
As shown here, this makes 4-6 servings but what’s more important than the amounts shown here is the technique of using the potato ricer.
Once you learn how to use a potato ricer, my guess is you will never go back to lumpy potatoes again.
I know I’m hooked!





2 Responses
I want a potato ricer now!
Do it!!!! 🙂