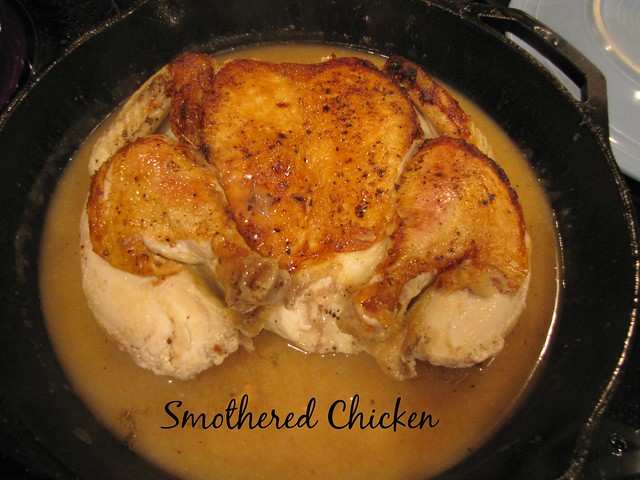
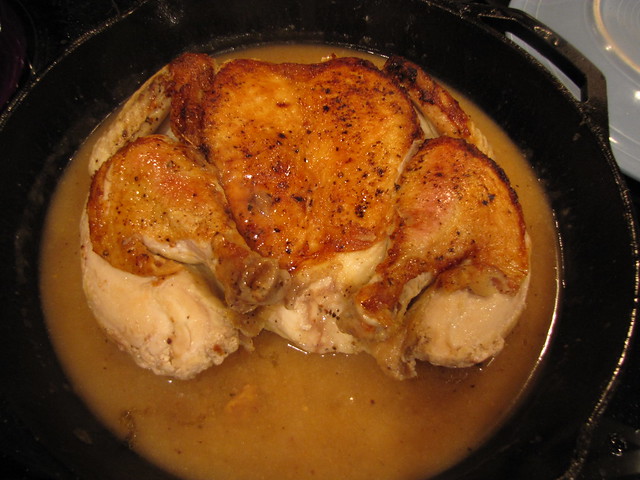
My friends, you are looking at the best chicken I’ve ever made.
Quite possibly the best chicken I’ve ever eaten.
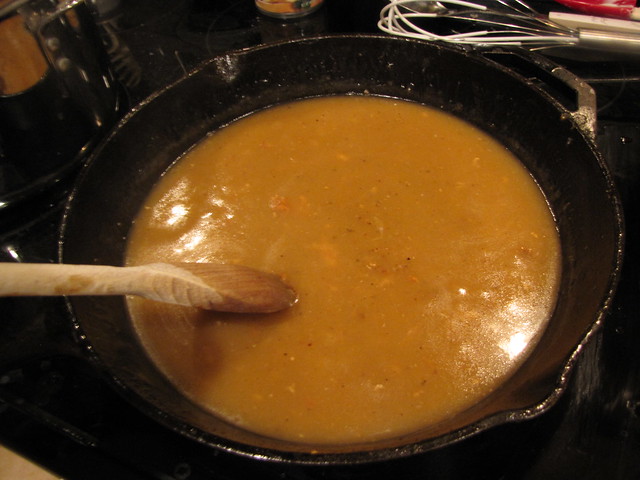
And I’m here to tell you that we now have the recipe for “Awesome Sauce.”
I feel like I can go on and on about this chicken without seeming obnoxious since it is not my recipe. This is Craig Claiborne’s old Southern Smothered Chicken recipe.
For those who may not know, Craig Claiborne was the long-time food editor for the New York Times. If you own (and I highly recommend that you do) one of the classic New York Times Cookbooks, you already know how good, simple, and straight forward Mr. Claiborne’s recipes are.
Well, this is nothing short of a chicken miracle. Here’s how easy it is…this glorious bird is cooked in butter, salt, & pepper. You add flour & chicken broth for the gravy. That’s it.
Your kitchen will smell amazing. You will be the new hero of dinner time.
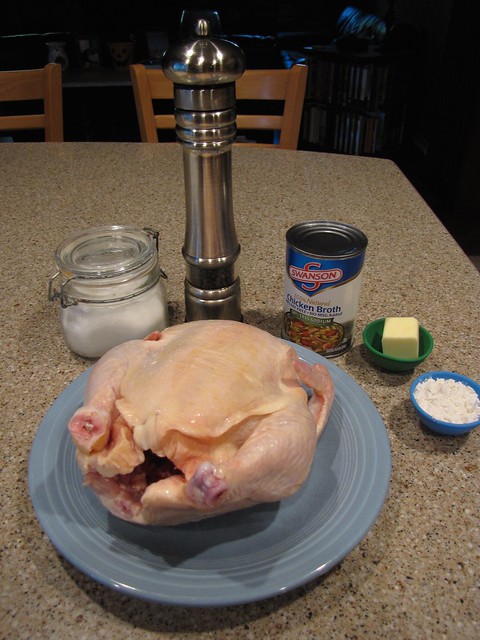
Here’s what you need:
Whole Chicken, Butter, Flour (GF is fine), Chicken Broth, Salt & Pepper.
Click here for a Smothered Chicken Shopping List
Mr. Claiborne recommended a cast iron skillet to properly make this chicken. Since I tend to believe him about most things, I asked for and received a 12-inch cast iron skillet for my birthday.
I’m sure you could make this in another pan so don’t let cast iron stop you from having this chicken. Choose a nice, heavy bottomed pan…not something flimsy. (If you’re the guinea pig, let us know how it works.)
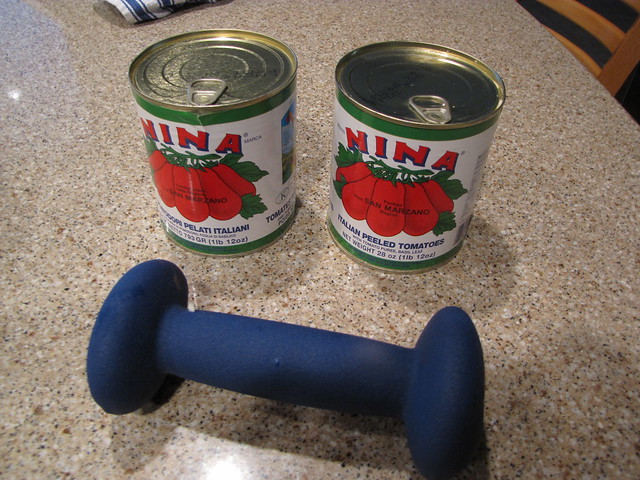
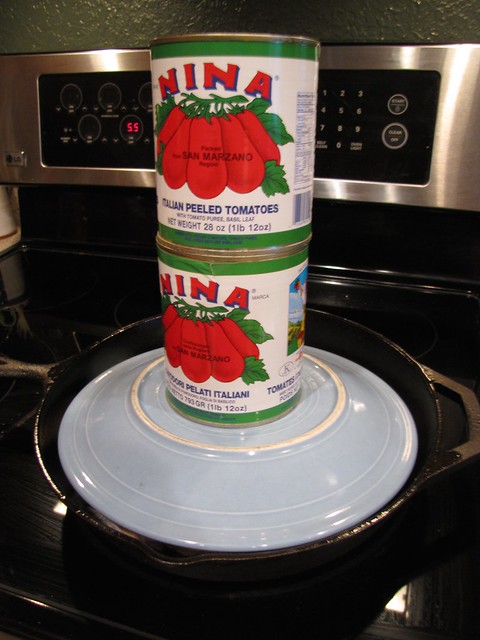
You will also need something heavy to weigh down the chicken. I have a 5 pound dumbbell. You could also use 2 big cans of tomatoes or other veg.
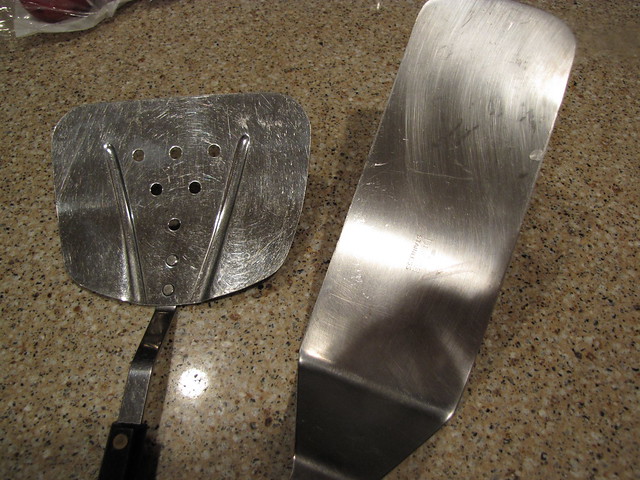
My own additions to the list are a big spatula. HUGE if you can find one. 2 spatulas are even better.
You will also have more success if you have a helper when the time comes to move and turn the chicken.
The second addition we learned about when we first SPATCHCOCKED a chicken – clean gardening shears.
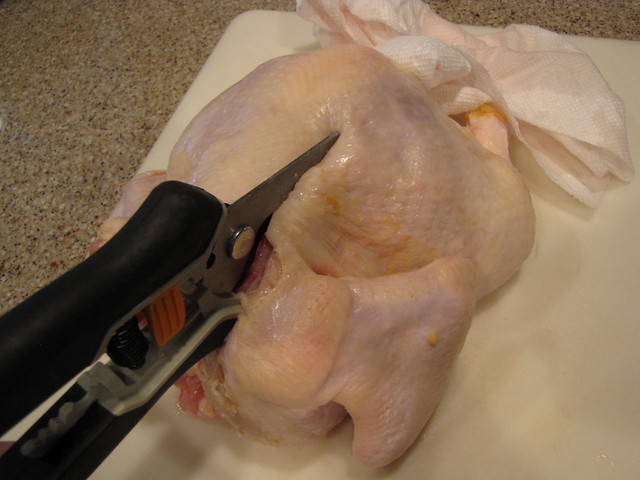
In case you missed it, spatchcocking means removing the back bone of the bird so we can butterfly it or lay it out flat like a book. To remove the backbone, you will need either a large sharp knife, kitchen shears, or my favorite – gardening turned kitchen shears…as in CLEAN for kitchen use only and not straight from the garage.
It’s easy to do – especially with the handy gardening shears…
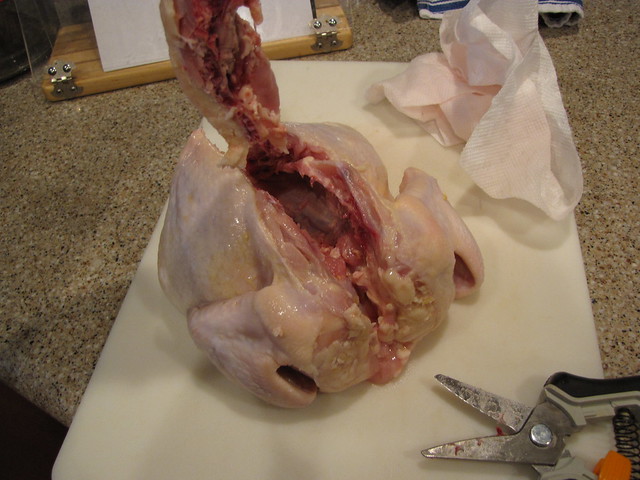
Place your chicken on a board breast side (and legs) down and cut down either side of the back bone.
You can find the backbone by starting at the little stub that used to be the neck. (Sorry vegans.)
Pull out the back bone and if there is a little packet of innards still in your chicken, get rid of that as well.
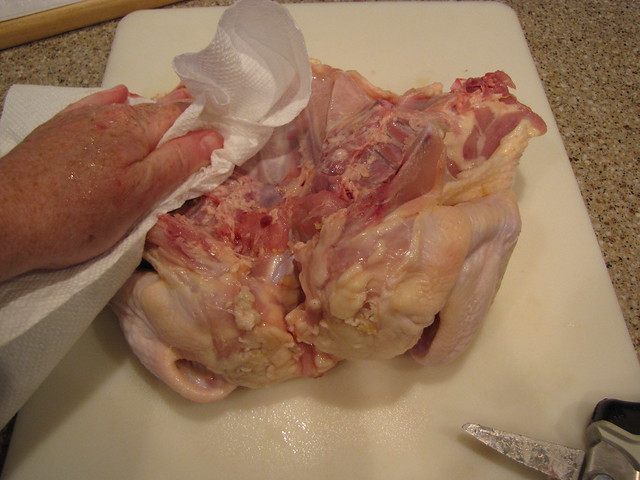
Give the whole chicken a nice pat on both sides to dry it off. A dry chicken is a crispy chicken.
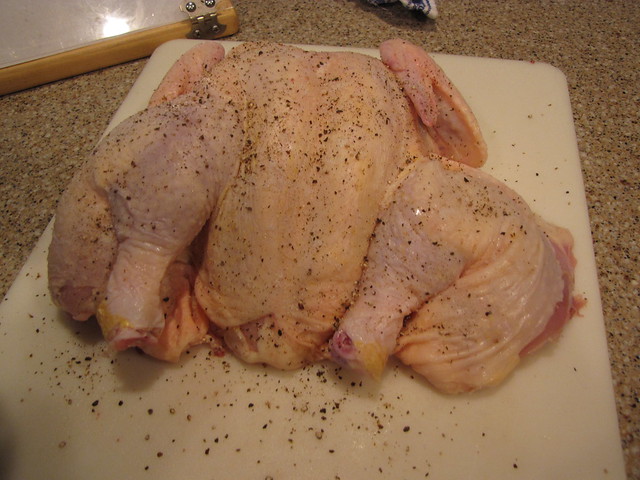
Also, while you are drying the inside, use your palms to gently press on either side of the bird, gently flattening it so it opens like a book.
I have a 4 pound chicken. Buy your chicken by weight rather than title…roaster, fryer, etc. are all just names for sizes of chickens.
In general, I avoid those really huge chickens and try to stick with something in the 3 – 4 1/2 pound range. They tend to be more tender and will cook quicker.
If you’re serving more than 3 people, I would get 2 chickens. (Or you need to be less piggy than we were.)
Turn it over and season it with a little salt & pepper.
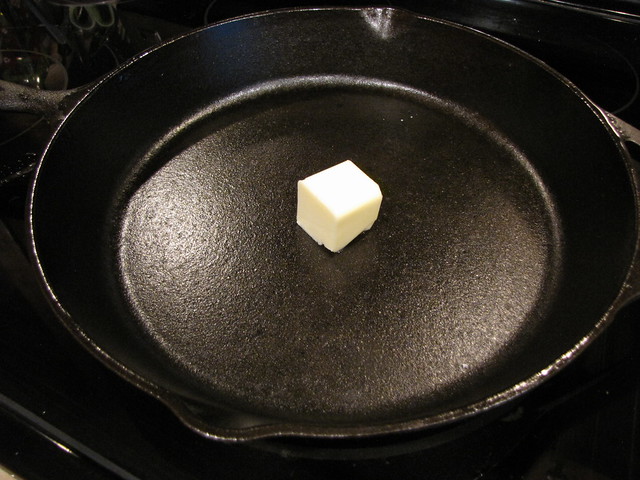
Grab your well seasoned (more on that some other time) skillet and melt 2 Tablespoons of butter over medium heat.
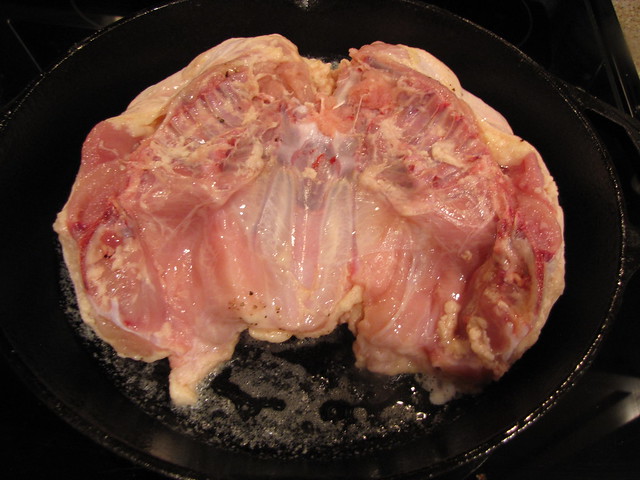
When the butter is foamy (don’t let it brown) place the chicken in the skillet SKIN SIDE DOWN.
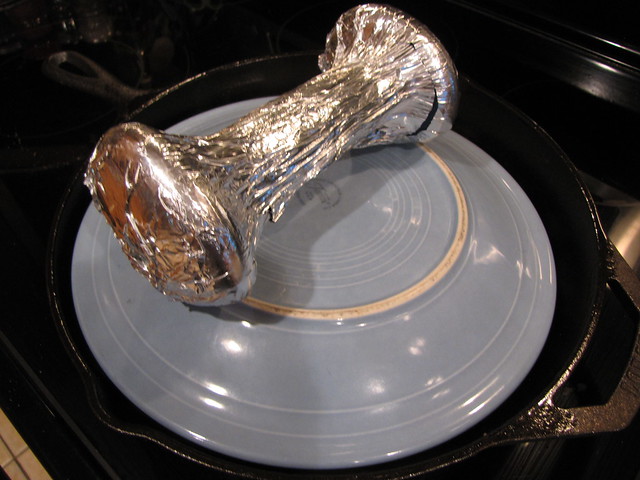
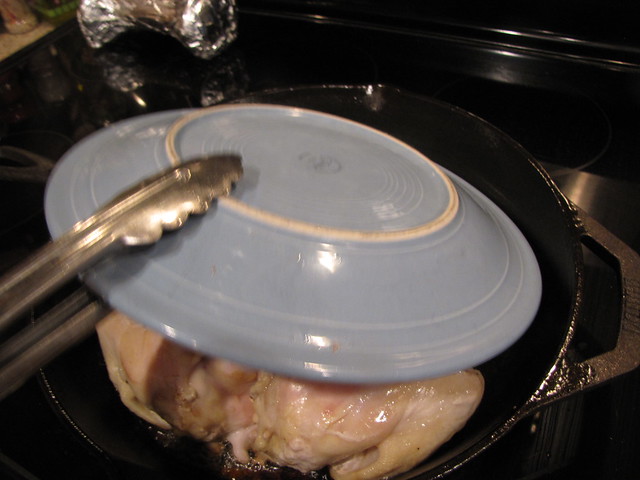
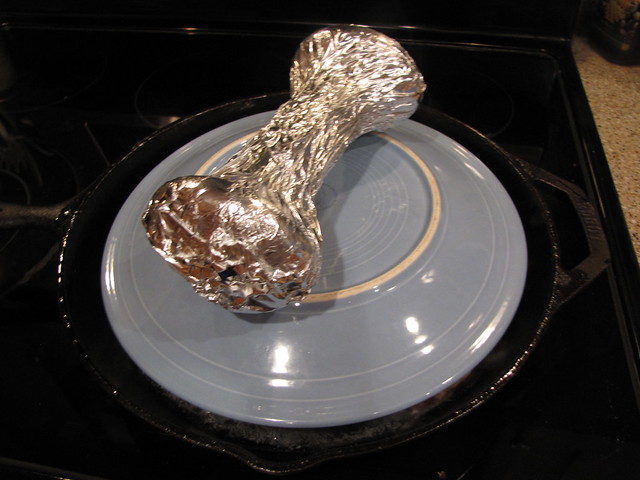
Turn the heat down to LOW and place a plate on top of the chicken and top it with your weight or cans.
Leave it to me to find a good use for the workout equipment that was languishing in the closet.
You don’t have to cover your weight with foil unless you want to for cleanliness. The weight never comes into contact with any of the food but since mine really had been in the closet and the fluffy cat had also been in the closet, I wasn’t taking any chances.
Set a timer for 25 MINUTES and leave the chicken alone.
It needs to cook gently over low heat without being poked or prodded or it will stick.
After 25 minutes, remove your weight and use tongs to remove the plate. (The weight did not get hot but the plate did.)
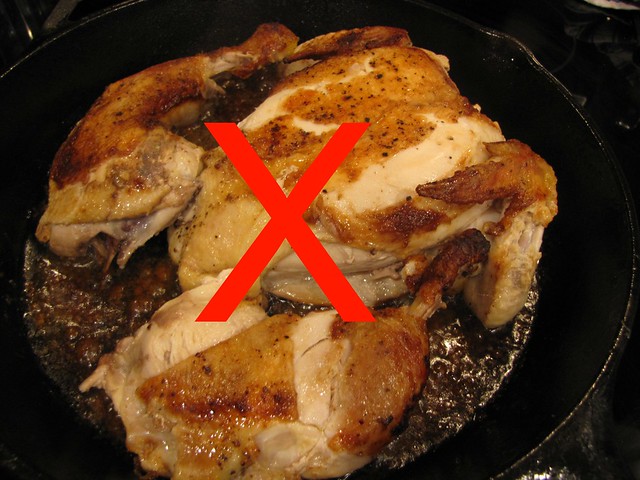
Here is the point where the original recipe was totally lacking. The good old NY Times posted a video showing the preparation of this chicken and said absolutely NOTHING about how to get it in and out of the pan.
So, my first attempt at it, using tongs was a disaster. My beautiful (but still tasty) chicken broke apart and the skin ripped and slid away from the meat.
Not to be deterred, I made this recipe again two nights later (I told you it was good) and worked out a better chicken moving method…
Use one or two big spatulas and slide them under the chicken. Sorry there are no photos of that but I was working alone.
Gently lift the chicken onto a waiting plate. Get the plate as close to the pan as you can so the chicken does not have to travel very far.
IF your chicken seems like the skin is going to stick, let it cook for 3-4 more minutes and try again.
This is the only part of the recipe where you really have to have some courage. Get those spatulas right under there or put one spatula under and one on top to make a chicken lifter.
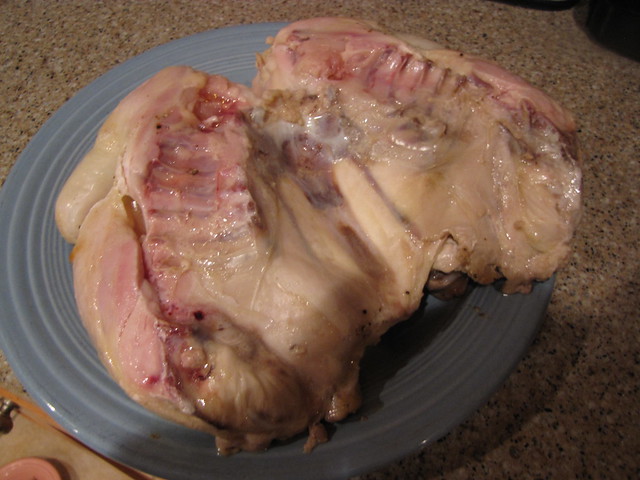
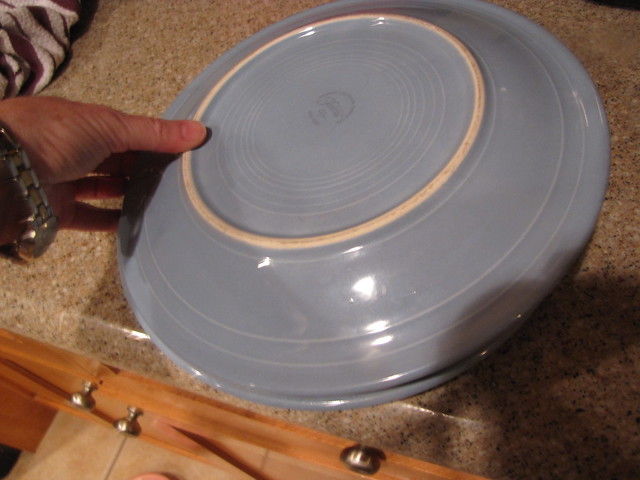
Once it’s on the plate, cover it with a second plate and gently flip it over.
Now your bird is right side up and you can carefully slide it back into the pan.
Cover it with your plate and weight and continue to cook for 15 more minutes.
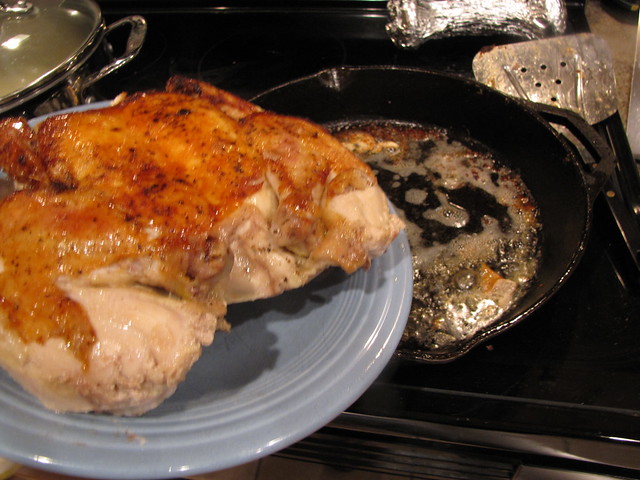
After 15 minutes, use your excellent chicken lifting skills to move it to the plate once again.
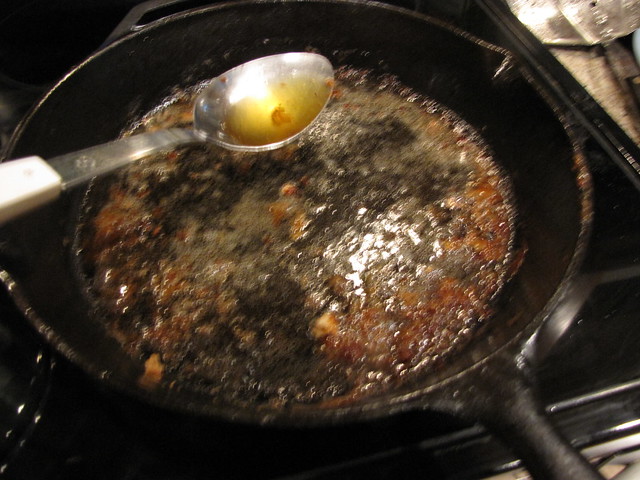
You will have all kinds of delicious buttery, chickeny goodness in the pan. We only need about 2-3 Tablespoons of those pan drippings so spoon off any excess.
I spooned my grease off into a little dish just in case I needed to make more gravy.
Also, unless you love your plumber, don’t put that grease down the sink. Let it cool and put it in the trash or keep a small tin can in the freezer.
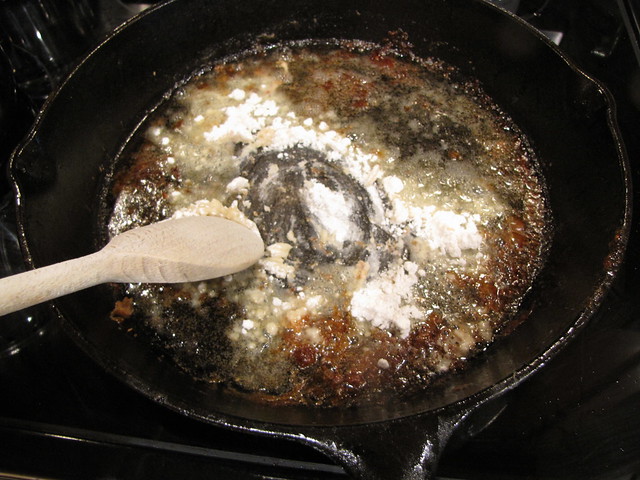
Back to the gravy! Stir in 2 Tablespoons of flour to make a roux. Gluten free flour is fine.
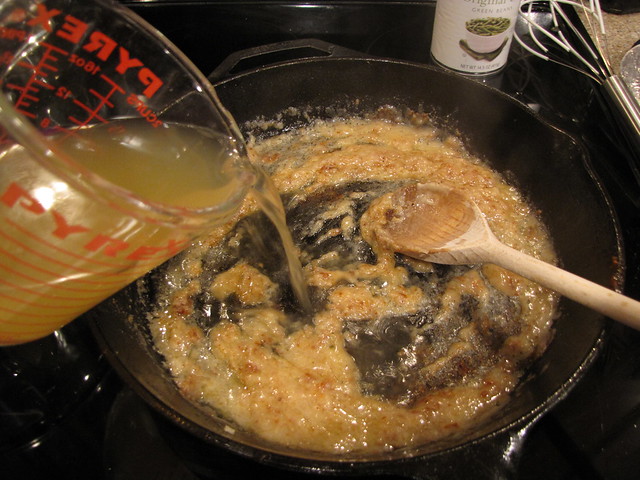
Slowly add 2 cups (or 1 – 15 oz. can) of chicken broth. If you have homemade, great. If not, try to get the low sodium variety so you can be in charge of the saltiness.
Stir or whisk the broth into the flour until you have a smooth, lump free gravy. Be sure you’re getting all those tasty browned bits up from the bottom of the pan!
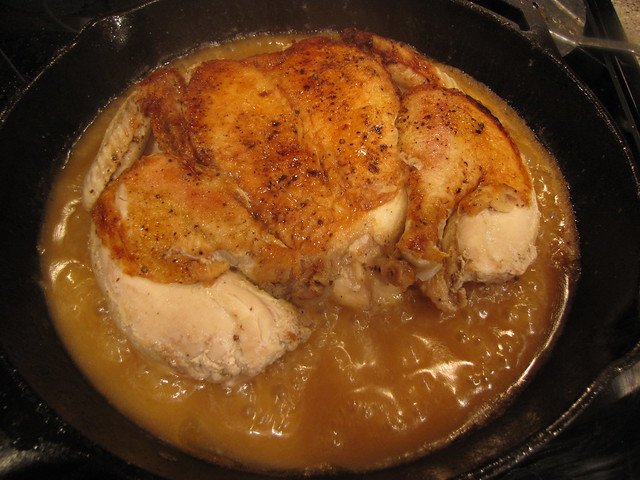
Season the gravy with a little salt & pepper then slide the chicken back into the pan a third and final time.
Be sure your sauce is still simmering gently. Cover it with the plate and weight and cook for 20-25 minutes longer.
When you remove the plate, you have glorious, juicy, tender chicken and the world’s best gravy.
Seriously, you could put this gravy on sticks from the back yard and they would be delicious.
Remove the chicken from the pan and carve it into serving pieces.
Smother those pieces in gravy and serve with mashed potatoes or white rice.
Honestly, I think Smothered Chicken is the World’s Best Chicken.
Here’s the recipe: adapted from Craig Claiborne/NY Times




10 Responses
Oh Claudia….I started to love this, then you threw in the bloody gore again!!!! As much as I like watching The Walking Dead, I just can’t do it in my kitchen!!!!
It’s not as bloody as it looks in an upclose photo. AND my butcher at the Publix said he would cut out the backbone if someone asked him to. So NO REASON not to try this awesome chicken!!!
Plus, it’s not like we’re butchering chickens ourselves. 🙂
This looks fantastic. Good for you (and for us!)for trying it again. Gravy on sticks. LOL!
Happy to take one for the team when gravy is involved!
I’m so glad you recovered your pictures!
Me too! I was freaking out. Not to mention that there were cat pictures missing too!!!!
Great
Thank you so much