Today is Idiot’s Kitchen’s 3rd Birthday so I made you some Key Lime Bars!
Really. These are for you!
Reach right through your computer and help yourself.
I am a huge fan of the whole sweet/tart scenario and my little lime tree is absolutely bursting forth with limes so when I saw this recipe, I knew it was meant to be.
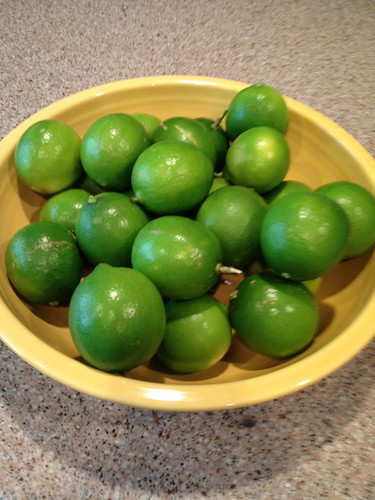
This is just a small harvest from what started out as a little Charlie Brown Christmas lime tree. This was the first tree that we planted about a year after we moved here. I was so excited when we picked the first few limes as they are juicier and “limier” than anything you’ve ever had from a store.
Then, very unexpectedly, half of my lovely little tree up and died. I came out one day and everything was fine. Two days later, half the tree was dead and every single leaf was shriveled and on the ground. It was horrible.
Once I decided that half of the tree was a goner, I cut the dead parts back leaving the saddest, most pathetic looking, little half tree awkwardly listing to one side. Maybe that little tree didn’t need its other dumb half after all, or maybe it just really liked being SEVERELY pruned, because it has come back with a vengeance. We have limes galore and I couldn’t be happier.
Even though this recipe is named for Key Limes, regular old limes (called Persian limes) work just as well and are a lot easier to squeeze.
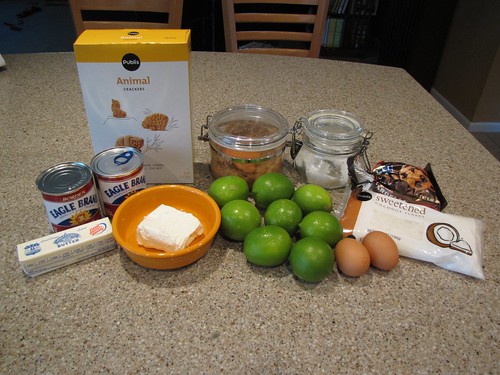
Here’s what you need:
Limes, Animal Crackers, Butter, Sweetened Condensed Milk, Cream Cheese, Eggs, Brown Sugar and Salt. Coconut & Chocolate Chips are optional but MOST HIGHLY recommended.
Aluminum foil & non-stick cooking spray also needed but not pictured.
Click here for a Key Lime Bars Shopping List
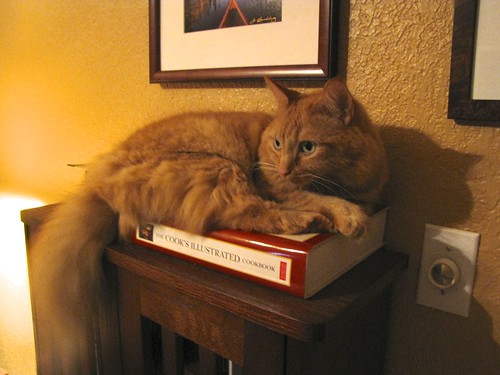
This recipe comes from my new giant Cook’s Illustrated Cookbook which Henry thinks makes a fine cat bed.
Preheat the oven to 325 degrees.
You need 4 ounces of cream cheese at room temperature so plan ahead and get it out of the refrigerator before you start cooking.
Cooks Illustrated is full of helpful hints that you might never think of on your own. Things like lining the pan with foil so the lime bars, which can be quite sticky, lift right out.
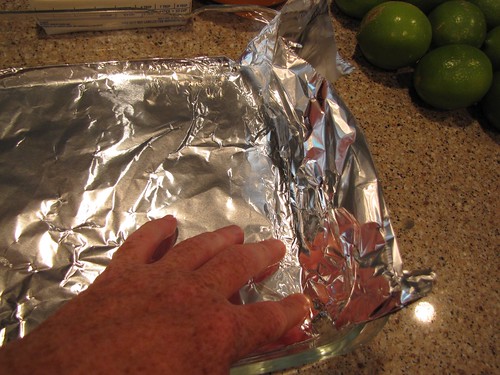
Tear a piece of foil so it is several inches longer than the length of a 9×13 inch baking pan. Fold the sides of the foil under (this doesn’t have to be pretty or precise) so that it lays completely flat, lengthwise in the pan.
Use your fingers to VERY GENTLY press the foil up the ends of the pan. Be careful or you will punch your fingers right through the foil, swear, and have to start again.
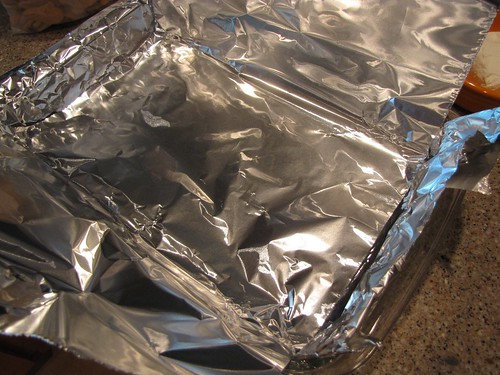
Tear off a second piece of foil and place it across and on top of the first piece so it is going the other direction in the pan. My foil fit perfectly this direction.
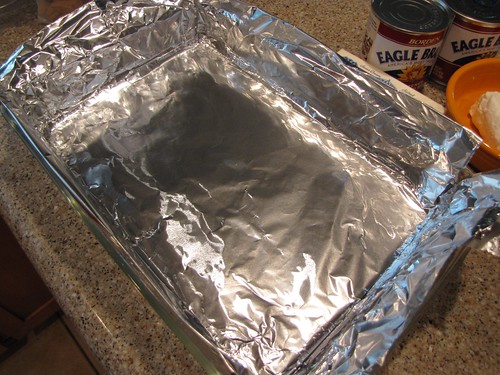
You can fold down the edges a bit so that an inch or two is sticking up all around the pan. This will be your nifty handle to lift the bars out of the pan.
Grease or spray the foil (bottom and sides) with non-stick cooking spray and set the pan aside.
The other interesting thing about this recipe, is that unlike my Lemon Bars, which have a graham cracker crust, these lime bars have a crust made from crushed animal crackers.
This is a genius idea.
The animal crackers are less sweet than the graham crackers and almost make a shortbread style crust. Plus, you’ll have a few extra animal crackers for snacking!
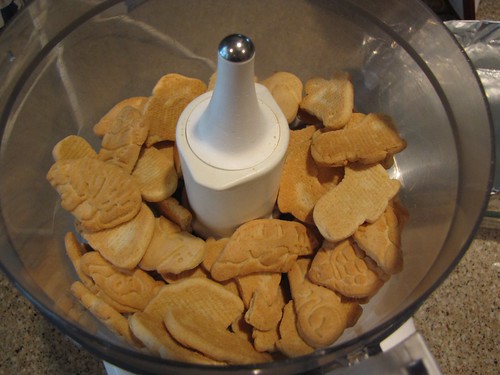
Place 3 cups of animal crackers in a food processor and give them a whirl until you have tiny crumbs.
You might need to pulse it a few times at first to get the animal crackers going around.
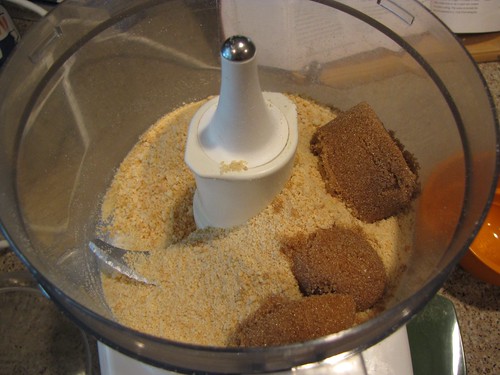
Add ¼ cup + 2 Tablespoons of brown sugar. Pack the sugar lightly so you get an accurate measurement.
Pulse the sugar into the crumbs a few times so that it is well combined.
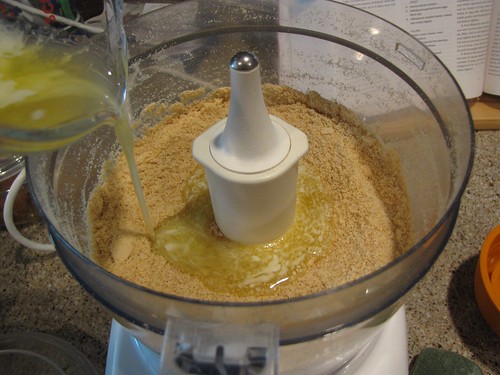
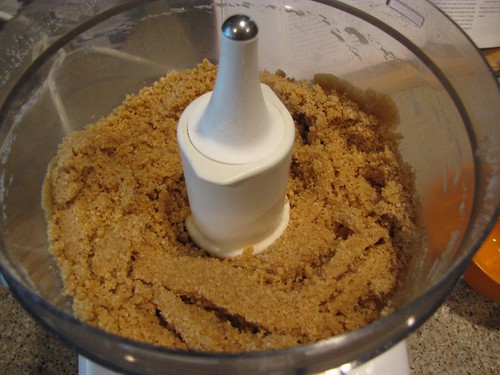
Melt 1 stick (8 Tablespoons) of butter in the microwave and allow it to cool slightly. Pour the butter into the cracker crumbs and process them by pulsing about 10 times.
You want everything combined and the texture of wet sand.
If you don’t have a food processor, you can do all of this by hand. Put the crackers in a ziplock bag and smash them to smithereens with a rolling pin or something heavy. Then just stir in the sugar and melted butter.
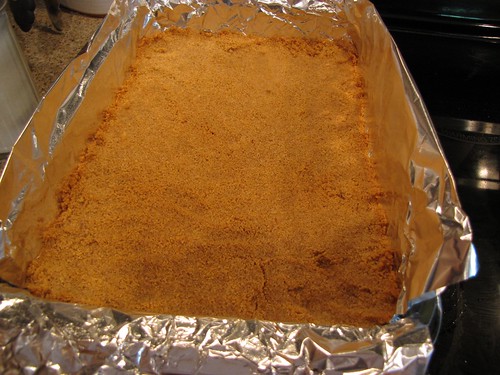
Dump the buttery crumbs into your greased, foil lined pan and very gently press them into an even layer in the bottom of the pan.
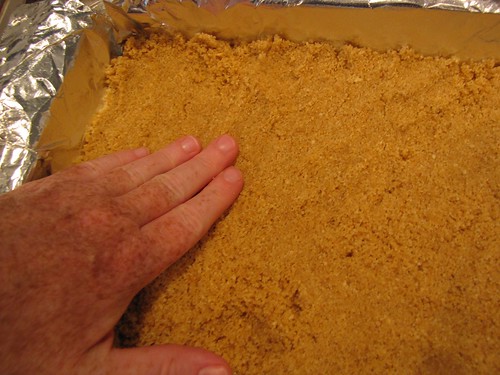
Bake the crust at 325 degrees for 18-20 minutes until golden brown around the edges.
Remove the crust from the oven to cool slightly but do not turn off the oven.
To make the filling, remove the zest from 4 limes using a microplane or grater with very small holes.
4 limes should yield about 2 Tablespoons of zest.
Then squeeze the juice from 8-10 limes so that you have 1 cup of lime juice.
The fact that you need both zest and juice will hopefully keep you from cheating and buying lime juice in a bottle. There is really no substitute for the real thing. Plus, limes are in season right now so they are pretty cheap.
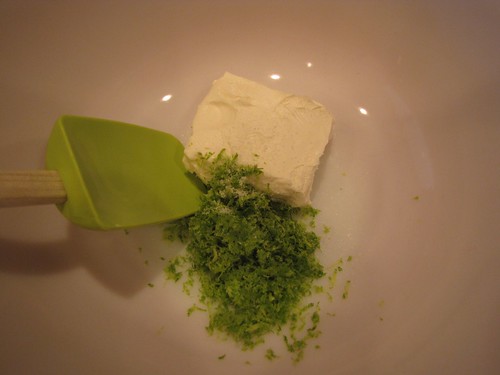
In a large bowl, combine your lime zest with the 4 ounces of cream cheese that you have softened to room temperature.
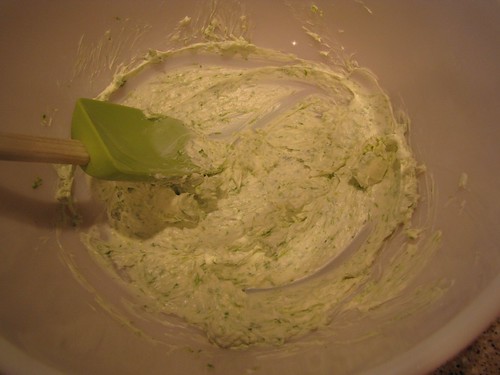
It’s very important for the cream cheese to be nice and soft so that it combines with the zest. Stir them together with a spatula until they are completely smooth and no lumps remain.
Whisk in 2 (14 oz) cans of sweetened condensed milk.
At every step you want to whisk and stir completely so that the batter is smooth and lump free.
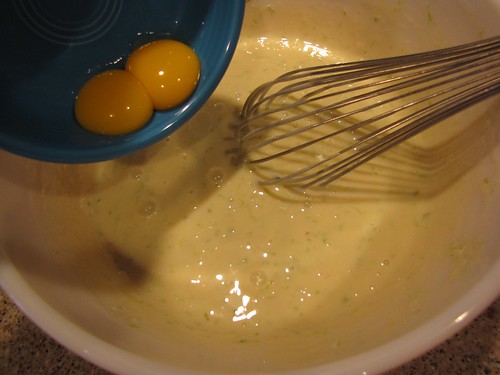
Separate 2 eggs and add the yolks only to the mixture. Save the whites and have a healthy breakfast. Add a pinch of salt and whisk to combine.
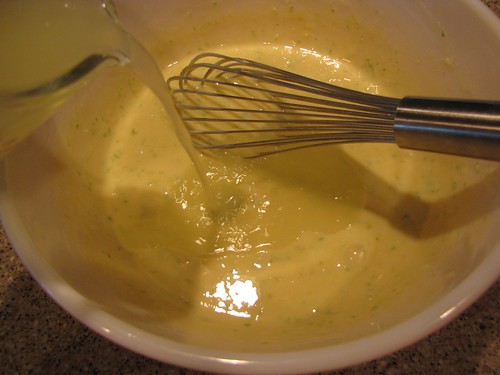
Pour in 1 cup of your fresh lime juice and stir it in slowly. This takes a bit of patience to incorporate the lime juice and not splatter it all over the counter.
It will start out very separated and then suddenly come together and thicken slightly.
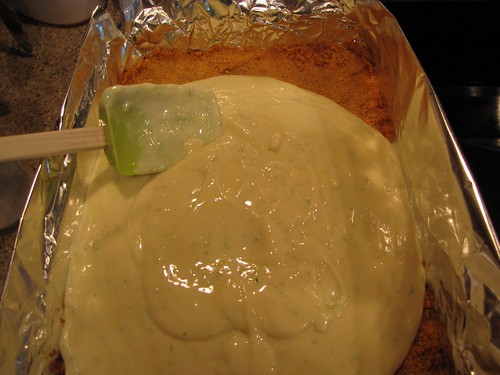
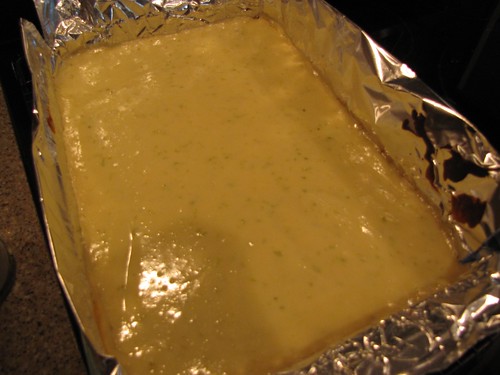
Pour the filling onto the pan and smooth it out over the crust with a spatula.
Bake the lime bars at 325 degrees for 20-24 minutes until set and the edges just start to pull away from the sides of the foil.
You do not want this to brown so rescue it just as the edges start to turn golden.
Now for the hard part…waiting. Cool the lime bars on a wire rack for 1 hour at room temperature. Then cover and refrigerate until thoroughly chilled, at least 2 hours or even overnight.
Then it’s time for the good stuff.
I am not the world’s biggest coconut fan, but let me encourage you to try it as a topping on these bars. The sweetness and crunch of toasted coconut adds a whole other level to the creaminess and tartness of the bars.
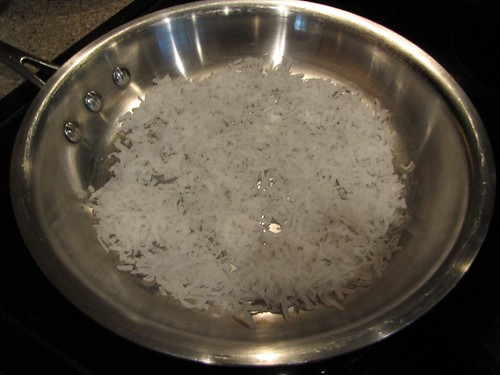
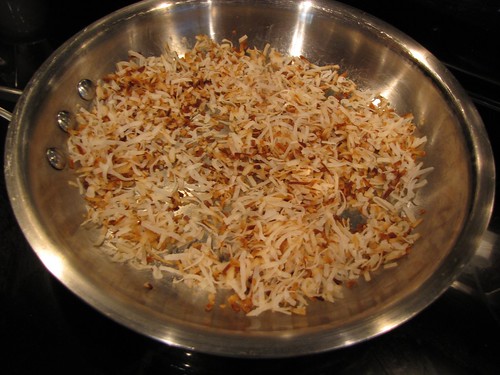
Place ¾ cup of sweetened, shredded coconut in a dry pan over medium heat.
Stir the coconut lightly around the pan until it is toasty and golden brown – about 5 minutes. Be sure that you keep and eye on this and stir or it will stick and burn. (That’s why I don’t toast mine in the oven as recommended in the original recipe.)
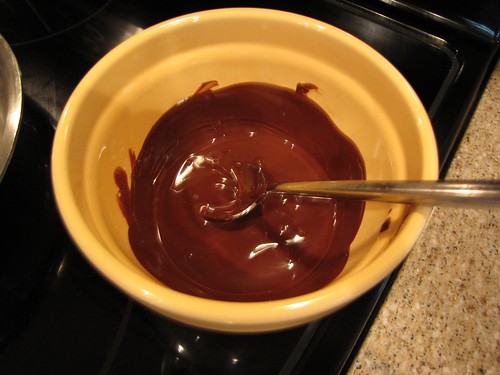
Why stop with just coconut? Melt 1/2 cup of dark chocolate chips in the microwave by melting for 1 minute, then stirring, then melting for 1 more minute, and stirring until you have chocolate thin enough to drizzle.
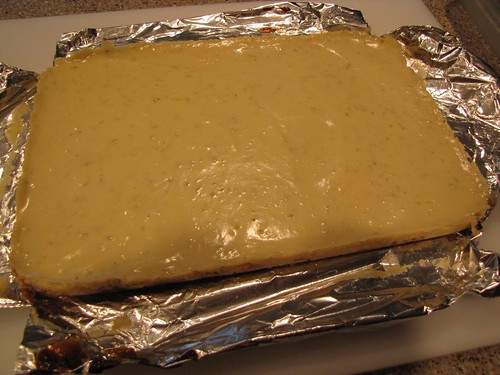
Remove your cold bars from the refrigerator and gently lift them out of the pan using the sides of the aluminum foil as handles. Place them on a large cutting board.
Peel the edges of the foil away from the bars but leave them on top of the foil.
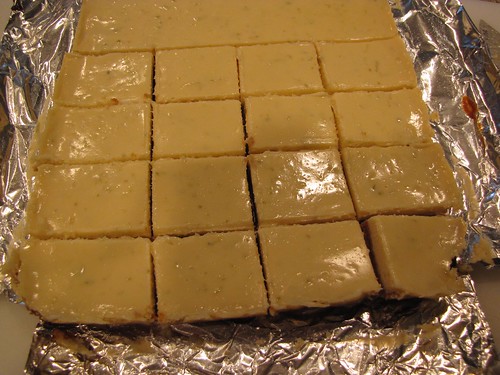
Cut them in half and then cut each half into 16 squares.
I learned the hard way that it is best to cut all of the bars BEFORE you add the coconut or the chocolate. Otherwise they get too sticky and difficult to cut.
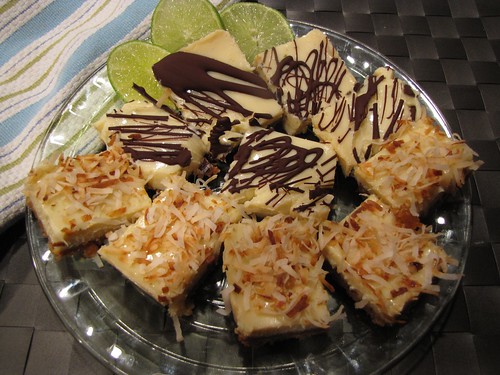
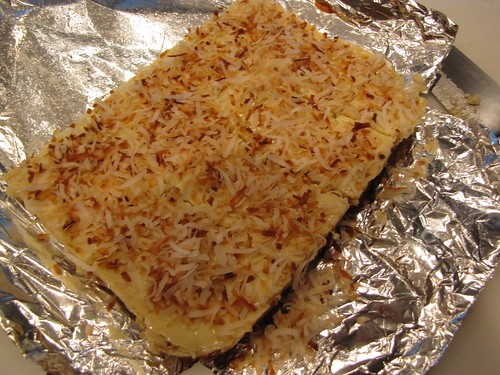
Top half of the bars with the toasted coconut…
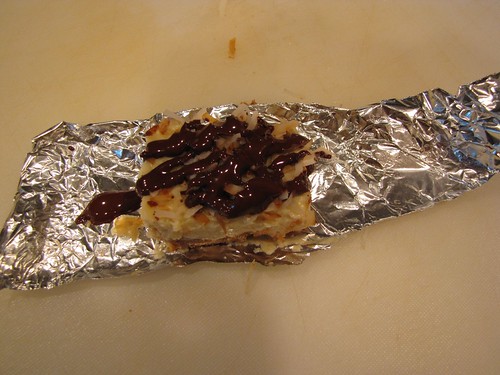
and drizzle half of the bars with chocolate!
In the name of science, I decided that someone should try at least one bar with BOTH coconut and chocolate.
It was extremely messy but ridiculously good.
Put the bars back in the refrigerator for at least 10 minutes for the topping to set up.
These are best served cold.
And…because there are 2 toppings, you are allowed to try at least one of each!
If you can stop at only 2, you have much more self control than me.
A huge thank you to everyone for three wonderful, food filled years here at Idiot’s Kitchen. Special thanks to my friends and family who have cheerfully and willingly handed over their recipes.
Only true friends would actually request MORE cat pictures on a cooking website (which just happened on Facebook when I asked what improvements we should make).
Thank you! xoxo
Here’s the recipe: Adapted from The Cook’s Illustrated Cookbook







10 Responses
wow- just wow.
I would not think of either coconut or chocolate with lime.
The coconut was in the original recipe but the chocolate was my idea. There is a key lime dark chocolate truffle at Godiva chocolate that always seems to make its way into my shopping bag…
Congratulations on three years of Idiot’s Kitchen.
I will make them sans toppings are there are coconut and chocolate allergies in the house. Have you tried sweetened sour cream? It adds a different flavor which is quite tasty!
Sour cream would be good. I think you could also go very simple with a dusting of powdered sugar. That’s how I top off my lemon bars.
Happy blogiversary! These key lime bars look great! I really do want to reach through my screen and grab one.
Damn, that Henry is one sexy looking kitty! LOL. {more cats pa-lease}
These do look awesome. I’m not a HUGE fan of key lime desserts, but Jeff and his Dad adore them. If I were a better wife and daughter in law, I might make these. *might*
We have a key lime tree that took a beating from a nasty frost a few years ago. I’m told that only key limes can be cut back and regrown after a near death. {something about grafting?}
I have to say, ours has grown back, but has not produced anything. Not even one little lime for a Sunday afternoon corona.
I am drooling.
I think I’ve said it before, but will you please adopt me?
Sending virtual scratches under the chin to handsome Henry. 🙂
Henry and I thank you. He is a handsome boy.
I was making “margarita bars” for Cinco de Mayo. They use a crushed pretzel base. They came out OK, but not great. I remembered Cook’s Illustrated had a lime bar recipe and considered if this recipe with crushed pretzels instead of cookies might work. It will be something I’ll try another time. My point in this post is to tell you that I have your cat twin. Their faces/eye colors are a tad different, but my Manny is all fur and tail and love and “helping” in the kitchen. Cheers to you, Henry and your other feline friends for your beautiful blog from Manny and Kristi.
Hi Kristi & Manny! I think we might need to have a fluffy orange cat convention as I also know someone in Texas with a fluffy orange dude named Edward who looks exactly like Henry too! Thanks for your nice message. I think pretzel crust is a GREAT idea! You’d get that whole sweet and salty thing going on. Keep me posted if you make it. In the meantime, the cookie crust is really good too and not as sweet as you might expect.