I missed Pi/Pie day on March 14.
I missed Ravioli day and Chocolate Caramel day on Tuesday.
At least a few weeks ago I made it (totally by accident) on time for Chili Day.
Good thing in my world you don’t need a special day to eat pie. Any day with pie in it automatically becomes special. A day with Banana Cream Pie? Fantastic!
I’d never made a banana cream pie before but it has long been one of my favorites. I got the Norske Nook Cookbook for Christmas and that was all the encouragement I needed to whip up a pie.
For you non-midwesterners, the Norske Nook is a gem of a restaurant in Osseo, Wisconsin. If you are driving between Minneapolis and Chicago and you don’t stop at the Norske Nook, there is something seriously wrong with you. Aside from great, Scandinavian influenced home cooking, the Nook is all about pies. If meringue is your thing, get thee to Osseo at once! You’ve never seen taller or lighter meringue in your life.
Since I am far away from Wisconsin, I relied on the official recipe to guide me through.
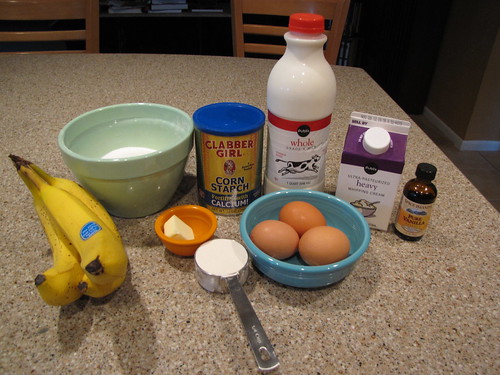
Here’s what you need:
One Baked Pie Crust*, Bananas, Sugar, Flour, Cornstarch, Eggs, Milk, Butter, and Vanilla. (Plus whipped cream for topping.)
Click here for a Banana Cream Pie Shopping List
*For the crust you have a couple of options: Make (or buy) a Graham Cracker Crust OR Make (or buy) a Pre-baked Pie Crust. I know that many people are skittish about making homemade crust so if that is standing in the way of you making banana cream pie, go ahead and buy a store bought crust. However, once you’ve made a crust at home, you’ll realize that it’s not that hard, and most importantly, it doesn’t have to be perfect.
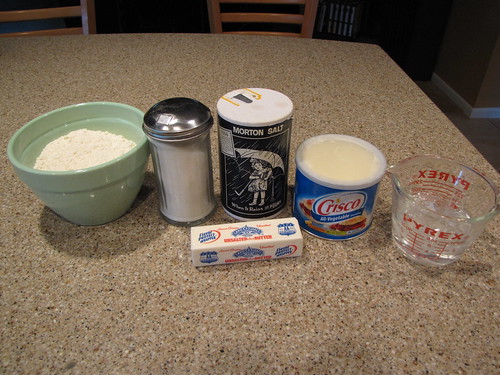
Here’s what you need for pie crust:
Flour, Sugar, Salt, Butter, Shortening, and Ice Water.
Click here for a Good Basic Pie Crust Shopping List
If this all seems familiar, it’s because this is the same crust I used to make Pumpkin Pie at Thanksgiving. The only difference is that because of the creamy custard filling, we will pre-bake this pie crust.
Pie crust is much easier if you have a food processor. It makes things go much quicker but you can always make pie crust using a pastry blender, 2 forks, or even your fingers.
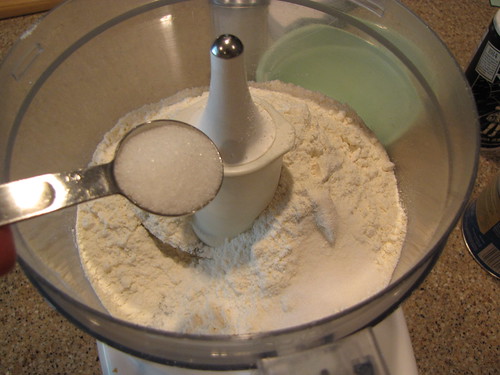
Place 2 1/2 cups of flour into the bowl of a food processor. Add 1 teaspoon of salt and 1 teaspoon of sugar and pulse to combine.
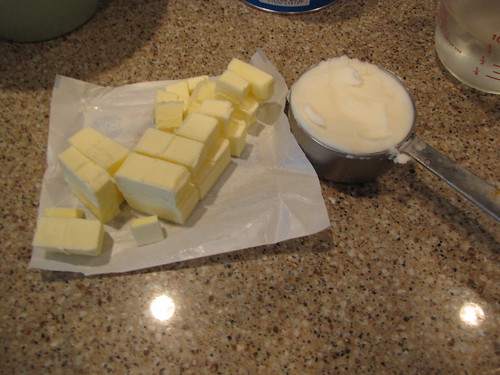
For pie crust to be flaky, you need super cold butter and shortening. I measure out my shortening and then put it in the fridge for at least 20 minutes to chill. I like the butter/shortening combo because you get all the flavor of the butter but the addition of the shortening makes the crust a bit easier to handle and roll out.
Cut 1 stick (1/2 cup)butter into small pieces and add it and 1/2 cup of cold shortening to the food processor. Using the pulse feature, pulse the processor about 10 times to break the butter up into small pieces.
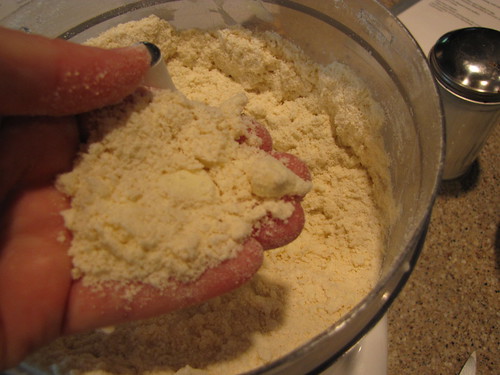
You can see small pea sized lumps of butter which is perfect for pie crust. You want little clumps of butter that will melt and explode in the crust as it is baking. If you over mix and pulverize the butter, you will have tough crust.
With pie crust, the less you work and mess with the crust, the better.
The other secret to good crust is to use super cold ice water. I like to fill a measuring cup with ice and water and let it chill. Then when I’m ready to make the crust, I take out the cubes and measure out 1/2 cup of cold water.
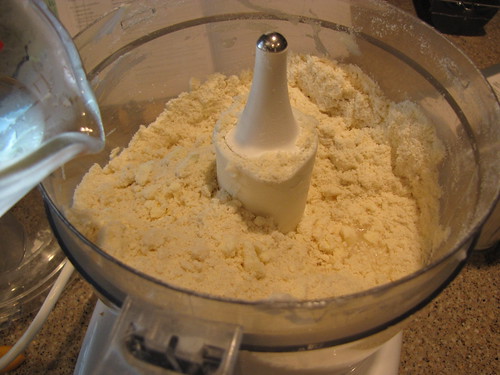
Add half or 1/4 cup of the ice water to the dough mixture.
Pulse or mix the dough together about 6-8 more pulses or until the dough begins to hold together.
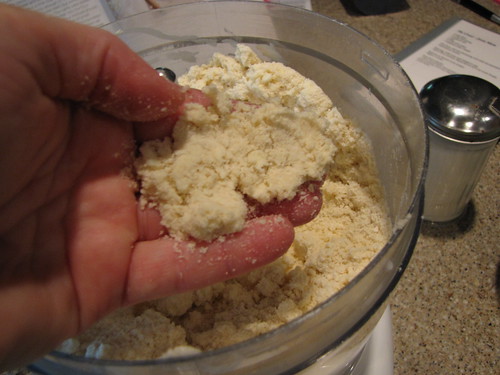
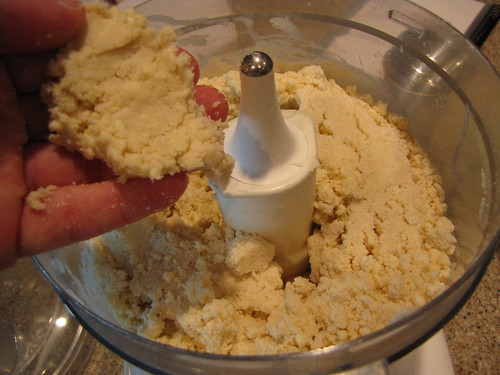
Test with your fingers…if it is more crumbly and dry as seen here, add more water 1 Tablespoon at a time and continue to pulse to combine. In total, I used 1/4 cup water + 2 Tablespoons more water.
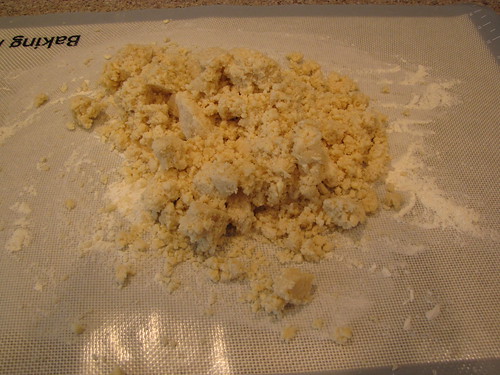
As you can see, after adding just 2 more Tablespoons of water, my crust is holding together nicely when I squish it with my fingers. This should still be quite crumbly. This is NOT dough you want to come together in a ball.
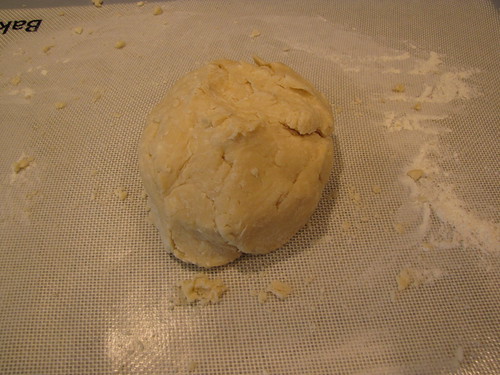
Dump your crumbly pie crust dough out onto a lightly floured work surface and use your hands to gather it up into a ball. Don’t knead it like bread, just press all the crumbs together.
This makes enough for 2 single pies (bottom crust only) or 1 double pie (top and bottom) crusts.
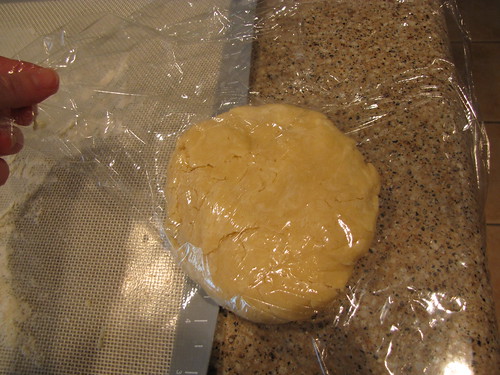
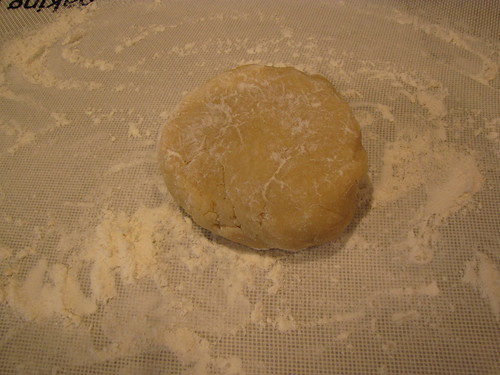
Divide the dough ball in half and gently flatten each half into a round, thick disc. Cover in plastic wrap and refrigerate for about 20 minutes to get a good chill.
You can make this ahead and refrigerate it longer (even a couple of days) or also put the wrapped discs in a zipper bag and freeze them for a few months.
When you’re ready to make the crust, preheat the oven to 425 degrees.
Because this is a custard pie we have to pre-bake, or blind bake the crust so that it doesn’t become soggy.
Take the dough out of the refrigerator and place it on a lightly floured work surface. Sprinkle a little flour on top of the dough and then turn it over to flour the other side.
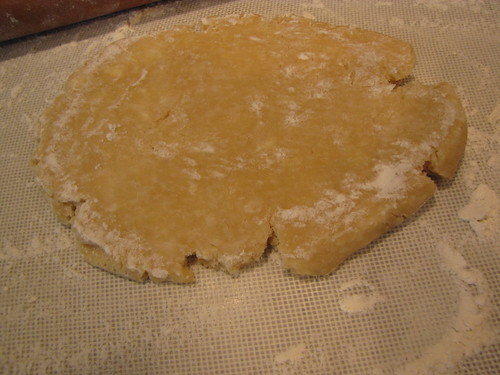
If your dough is really cold, let it warm up just a bit to keep it from tearing. As you can see in the photo below, when I started to roll out my dough, big cracks started happening at the edges. If this happens, just let the dough rest about 5 more minutes to warm up, reshape it back into a disc with your fingers and try again.
A couple of hints about rolling out crust:
#1 – be sure you have a nice light coating of flour on the counter or work surface, on the dough, and on the rolling pin.
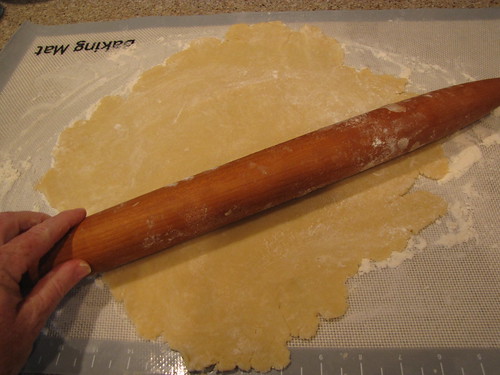
#2 – don’t roll back and forth…start in the middle of the crust and roll in one direction OUT toward the edges.
#3 – don’t be afraid to pick the crust up, move it around on the board, turn it over, etc. That will ensure that your crust doesn’t stick.
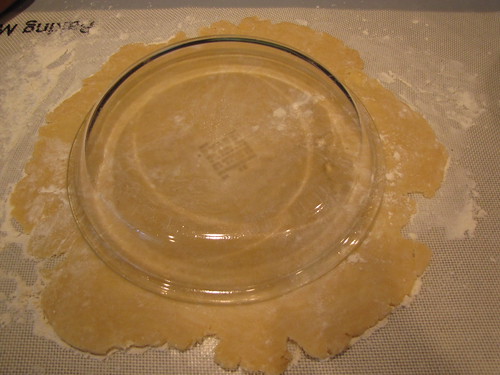
Roll the crust out, trying to keep it in somewhat of a circular shape, so that it measures 2-3 inches bigger than your pie pan.
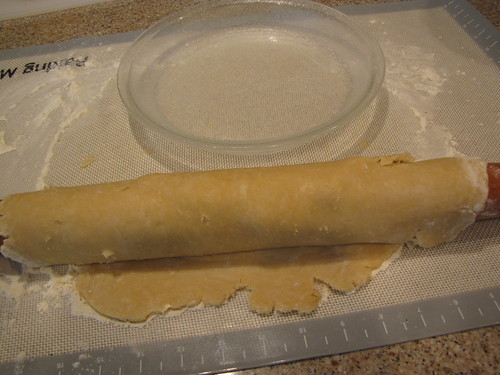
To move the crust from the board to the pan, roll it up loosely on your rolling pin and then transfer it over and unroll it on your pie plate.
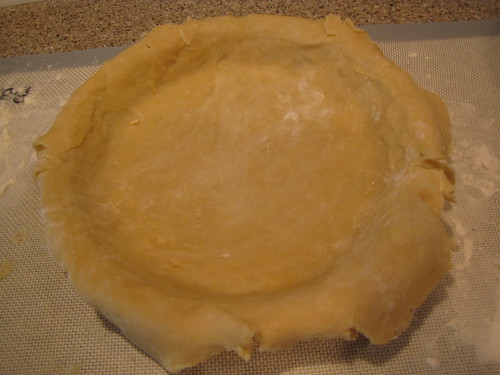
Gently coax the dough down into the bottom of the dish and up the edges. No need to press it firmly in there…just allow the dough to settle. Repair any small cracks or holes in the dough. Remind yourself that this is the BOTTOM of the pie and the part that no one will see or care about.
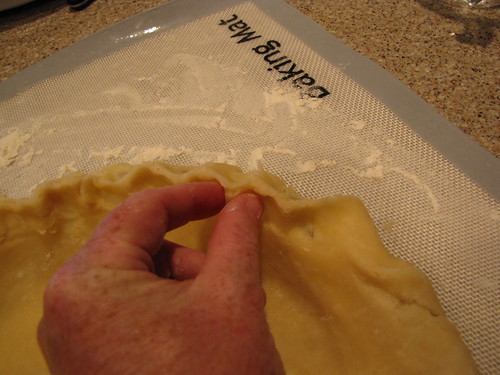
For the edge of the pie you have a couple of options. You can do the finger pinch raised edge method by using two fingers to pinch the dough together and one finger on the opposite side to push the dough upward.
Sorry I don’t have a good pinching technique photo…I only have 2 hands and my kitchen assistants of the day do not have opposable thumbs.
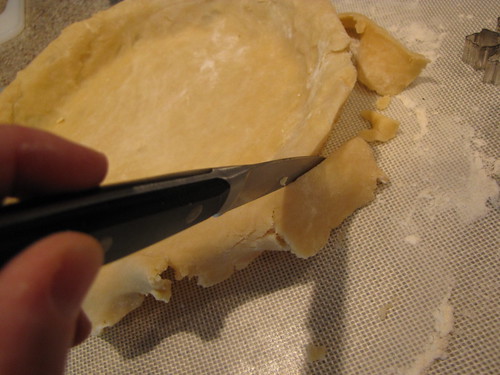
OR if the pinching method isn’t your style, you can go plain and simple and trim around the edge with a sharp knife making a clean cut. Some people like to crimp this edge with a fork.
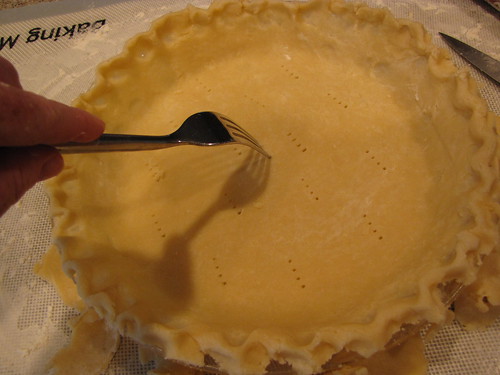
Prick the bottom of the crust with a fork so that it doesn’t bubble up while baking.
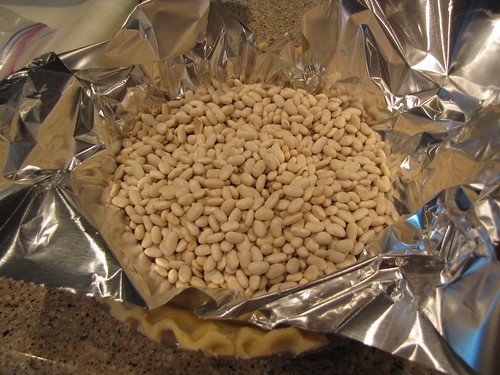
In addition to the fork holes, you will want to weigh down the crust with some dried beans to keep it nice and flat. They make things called pie weights for this purpose but beans work just as well.
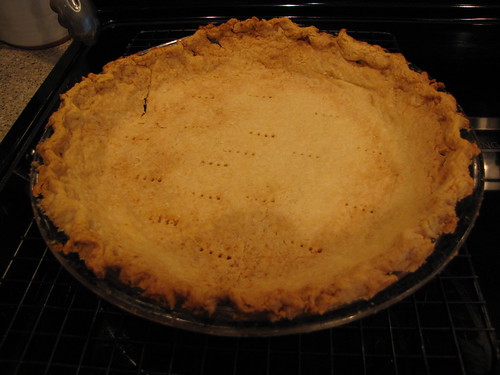
Bake the pie crust at 425 degrees for 15 minutes. Then take the beans or weights out of the pie, return it to the oven, REDUCE THE HEAT TO 375, and continue to bake the crust until it is golden brown – about 10 minutes more. Keep an eye on the crust so that it doesn’t become too brown.
425 seems like a pretty high temperature for a pie crust but by starting out with a very hot oven, the crust will release steam and be crisp and flaky.
Remove the golden crust from the oven and place it on a rack until completely cool.
I would like to point out that my crust is far from perfect. I have friends who make gorgeous, perfectly crimped pie crusts. I aspire to as well, but in the meantime, let’s remember that we are going to fill this with good things. You won’t be able to see, or care about, any little bumps or tears in the crust once they are under a layer of bananas and custard.
When your crust has cooled, make the custard for the banana cream filling. Basically, you are going to make homemade vanilla pudding.
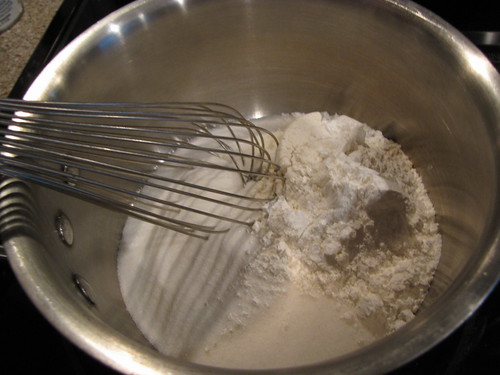
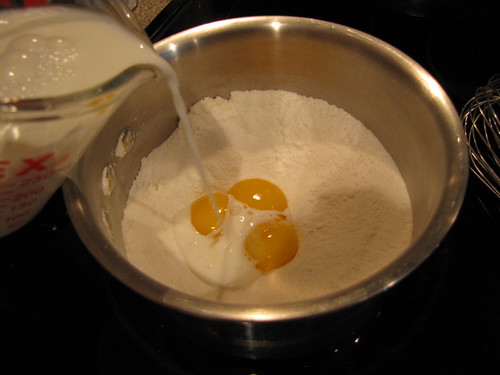
In a large sauce pan off the heat, combine 1½ cups sugar, ¼ cup flour and 3 Tablespoons cornstarch. Stir to combine with a whisk.
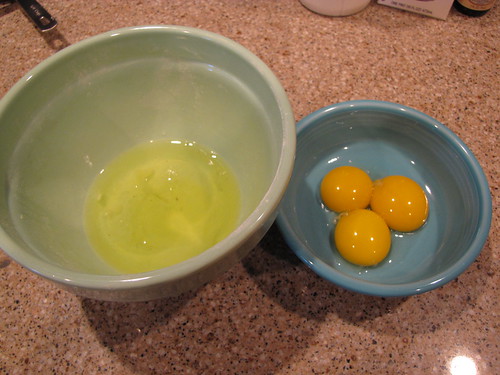
Separate 3 eggs and reserve the yolks. (You can save the whites and add them to scrambled eggs.)
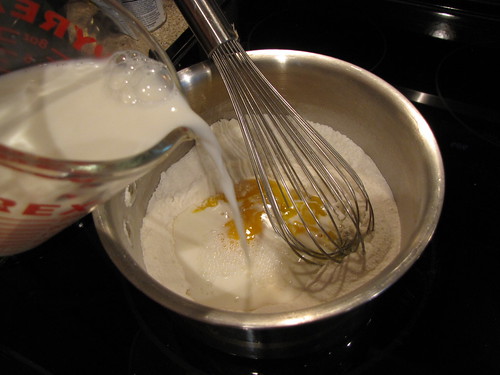
Add 3 egg yolks to the flour mixture but do not stir yet. Gradually add 3 cups of milk (whole milk for custard please)
and whisk to combine all of the ingredients.
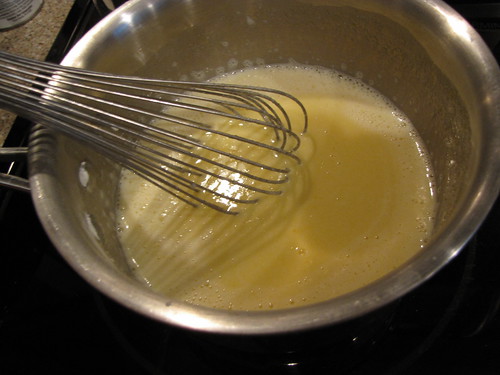
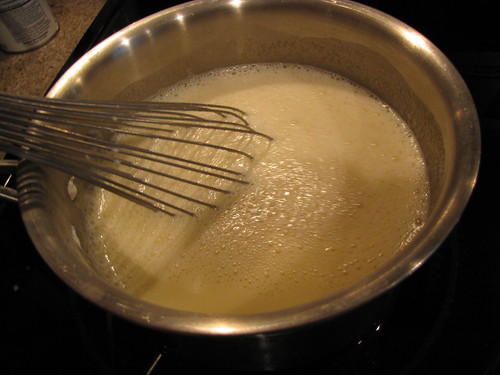
Once the dry and wet ingredients have been whisked smooth, place the pot over medium heat and cook until thick.
At first the mixture will look quite frothy. Bring it slowly up to a very gentle simmer. Stir constantly so that it does not stick. Don’t just crank up the heat or the custard will scorch and burn.
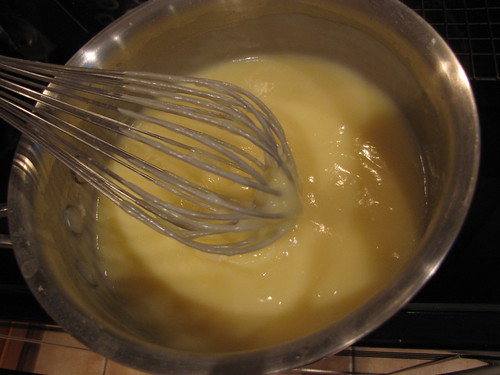
You will stir for a few minutes while nothing really happens and then all of a sudden, the custard reaches the right temperature and it magically thickens to look like pudding.
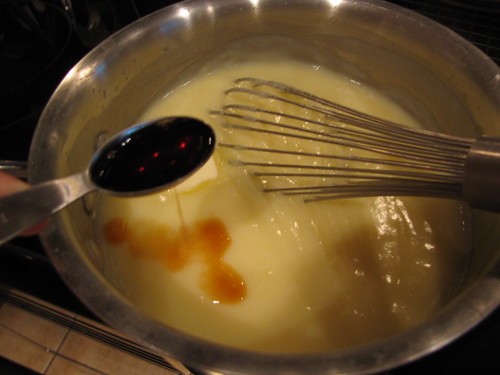
Remove the pan from the heat and stir in 1 Tablespoon of butter and 1 teaspoon of good vanilla.
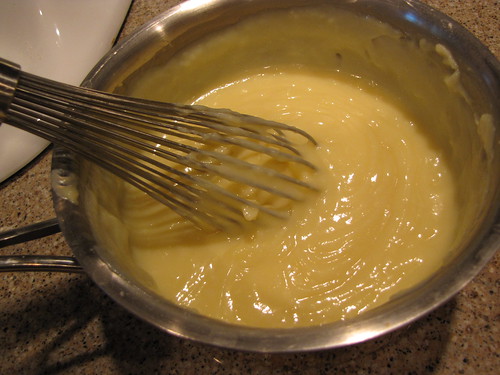
Whisk until the custard is very smooth. Cool the custard a bit until it is luke warm.
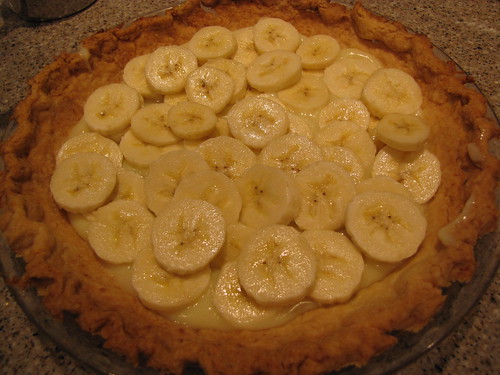
When the pie crust has cooled and the custard is no longer piping hot, you are ready to put the pie together. Spread a thin layer of custard in the bottom of pie crust and fill the crust with 3 ripe, thinly sliced bananas.
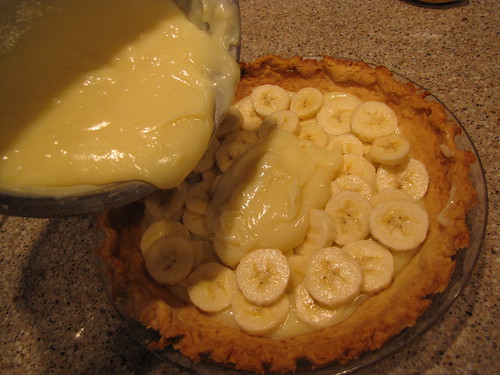
Pour the remaining custard over the bananas being sure to cover them completely. If the bananas are peeking out, the air will turn them dark.
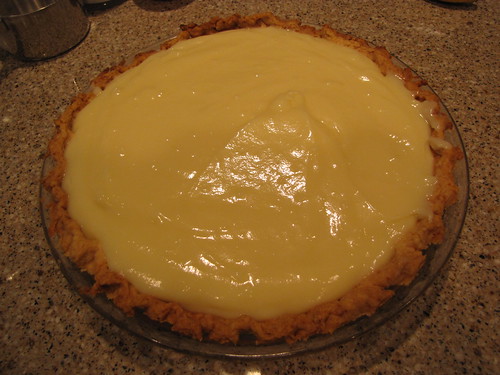
Smooth the top of the pie with a spatula. Refrigerate the pie until cold throughout. If you have made this more than a couple of hours in advance, you can cover the top of the pie with a piece of plastic wrap laid directly on the custard so that a “skin” doesn’t form on the top of the pie. When you remove the plastic, use a knife or spatula to smooth out any imperfections.
This pie is almost perfect but needs whipped cream. I may not be a snob about pie crusts but I reserve the right to be snobbish about real whipped cream. Whipped topping in a tub just won’t cut it. Your pie deserves better and real whipped cream is easy to make.
Pour 1 cup of heavy whipping cream into a bowl. I like to use a bowl with high sides to keep the cream from splattering all over the kitchen while it whips. You’ll get some splatter, but you can also cover up with a kitchen towel to try to keep it under control.
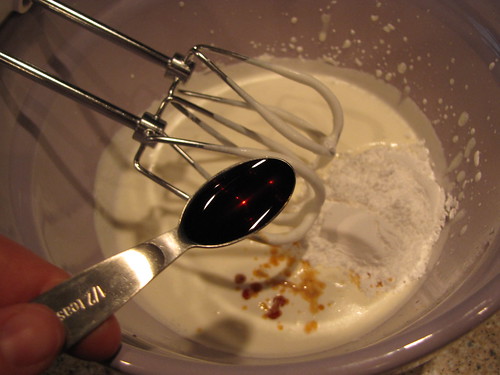
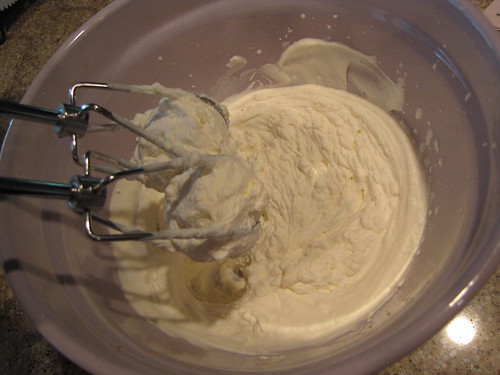
Whip the cream on high speed until it just starts to thicken then add 1/4 cup powdered sugar and 1 teaspoon vanilla. I like to use powdered sugar because it dissolves in the cream better but regular old granulated sugar will also work just fine.
Beat the cream on high until thick.
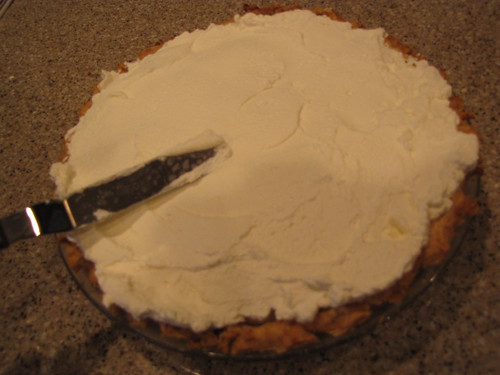
Spread the whipped cream on top of the pie just before serving.
Cut yourself a nice big piece and dig in!
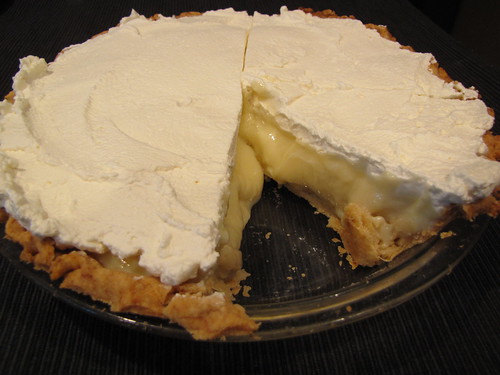
Even though I’ve missed a few days of food celebration, I think this pie is just in time for spring!
Here’s the recipe:





7 Responses
Great minds and all that! I just bought the makings for banana cream &/or banoffee pie. I’m so happy that you refuse to use ‘whipped topping’ I use heavy, pasteurized, but not ultra, cream which is available on one local market.
I missed pie day too, better late than never!
Oh, I could eat that!
I have coffee!
PS- great step by step on making a pie crust. Once learned this is a lesson that will make a big difference in a cooks life.
oh YUMMMM!
This looks perfectly regressive ! Back to childhood !!
I lucked out on Pi day, made 3 pumpkin pies the night before… without thinking about it.
I have 2 browning bananas on the counter which will become bread tomorrow. Can I just come to your house and trade a slice of banana bread for a slice of banana cream pie?
OMG!!!! This looks awesome….you are the queen of food holidays!
XO