Vegetarians — look away. Today we’re getting up close and personal — very personal, with the chicken.
Mmmmmm…..roasty, herby and delicious chicken.
Roast chicken is one of the easiest dinners to make. Everything (except the gravy) cooks in one pan in the oven.
Preparing the chicken can be as easy as a little salt, pepper and butter or a little fancier with herbs, lemons and onions.
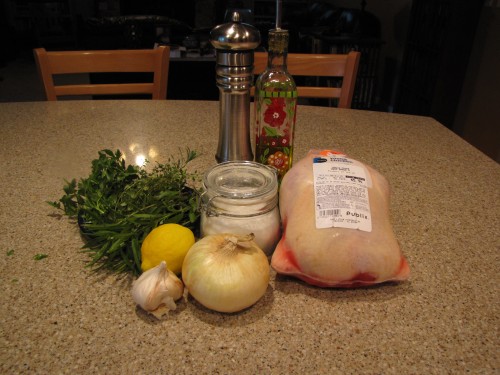
Here’s what you need:
One whole 4-5 pound chicken, salt, pepper, onion, lemons, garlic, fresh herbs (I have rosemary, tarragon, parsley and thyme), olive oil.
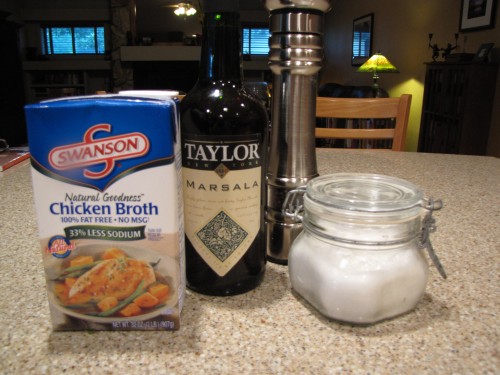
In addition, if you want to be a winner, winner and make the entire chicken dinner, you will need carrots, potatoes and chicken broth (pictured below). I have the small, redskin potatoes – no peeling required. (I also have a little extra onion leftover from stuffing the bird.)
For the gravy (and who doesn’t love gravy) you’ll need flour (not pictured), chicken broth, Marsala wine (optional but tasty), salt and pepper. (Notice that I have the low sodium chicken broth. Better that you control the salt going into your food than the good folks at Swanson.)
Pre-heat your oven to 450 degrees.
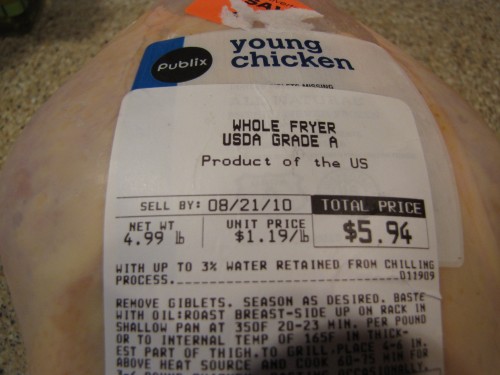
IMPORTANT STEP #1 – look to see how much your chicken weighs. You will need this information to calculate your cooking time. A roast chicken generally needs 20 minutes per pound to cook.
You can see that my chicken is just shy of 5 pounds. 5 x 20 minutes per pound = 100 minutes OR 1 hour and 40 minutes.
You can also see that they have labeled my chicken as a “fryer”. You will find both “fryers” and “roasters” in your store. The only difference is size and the fact that sometimes they are nice and add one of those little pop up thermometers to a “roaster”. I bought this one because it was on sale. Happy, happy.
Let’s get started! Working over the sink, remove your chicken from its packaging.
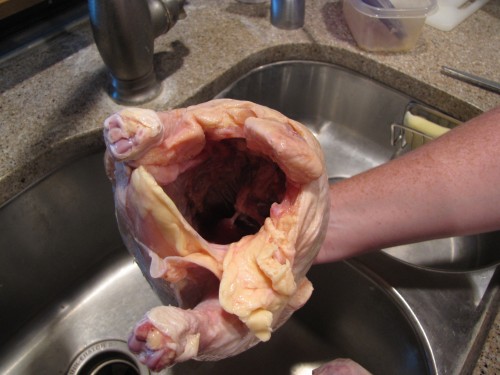
IMPORTANT STEP #2 – Most whole chickens contain all the “parts”, “innards” “giblets” what have you, in a little bag inside the chicken. It is EXTREMELY IMPORTANT to remove these “parts” before cooking. (Do with them what you will…cook them up for the cats, give them to your favorite neighbor, keep them to make stock, throw them away…the choice is yours. Much to the cats’ dismay, mine went into the trash.)
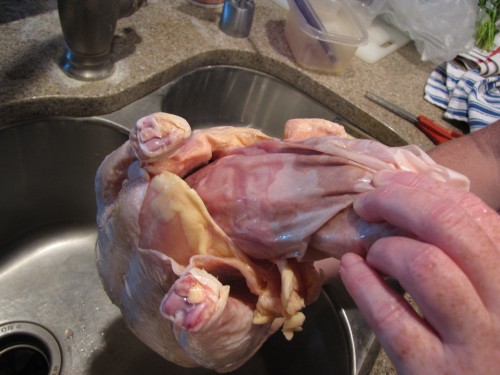
Give your chicken a rinse inside and out under cool water. Pat dry with paper towels.
IMPORTANT HEALTH INFORMATION — when you are working with raw meat, especially chicken and pork, it is very important to wash your hands, utensils, cutting boards, etc. after touching the raw meat. Raw chicken can carry nasty little organisms that we won’t talk about on a polite cooking blog. Listen to my mother – wash your hands! End of sermon.
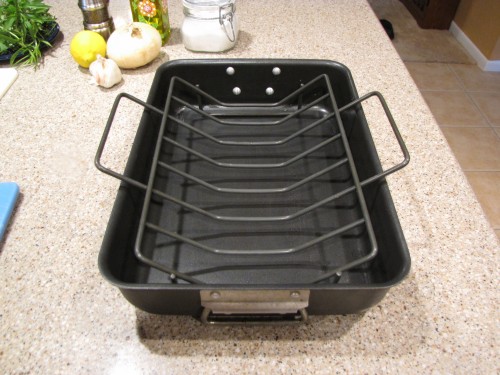
I am going to cook my chicken in this handy roasting pan with a rack. However, if you do not have such a pan, do not dismay. You can use any large, oven safe pan. Just be sure that there is enough room for the chicken and plenty of room for the potatoes and carrots we are going to add later. Disposable aluminum pans are available at the grocery store and work just fine.
If you want to go the easy but still tasty route, simply rub the exterior of your chicken with a little softened butter and season with salt and pepper.
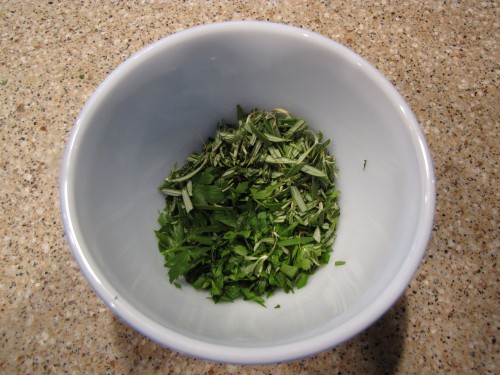
If you’d like a more herbalicious experience, choose a variety of fresh herbs, chop them up and put them in a bowl.
I am using fresh herbs that can withstand a bit of heat. After all, our bird is going to be in the oven for an hour and 40 minutes. I am using rosemary, thyme, tarragon and parsley. (I would avoid very leafy herbs like basil that would quickly burn.)
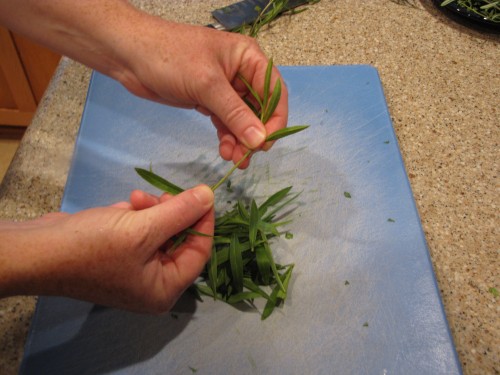
Remove the leaves of the herbs from the stem but sliding your fingers down the stem while keeping a firm hold at the top.
Give the leaves of the herbs a rough chop into small pieces.
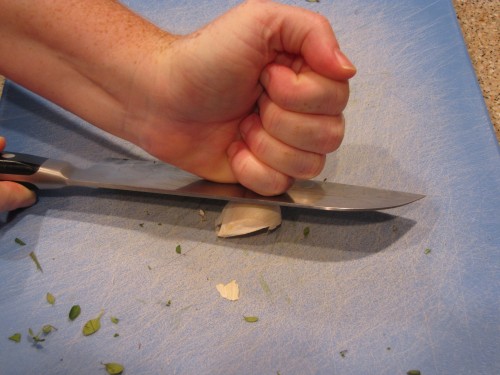
Smash a few cloves of garlic with the side of your knife (give them a good whack with your fist) to separate the skin from the garlicky goodness.
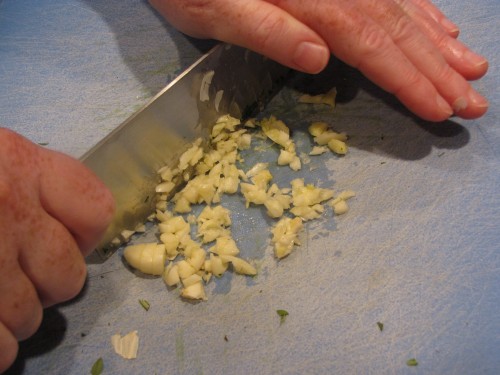
Give the garlic a chop into smaller pieces and add to the herbs.
Add a few (2-3) Tablespoons of olive oil to the herb and garlic mixture to make an herby paste.
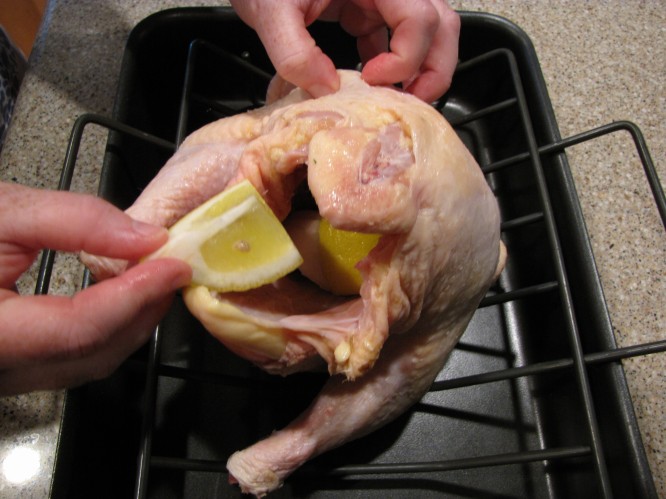
Time to get personal with your bird. To add extra flavor from the inside out, cut a lemon and onion into small wedges.
Now, stuff some of the onions and lemons inside the cavity of the chicken. Really cram it in there. (Chances are you’ll have a little lemon and onion left over.)
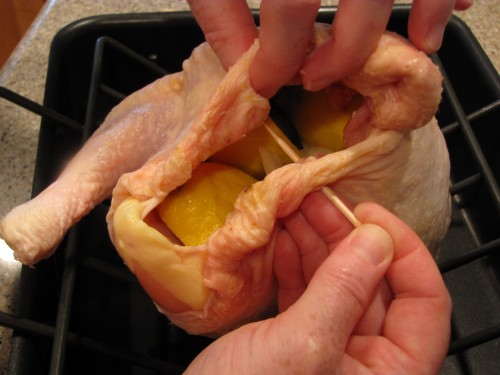
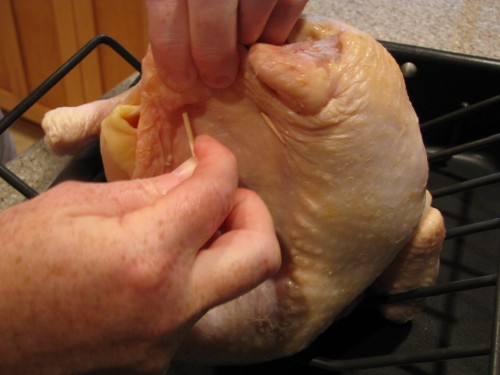
We have 2 choices for securing the opening of the chicken so that our aromatic ingredients (fancy cooking term for our lemons and onion) don’t fall out. #1 – using 2 or 3 toothpicks, thread a toothpick through the side flaps of skin around the opening and connect it to the other side pulling the chicken cavity closed.
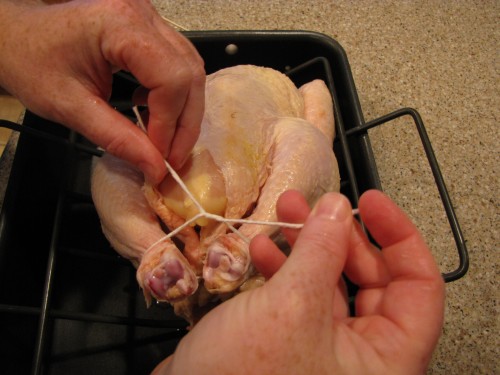
OR #2 tie the legs together with a piece of clean cooking string. (This is just plain white string that I bought at the grocery or hardware store and keep in the kitchen for food bondage. Better to not go to the garage for this part of the recipe.)
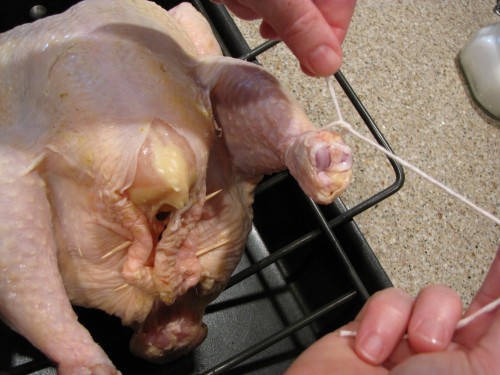 Helpful hint: it sometimes easier to tie your string around one leg first before tying both legs together.
I’ve done both, the strings and the toothpicks, which to be honest is a little overkill — the Fort Knox of Chicken Trussing. Tying the legs together not only keeps the chicken stuffing inside, but also keeps the chicken from falling apart while it cooks.
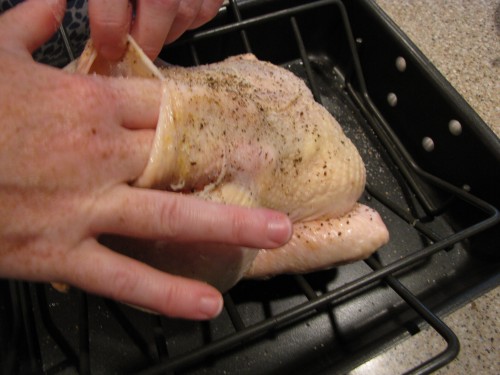
We are going to put the herb paste both in and on top of the chicken so we need to loosen the skin over the breast meat. With the chicken sitting breast side up (legs pointing up in the air), gently slide your fingers between the skin and the meat of the chicken.
Hey look! Salt and pepper magically appeared on my chicken. Season your bird.
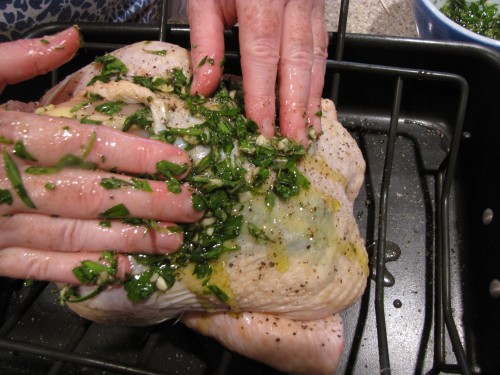
Now take some of our herb/garlic/oil mixture and work it in between the skin and the meat. Do this on both sides of the breast. You can also work some of the mixture down toward the legs and thighs.
Massage the remainder of the herb mixture all over the outside of the bird. Top and bottom. Really get in there. Your chicken will thank you.
Listen to my mother – go wash your hands.
I like to start my chicken roasting with the breast side down. This way the juices run down into the meatiest part of the bird keeping it nice and moist. This photo shows breast/legs UP so flip yer bird over for the first 30 minutes of roasting.
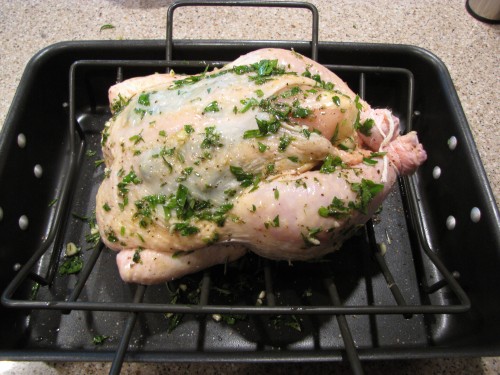
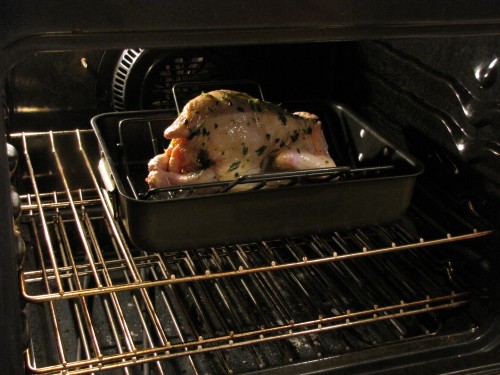
IMPORTANT STEP #3 – when you put the chicken in the oven IMMEDIATELY turn the temperature DOWN to 350 degrees.
Upside down and in the oven. Notice that the legs start out on the bottom. Try this..it’s the trick to moist chicken.
Did you turn the oven down? 350 degrees. Good. Set a timer for 30 minutes.
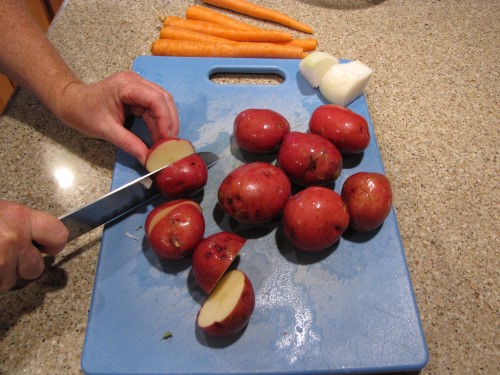
Time to prepare the carrots and potatoes. If you have small, red skinned potatoes, you can simply wash and then cut each potato in half.
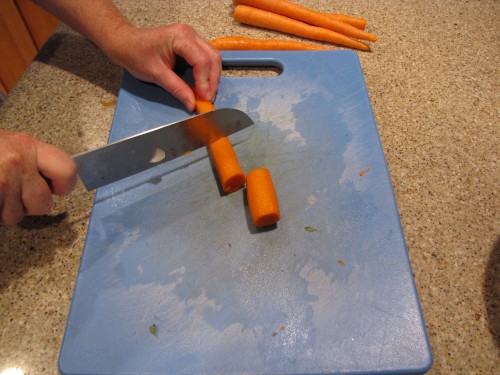
Peel the carrots and cut them into 1-2 inch lengths. The secret here is to have all the veg approximately the same size so they all cook at the same rate. If you have any really fat carrot ends, simply cut them in half.
Set these aside and go take a load off.
When the first 30 minutes are up, go take a look at your chicken. It should just be showing signs of a light golden color.
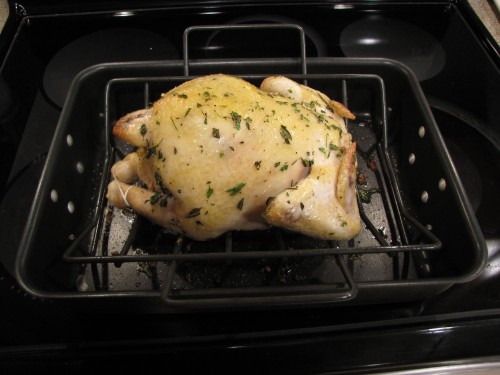
Carefully, using tongs or a long fork, turn the chicken over so it is now breast side and legs up.
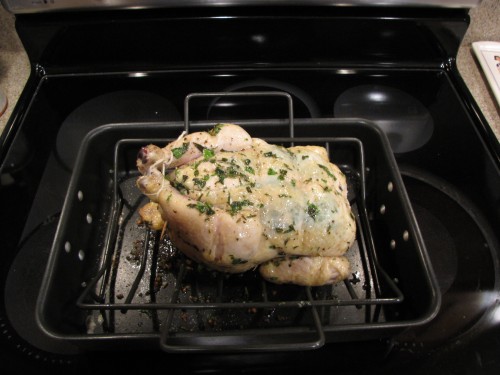
Return the chicken to the oven. We still have about one hour and 15 minutes to go. Set another timer for 30 minutes and go chill out.
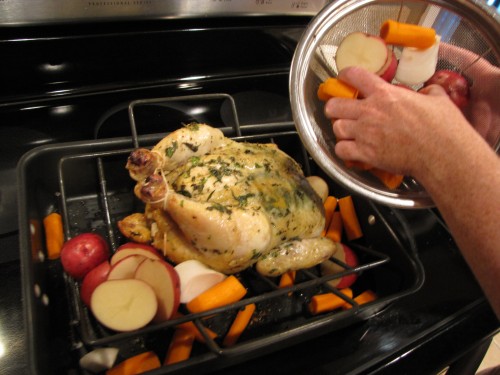
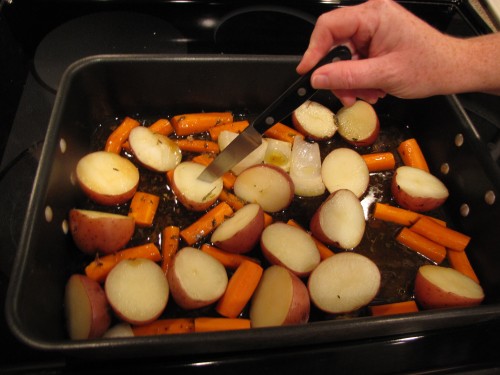
After the second 30 minutes (1 hour total) has elapsed, it’s time to add the carrots and potatoes. Carefully remove the chicken from the oven and place the veg all around the chicken.
If you have a rack, work the veggies around it and down to the bottom of the pan as much as possible.
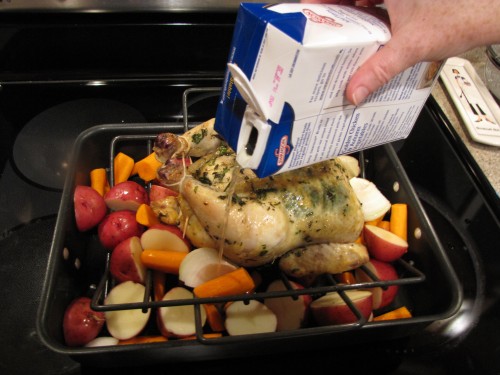
At this point, we need to add about 1 cup of chicken broth to the pan.
Return to the oven and set a timer for 30 minutes.
“But wait”, you say, “we still have 45 minutes to go.” Yes, but we want to begin keeping an eye on the chicken at about 90 minutes of cooking time.
Hey, do you have one of these?
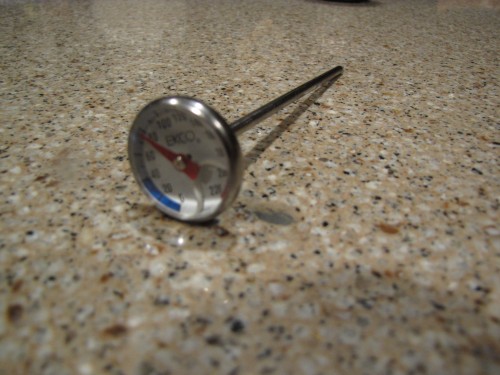
It’s a handy, dandy instant read thermometer. It is a good and inexpensive kitchen gadget to have. This is a sure-fire way of knowing that your chicken is properly cooked inside and out.
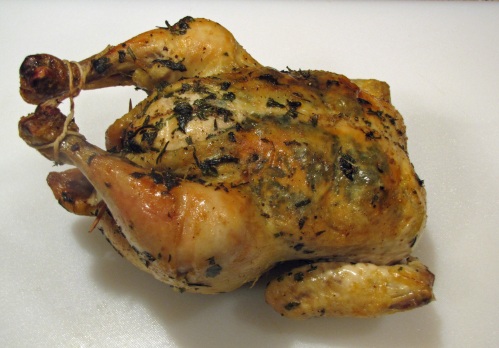
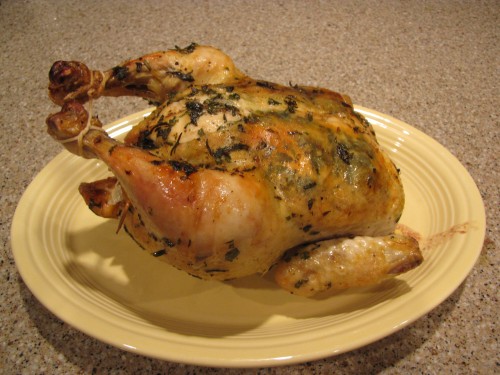
When 90 minutes have passed, take a look at your chicken. It should be golden brown and your whole house will smell of roasty goodness. Carefully give one of the legs a little wiggle. If it feels giggly, than the chicken is probably done.
Using your handy thermometer, stick it into a meaty part (preferably the thigh since dark meat needs more time to cook than light meat) to get a quick reading. We want the chicken to have an internal temperature of 160 degrees.
Another way to test to see if the chicken is done is to look at the juices coming out of the chicken. Take a sharp knife and poke the chicken between the leg and the thigh (right in the wiggly part.) If the juices come out clear, the chicken is done. If the juices are bloody (sorry) the chicken needs to continue cooking.
I can’t emphasize enough how much easier your life will be if you have an instant read thermometer. No one wants to cut into undercooked chicken. With a thermometer, you will know that your bird is perfectly cooked.
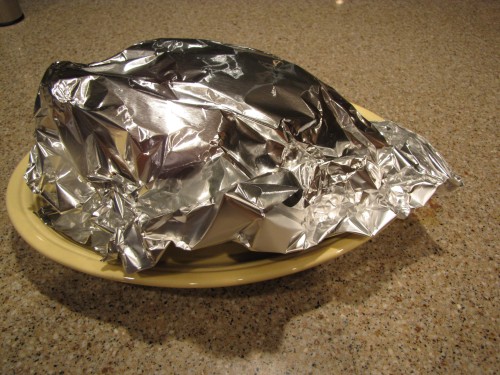
So, now that we’re at 160 degrees, remove the chicken to a plate and cover with foil. We want the chicken to rest (do this will all meat) so that the juices go back into the meat. If you cut into the chicken with out this resting period (10-15 minutes), you will have a big mess and dry chicken.
Test your veggies to see if they are done by poking them with the end of a sharp knife or a fork.
They should feel soft and tender. If by some chance they need more time, go ahead and put them back in the oven. If they feel tender, remove them to a serving bowl and keep warm.
Now, take a look at your pan. You will have all sorts of juice and lovely brown bits. These bits have all the flavor that we need for our gravy.

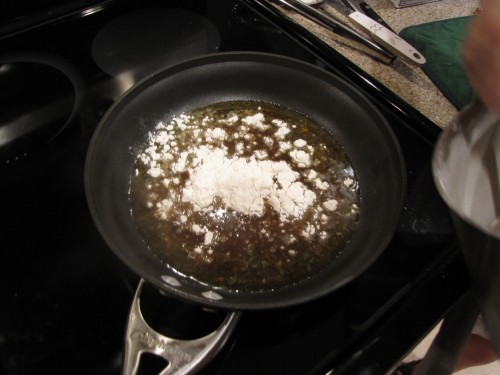
Carefully pour or spoon about 1/4 cup of these juices into a pan or pot. Any shape pot or pan will do. Just be sure you have enough room to stir vigorously without making a mess. I used about 1/2 of the juice drippings in my roasting pan.
Working over medium heat, add 2 -3 tablespoons of flour to your pan drippings.
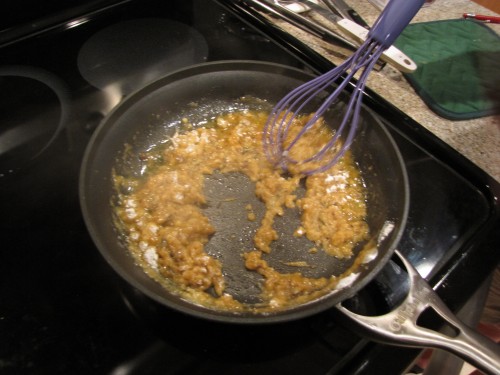
Stir together to form a paste. In fancy cooking terms this is called a roux. It is the base of any good sauce or gravy.
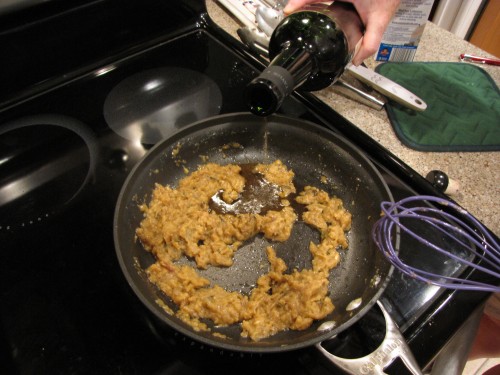
Cook your roux over medium heat, stirring constantly for a minute or two to cook the flour into the pan drippings. If you want to add an extra little tasty twist to your gravy, add a splash (or two) of Marsala wine to the roux. This is totally optional, but oh so yummy.
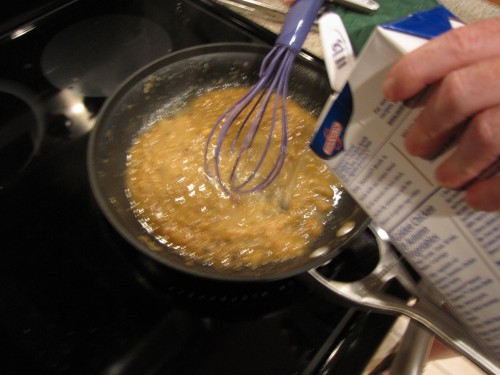
Using a whisk, add chicken stock (start with about 1 cup, but there’s really no need to measure) and stir it into the roux.
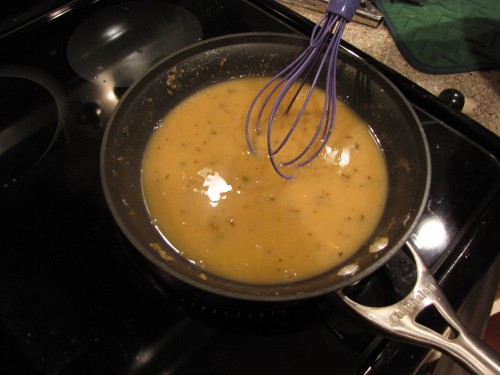
Take a look at your gravy. It should be cooking at a simmer (small bubbles) no need to boil furiously here. It does, however, need to bubble so that the flour cooks and thickens the gravy fully. Does your gravy look too thick? Add a bit more chicken broth and stir. If it looks too thin, let it cook a bit and it will quickly thicken up. The trick is to add the broth a little at a time rather than pouring it in all at once. That way you control the thickness of your gravy.
Helpful hint: if after cooking for a few minutes, you are dismayed to find that your gravy is still too thin, don’t despair! There is a quick and easy way to fix it. DO NOT add flour directly to the pan or you will have icky, lumpy gravy. Instead, carefully dip a small amount (maybe 1/4 – 1/2 cup) of the hot gravy into a small bowl. Add a small spoonful of flour (about 1 teaspoon) to that separate bowl of gravy and stir to make what we call a slurry. When you add this mixture back into your gravy, it will magically thicken it without any lumps.
When the gravy is the desired thickness, season to taste with salt and pepper, turn the heat off and go slice your bird!
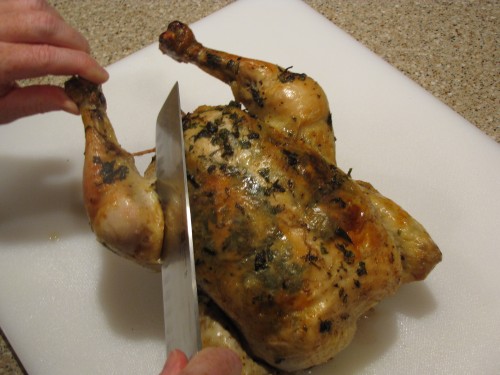
Carving up a chicken is easier than it looks or sounds. You really can’t do anything too terribly wrong if you just work with the chicken pieces that you know and love…legs, thighs, beasts. Having a good, sharp knife makes a big difference.
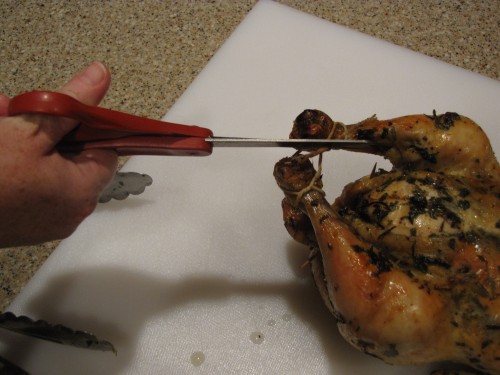
Place the chicken on a cutting board and remove the string from the legs.
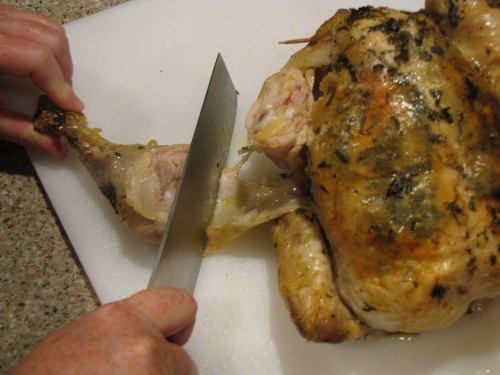
Using your sharp knife, carefully cut between the leg and the thigh. You’ll see the little white nub of leg bone (again, apologies to any vegetarians who have somehow made it this far). Wiggle your knife between the bones and the leg should come right off. Do this on the other side and you have 2 drumsticks!
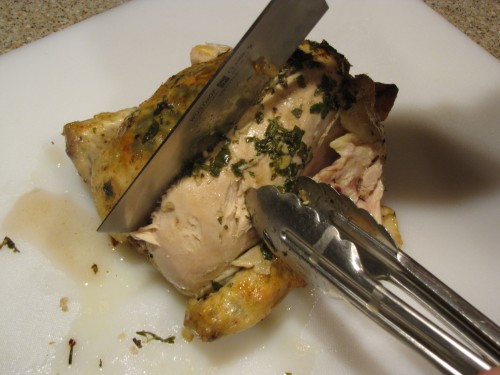
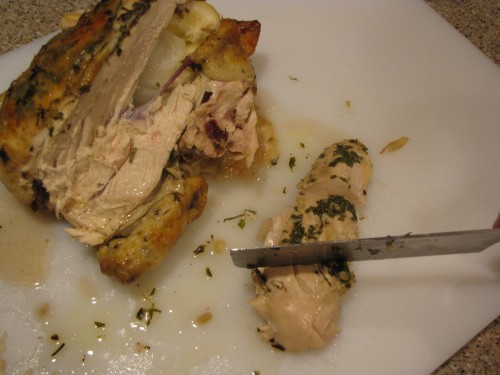
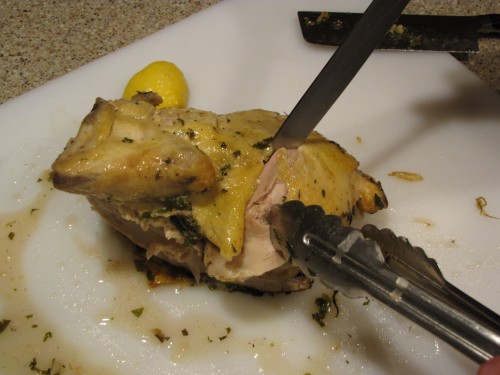
For the chicken breast, you can cut it from the bird in slices like carving a Thanksgiving turkey, OR you can remove the whole breast and cut it into chunks. This is a new way I’ve learned to do it and it keeps the meat much moister.
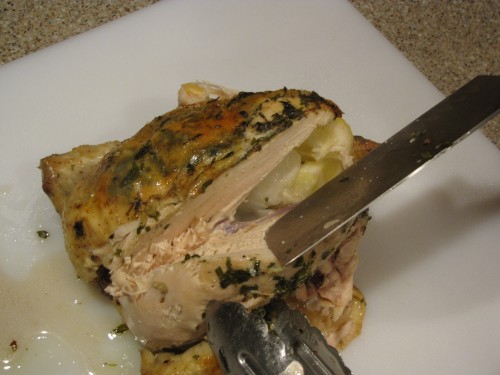
Carefully cut down the center of the bird on one side of the top breast bone. You can feel the big chunk of chicken breast meat. Use your knife to cut around and under it separating it from the bone.
This really does get easier…be brave…you won’t hurt the chicken at this point. Turn the chicken around and cut the breast off the other side.
If you want to remove the thighs, turn the chicken over on it’s back and cut the dark thigh meat off the back end. (Notice that I’ve switched to a knife with a pointy end. My other knife is great and extremely sharp but not really a carving knife. A pointy ended knife makes it easier to get between the pieces of meat.)
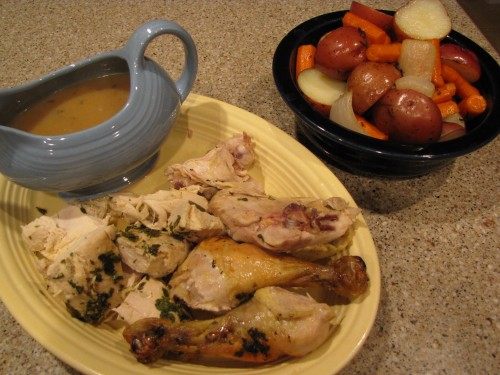
Now you should have a nice little display of carved chicken, roasted potatoes and carrots, and delicious gravy.
Go eat!
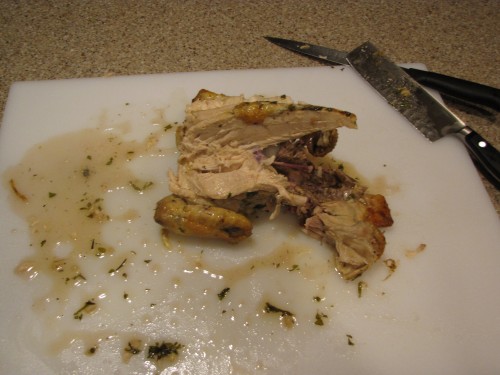
But wait!!! Don’t throw away those bones from the chicken. See all that good meat on there? Let this cool slightly and then get in there with a smaller knife and your fingers and get all that good meat off those bones! You can make a killer quesadilla with it tomorrow. Or chicken salad. Or a chicken sandwich. The options are endless.
Here’s the Recipe!











8 Responses
ZOMG, that looks sooooooo good! Once the weather cools down (I think it’s hotter here in KC than it is in Florida), I am definitely making this. Beautiful presentation, Claudia!
^..^
It looks so yummy…I’m definitely making this tomorrow.
Looks so good just work on your knife cuts and learn how to fabricate a chicken and it will look better on your plate Im loving your website thanks for the recipe. God bless