It’s finally happened. We’ve lost our ever-loving spatchcocking minds and have flattened Thanksgiving dinner!
If you’ve been around this website for awhile, this should come as no big surprise.
Remember last fall when we were spatchcocking chickens left and right for Buttermilk Roast Chicken and my favorite Smothered Chicken?
Well, we proved then that spatchcocking, which is flattening or butterflying the bird, creates a more even cooking surface for a moister, more tender chicken.
Happily, the same is true for the good old Thanksgiving Turkey!
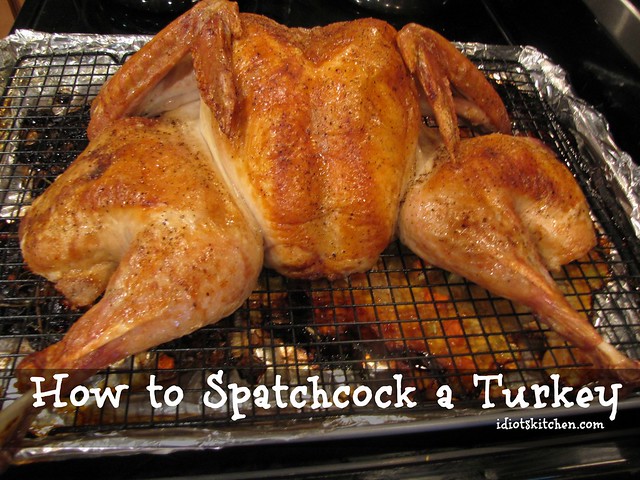
Spatchcocking is the answer to a tender, juicy bird that cooks in less than HALF the time that it takes to roast a traditional turkey.
Unless you stuff your bird, which you obviously can’t do with a flattened bird, I see no downside to this method.
In fact, this was by far the best turkey I’ve ever cooked.
Here’s what you need:
The obvious things….a turkey (preferably a fresh one so you don’t have to deal with those days of thawing in the fridge), butter, salt & pepper. Extras that I recommend for better cooking and better flavor are a carrot, a celery stalk, onion, and bay leaves or thyme.
If this is your first turkey spatchcocking experience, you will most likely need to buy a pan large enough to accomodate the flattened bird.
I’ve shown the photos below not to promote these brands but so you can see that my pan on the left is quite large (15×21) with the cooking rack being just slightly smaller.
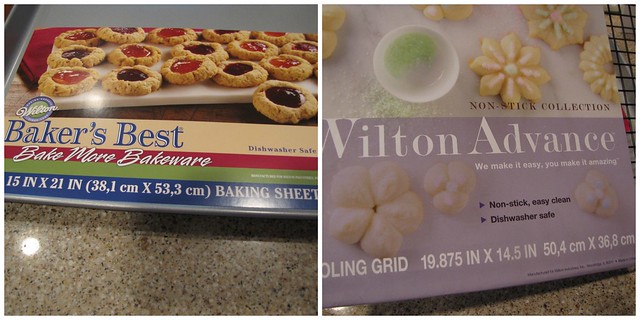
A regular cookie sheet will not do the trick. This pan is double the size of my next largest baking pan.
I found mine at Bed Bath & Beyond but you can also get them via amazon, target, kitchen supply stores, etc.
Important Tip: Be sure you test the pan in your oven before Thanksgiving to be sure it will fit!!!!!
Getting the right pan might just be the hardest part of this recipe…
You will also need some sturdy gardening/kitchen shears or scissors (more about that later) and an instant read thermometer.
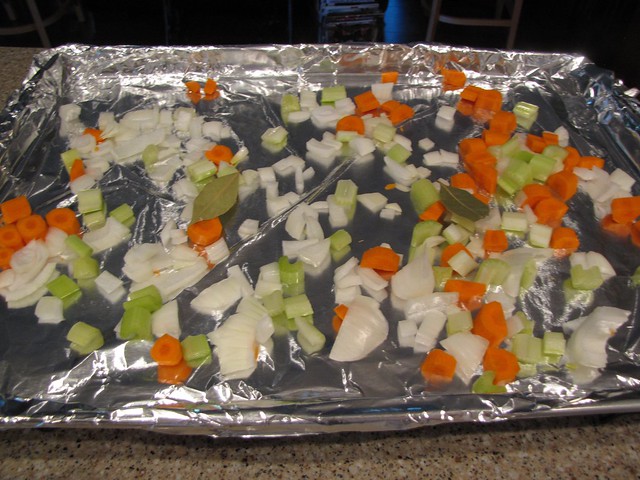
Cover the big sheet pan with foil for easy clean up. Cut a carrot, a celery stalk, and 1/2 a medium onion into small pieces and place them on the foil.
We aren’t going to eat these so it doesn’t matter if they are pretty or perfect. These veggies will add flavor to the roasting bird and also add a little steam so that the pan juices don’t burn onto the bottom of the pan. That’s important unless you want a house full of smoke for your holiday.
Toss on a couple of bay leaves or a few sprigs of fresh thyme.
Now for the bird! I find that it gives me extra courage if I shout “SPATCHCOCK” at random intervals while I’m cutting up the bird.
Again, those of you who know me will not find this surprising.
Spatchcocking is simply removing the backbone of the turkey so that you can flatten it out. You can use a sharp boning knife for this but a FAR BETTER method is to have dedicated garden shears that you only use in the kitchen. They don’t have to be fancy or expensive but don’t go fetch a gross pair out of the garage. Plan ahead and buy a set just for cooking.
I use garden shears because I got sick of buying expensive kitchen scissors that kept breaking. It finally occured to me that if these are made to cut sticks in the yard, they will cut just about anything I plan to cook.
Okay, before you get too excited, I’ll also tell you that there is no good way to show photos of this without it seeming horribly complicated and fairly icky. The photos look way worse than the actual process. Be not afraid. Let’s SPATCHCOCK!
Preheat the oven to 450 degrees.
Yes, 450° – It’s super hot but that will make for a crispy, golden bird.
Take your turkey out of the wrapper and remove any innards, gizzards, neck, plastic pieces…any and everything they might have stuffed inside the bird.
I like to rinse my bird…some people don’t think you should, but I rinse mine and then know that I’m going to clean the sink when I’m done.
Pat the bird dry with paper towels and lay it BREAST SIDE DOWN on a big cutting board.
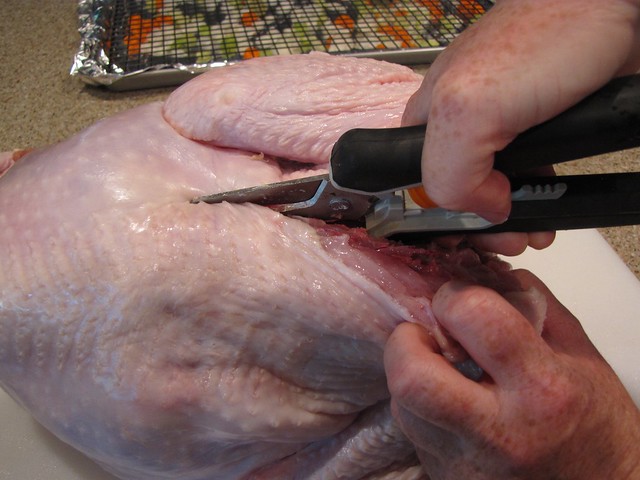
Find the backbone by grabbing the little stub of the neck and cut all the way down one side with your shears.
If your bird is especially large, sometimes it’s easier to cut about half way down one side, then go back and cut half way down the other.
Then you can start to lift out the back bone and make some space for your cutting shears to work.
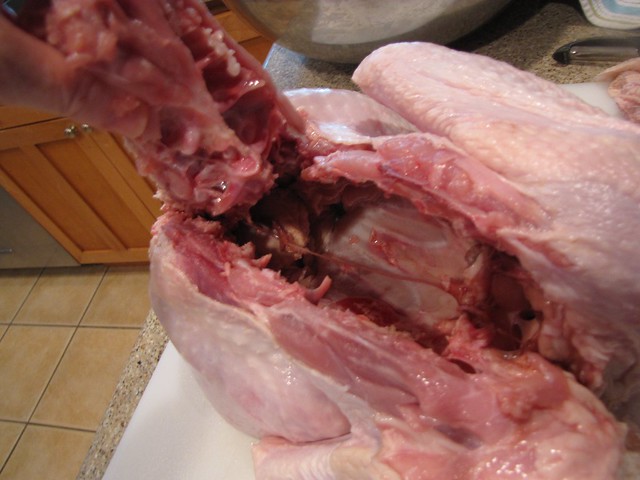
Cut down both sides and you’ll have the backbone removed in no time. Save that backbone for stock!
You are now looking down into the carcass of your turkey.

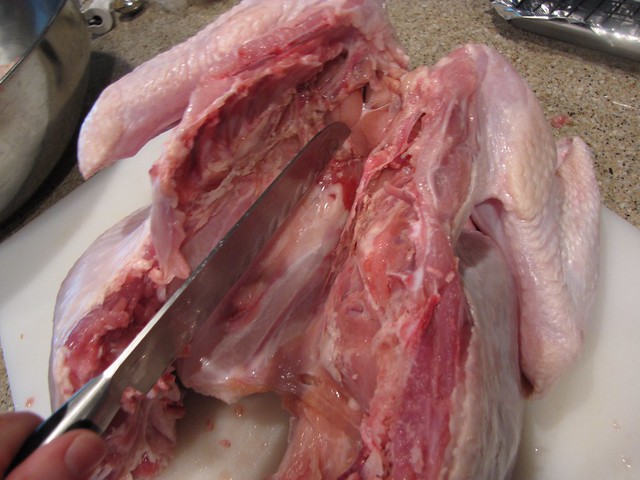
Use a sharp knife to make a cut at the top, up by the wish bone just to make flattening a little easier.
You’re not cutting all the way through or even close, just make a little slit on the inside of the turkey.
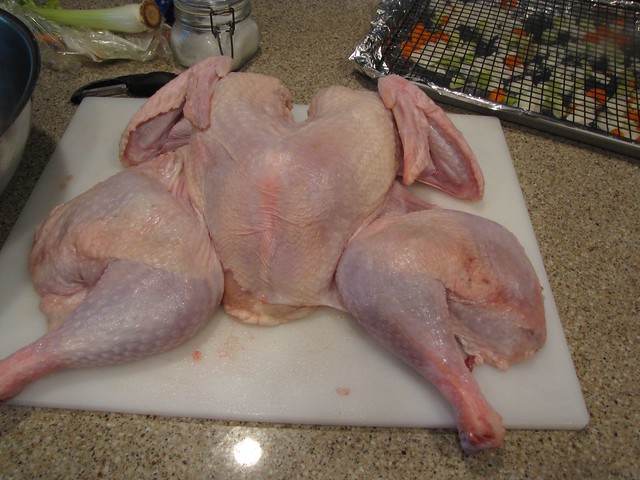
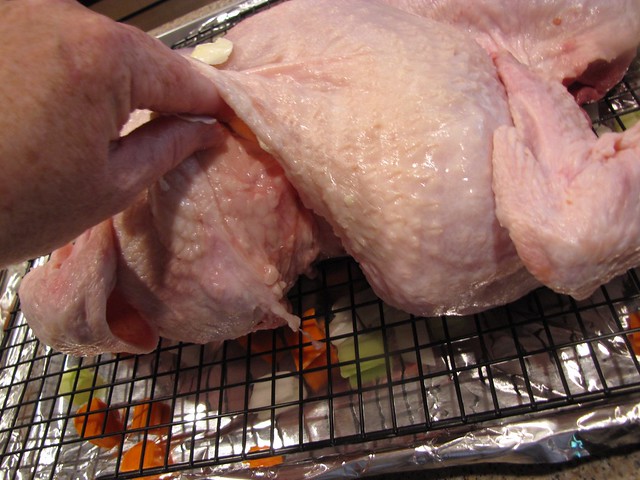
Then flip it over and use both hands to give a huge push on the top of the breast. You will hear some popping and cracking as the bird flattens out.
If you’re short like me, a little stool will help you to get a better angle on the bird for its holiday chiropractic adjustment.

That’s it!
Place the cooking rack over the top of the veggies and arrange your turkey on top.
I like to have the legs sort of splayed out so that they cook at the same speed as the breast meat.
You can tuck the wings in or fold them over the breast.
Rub some softened butter all over the skin of the turkey. Just a nice light coating of butter – a few Tablespoons at most.
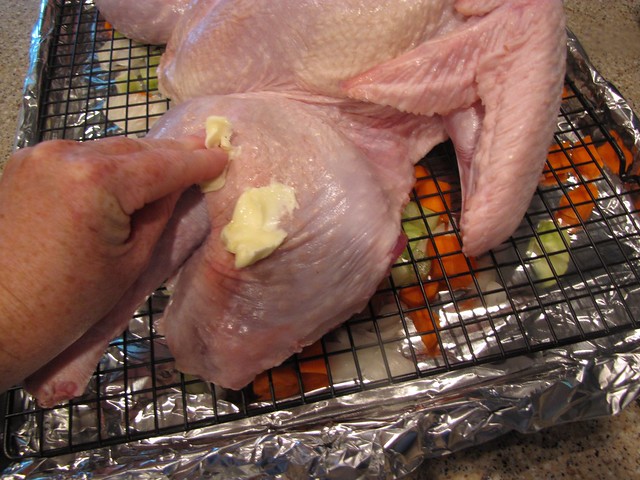
I also like to gently loosen the skin and put some butter up under the skin on top of the breast meat.
Extra butter for extra moisture and extra good white meat.
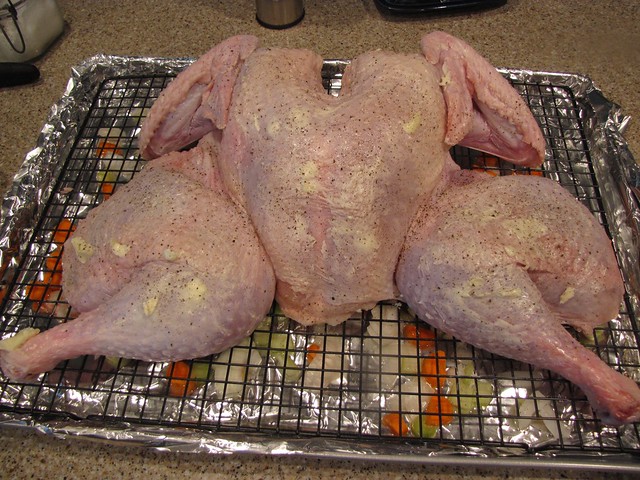
Season the bird lightly with salt and pepper all over.
I added just a tiny bit of water to the bottom of the pan – maybe 1/4 cup – again just to keep the juices and veggies from scorching.

Here we are all spatchcocked and ready to go!
Into the 450° oven it goes! Depending on the size of your bird, it will take between 45 minutes for a smallish bird (10 pounds) and 60-90 minutes for a larger bird (17-18 pounds).
While the turkey is cooking, take the back bone and place it in a pot with a carrot, a stalk of celery, and the other half of your onion.
You can add water to cover the bones (about 6 cups) or for richer flavor, a combination water & chicken stock. Season with a few whole pepper corns and a bay leaf and bring to a boil.
Turn the heat down and simmer until you have a fragrant stock, about 30 minutes.
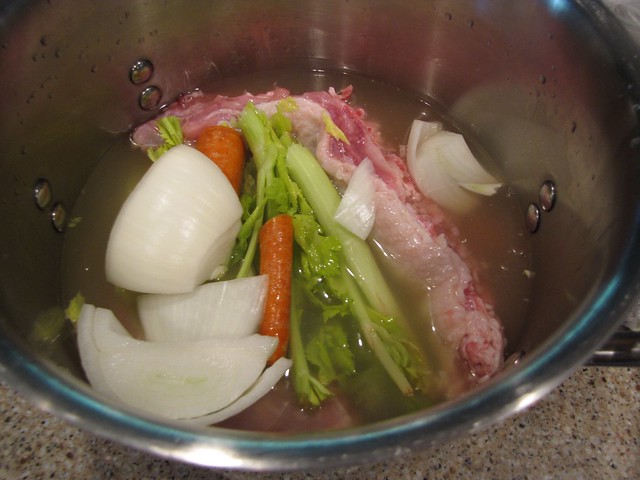
Strain out the veggies and use your newly created turkey stock to make some awesome homemade gravy for your turkey.
Midway through your cooking, your house is smelling pretty dang good. It’s okay to take a peek.
Be sure to start checking the temp about 3/4 of the way through the cooking process. Your turkey is done when the temp of the thigh reaches 165°. I always like to check the temp in a few places around the bird just to be safe.
If you have excess juices and want to baste the bird, feel free, but I’ve never had to baste mine.
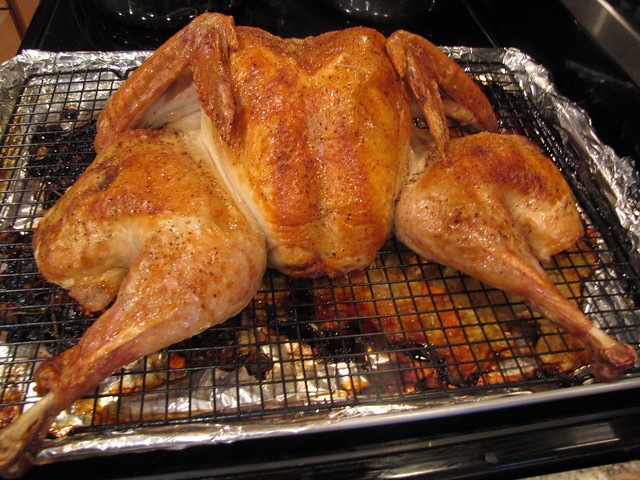
When the thigh meat reaches 165°, the turkey is done. Remove it from the oven, tent lightly with foil, and let it rest for at least 15 minutes before you start carving.
My turkey took a little over an hour to cook and was ridiculously juicy and delicious.
If I haven’t sold you on spatchcocking the turkey, remember that you can always use my Idiot-Proof Method for cooking the turkey in an oven bag. That’s the way I’ve cooked turkey for years and how my parents still do it to this day. Guaranteed to work.
But, come on, you know you want to SPATCHCOCK!
Here’s the recipe: Adapted from Serious Eats


One Response