We’re taking a little break from recipes so I can share my latest obsession with you…
Today we’re talking about How To Raise Butterflies!
This summer when I was in Minneapolis for the opera, my friend Jen called to ask me if I wanted to help her release monarch butterflies that she had raised from caterpillars.
Heck yeah, I did! So off I went and less than 2 minutes later, a new obsession was born.
I’ve had a lot of people ask me about the photos I’ve posted on Facebook so I decided to bring them all here and share what I’ve learned so far.
You’ve probably heard that pollinators, bees and butterflies, are struggling these days. Loss of habitat and especially pesticide spraying has wreaked havoc with their populations. This year a big freeze in Mexico where the monarch butterflies over-winter, caused a huge die off.
So, other than the fun and educational aspects of this, why should we help raise butterflies when they’ve been doing it out in the garden on their own all these years?
Well, butterflies raised in a controlled habitat have over a 90% success rate from hatching, through the caterpillar and chrysalis (what we used to call a cocoon) stages, and into a butterfly.
Out in the garden, that rate drops to about 20%. YIKES! Besides humans, think of all the birds, wasps, mites, and other critters that can interfere with this amazing process and you quickly realize that we can lend the monarchs a helping hand.
Or paw…you see Henry quickly became the Chief Butterfly Inspector.
So, right off the top…I’m no expert. I’m a flute player who cooks and blogs, but I’ve learned from friends (thanks to Jen, Rolf & Carrie, and Sandy), googled a lot, and just jumped on in.
Here’s what you need:
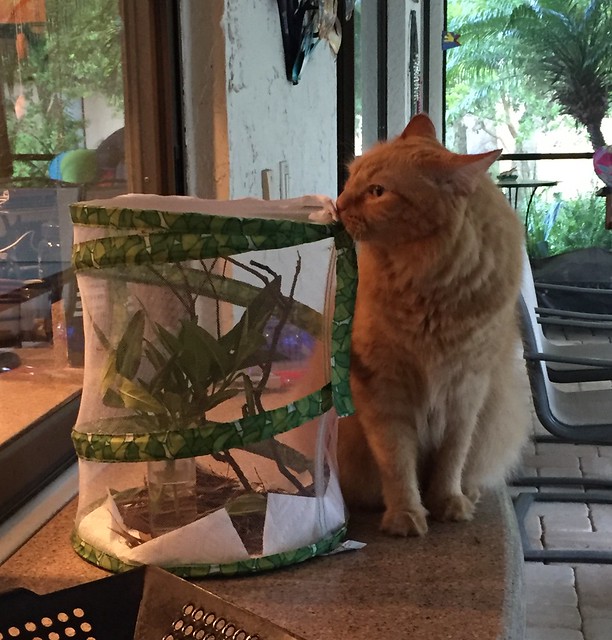
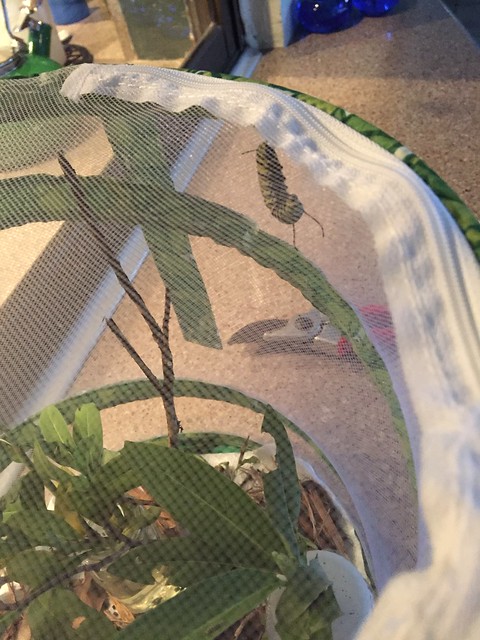
Some kind of butterfly enclosure. I have a net one that is collapsable and tall (Henry for scale) and a plastic bin with a ventilated lid that is originally made for reptiles that I picked up at the local pet big box store.
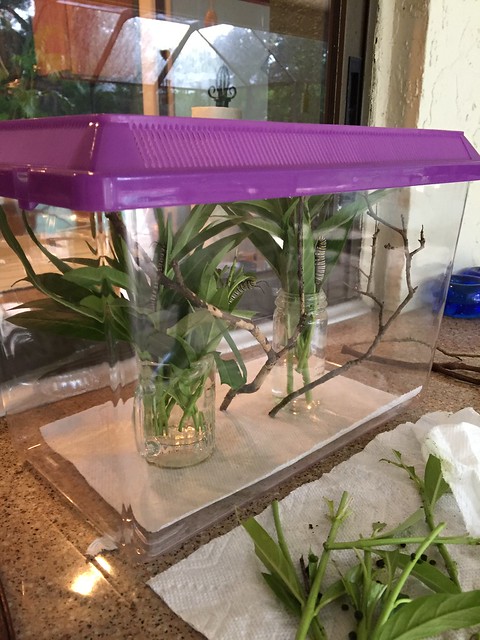
If I had to choose one or the other I would go with the plastic bin for a couple of reasons. #1 It’s sturdy – you can transport it without disturbing the caterpillars and chrysalis while they’re forming. #2 It doesn’t have a zipper. That’s important because my first caterpillar decided she would build her chrysalis right next to the zipper of the mesh enclosure. If she had been ON the zipper, I wouldn’t have been able to unzip it to feed the other caterpillars.
So I ended up with a two part system – I would move the caterpillars from the mesh enclosure to the plastic bin when they were getting nice and big so that I was sure they would make their chrysalis there and not on the zipper.
I let them hang out on my screened patio/lanai but my friend Jen has raised hers in a similar plastic bin inside the house. As long as they have milkweed to eat, I don’t think location really matters all that much to them.
The big thing you MUST have to raise monarch butterflies is milkweed. And LOTS of it!
Up north, the milkweed is taller and has wider leaves. (Jen’s garden here.)
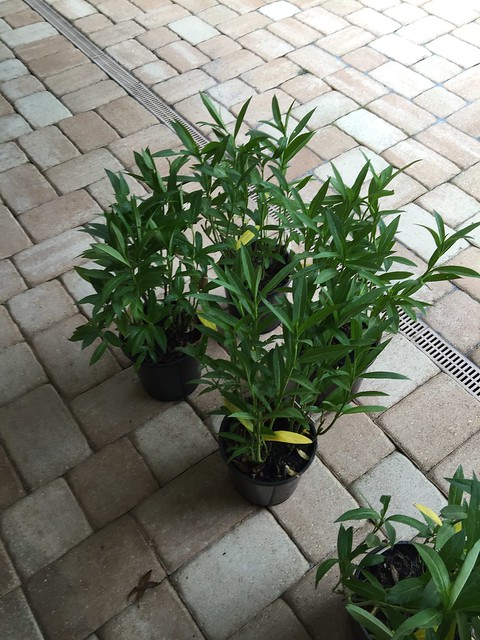
The milkweed I have in Florida is Scarlet Milkweed or Asclepius Curassavica. I got mine at Lowes, Home Depot, and Kerby’s my wonderful local nursery. (Psst…They have cats!)
I’ve heard of people not having luck with buying milkweed at the big box stores because sometimes they get a little spray happy. However, when I was there one day, their milkweed had tons of caterpillars already on it so I figured it was okay.
This is also something to consider if you find milkweed roadside or in your community that you might be able to harvest. Be sure it has not been sprayed or you’ll be done raising monarchs almost before you begin.
I have a section of the garden planted with milkweed and other butterfly friendly plants like Cape Honeysuckle (the hummingbirds love it), Pentas, Lantanas, Salvia, etc.
Oooh, I can’t find the photo, but with milkweed sometimes you get icky red and black milkweed bugs. They’re not harmful to us, but they will eat your entire milkweed plants down to the ground in no time. They will also eat any eggs and tiny caterpillars on the plant. So if you see the bugs, go out there with some garden gloves and squish them! Those bugs are not our friends.
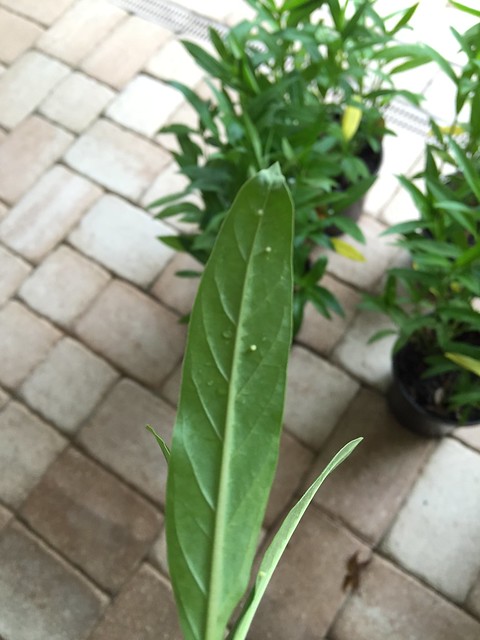
The female butterflies will go to the milkweed to lay their eggs. They are tiny and a little hard to spot at first, but once you get used to it you will find them easily on the undersides of the milkweed leaves.
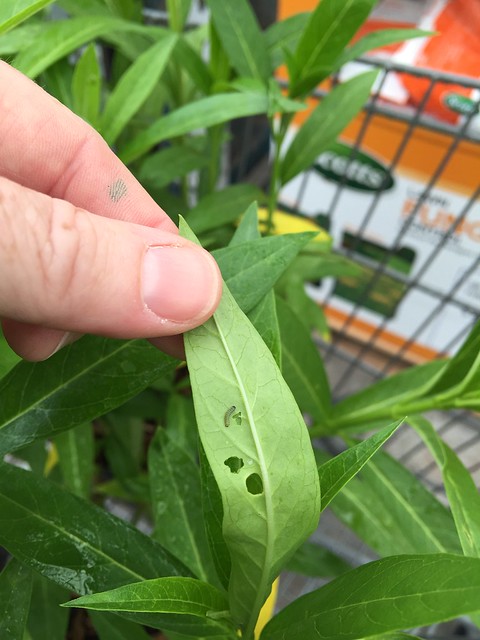
You can snip off a sprig of the milkweed with the eggs on it and start that way or look for the tiny little caterpillars who are already munching away on the milkweed leaves.
Look for a leaf with a little hole in the middle, gently turn it over, and often you will find these cute little guys.
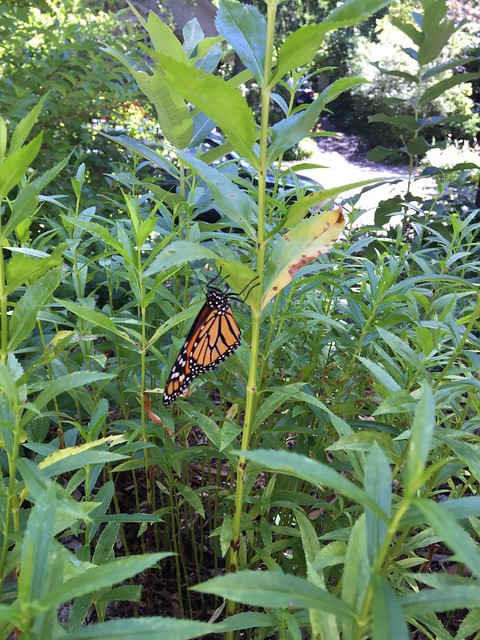
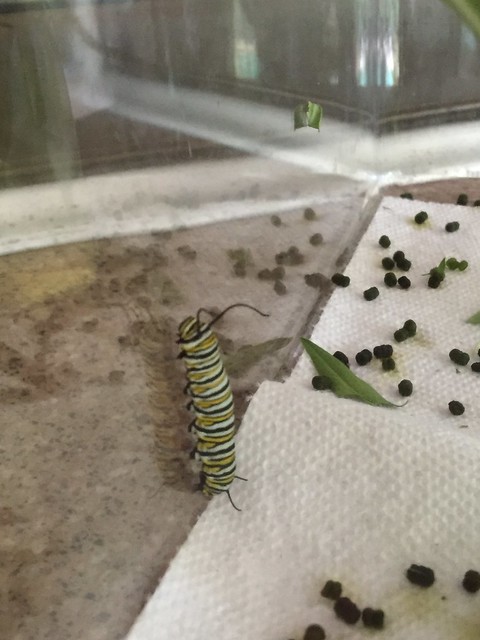
When I came home from MN, I was out in my garden looking at the milkweed that was already growing and I found a big, almost full grown monarch caterpillar. You can tell it’s a monarch by the black and yellow stripes and the 4 antenna – two on each end.
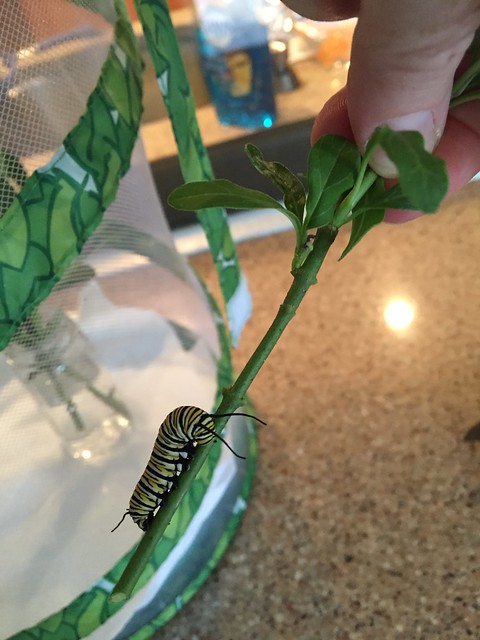
Snip off some milkweed stems in addition to the ones that have your eggs and baby caterpillars. Place them in small vases filled with water – I’ve used some kitchen jars that spices come in and even an empty honey bear bottle. Try to find small bottles or containers that will keep the leaves upright and not allow the baby caterpillars to fall down into the water.
Place your vases of milkweed, eggs, and or caterpillars in your butterfly habitat on a paper towel and close the lid. I’ve also added a few small twigs from the yard to give the caterpillars something vertical to climb on.
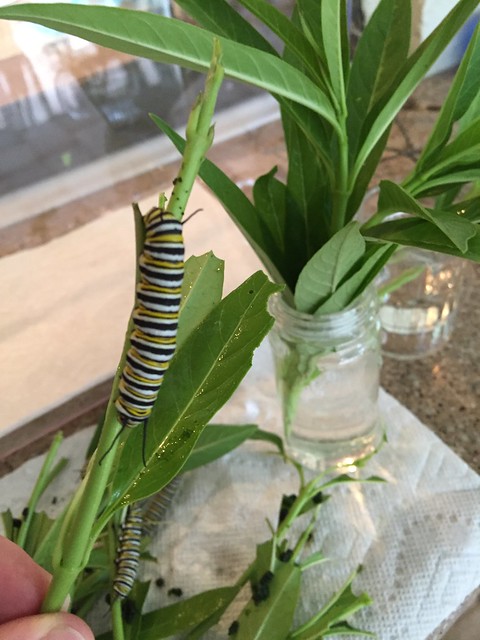
Stand back and watch them eat. And eat, and eat.
Did you have the book The Very Hungry Caterpillar by Eric Carle when you were a kid?

He wasn’t kidding. These guys are hungry! They go through milkweed like you would eat corn on the cob. I swear you can practically hear them munching right down one side of the leaf and up the other.
One thing you should be prepared for though….CATERPILLAR POO!
Yes, everybody poops and caterpillars poop a lot! The more they eat, the more they poop…up to 20 times their body weight every day! This was only a few hours worth of poop from 5 big caterpillars.
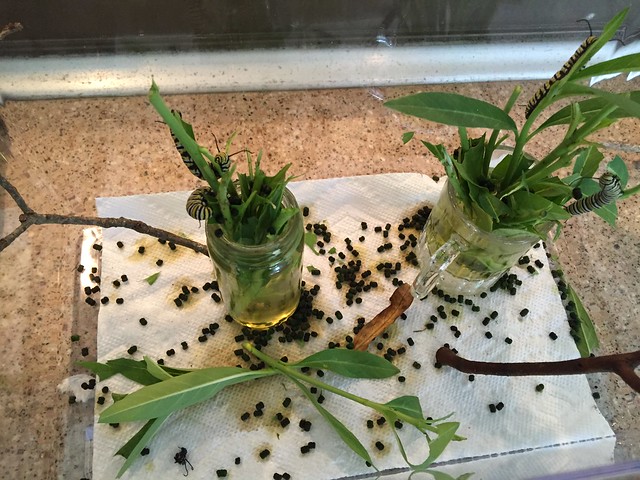
So be sure to line the bottom of your enclosure with paper towels for easy clean up.
And yes, you have to clean this up. You want a clean habitat and no diseases or problems for the growing caterpillars.
You really won’t bother them by going into the habitat and they have NO DESIRE to crawl on you. They are too busy eating to worry about you.
Every day (and sometimes when they get big I’ve cleaned it twice a day because…ewww, poop) I would gently lift off the lid, take out the two vases and replace the paper towels.
While you have them out, you can gently remove the now spent sprigs of milkweed. Toss any that don’t have leaves anymore but be sure to look carefully to ensure you’re not throwing away any tiny caterpillars that might have hatched.
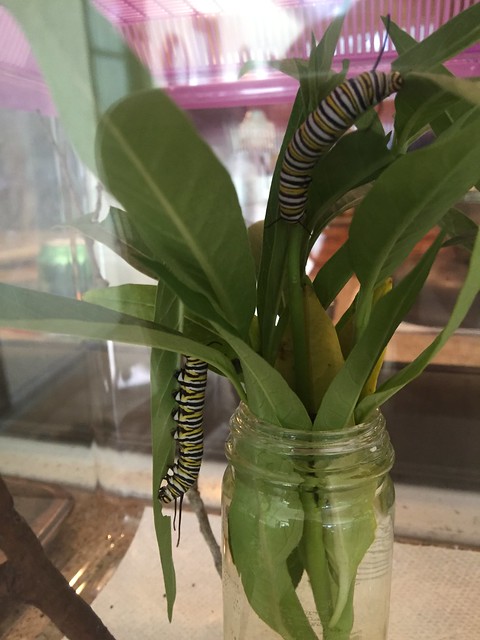
Fill the jars with clean water, place fresh new sprigs of milkweed in the vases/jars, and put the sprigs with the caterpillars hanging out on them back in the jars too.
Don’t worry about moving the caterpillars around a bit, mine just clung onto a leaf even when I removed it from the vase.
You will need to add fresh milkweed at least once a day while these guys are growing and eating.
Speaking of big, after several days they will be hugely fat and will suddenly stop eating. After lounging around a little bit, they will start inching their way up the side of the habitat (yes, they can climb the plastic) to find a place at the top to pupate, or make their chrysalis.
Yeah dude, I’d want to get away from all that poo too but you made that mess…
Once they find a place they like, they will start to hang down vertically and then eventually into a J shape.
Once they’re in the J, they might hang out that way for a day and then they will be ready for the process of pupating or making the chrysalis. It’s incredible to watch and only takes a few minutes.
If you have a caterpillar hanging out in a J and it suddenly starts wiggling, don’t look away or you’ll miss it! It only takes about 2 minutes for them to make the chrysalis.
There are some really cool videos out there and I got a video of this one about half way through. I’ll put it on our Facebook page until I figure out how to post it here.
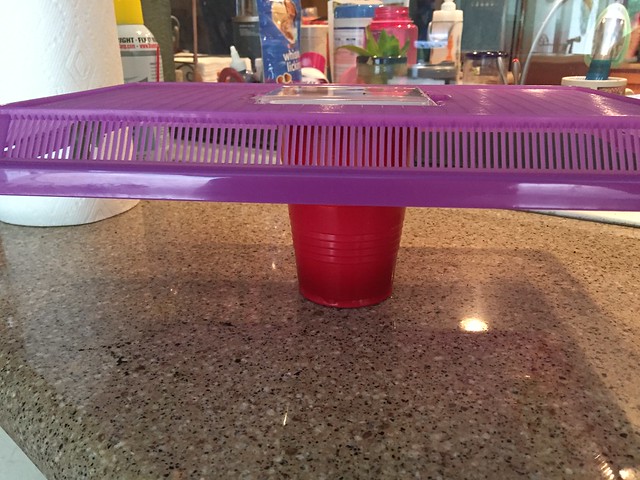
Do not disturb the caterpillars when they are in the J and right after they make the chrysalis. The chrysalis needs a little bit of time (a day is sufficient) to harden and then you can go back to gently removing the lid to clean the habitat.
Just try to not jiggle them around too much. I take the lid off and sit it on a cup so they can still hang out and do their thing.
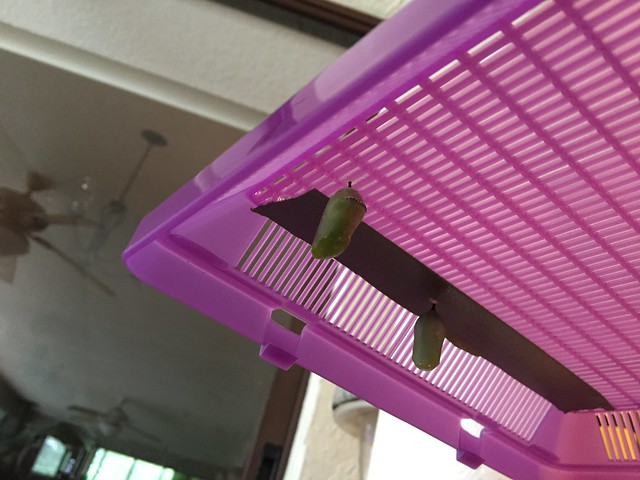
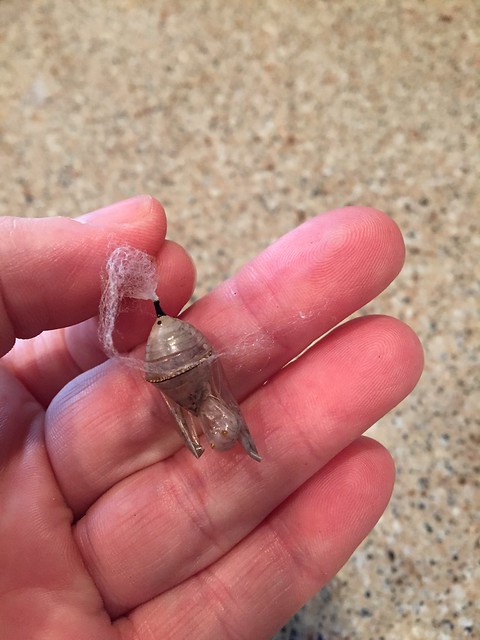
The chrysalis is really beautiful. It will have golden flecks that appear after the chrysalis hardens.
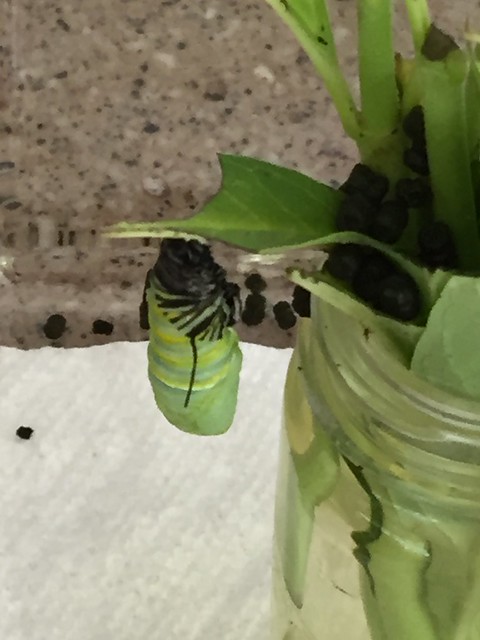
After about 8 days, I could start to see the chrysalis start to turn a dark color, even all black. You can sometimes even see the wings and parts of the butterfly forming. Mine formed at night so I missed it this time.

I had no idea it would happen so quickly but the next morning look what I found!
The whole process can take anywhere from about 8 – 14 days depending on what stage your caterpillars or eggs start at, your weather, etc. I’m trying to keep track so I can have a better idea down the road.
The only mistake I made was getting too excited and trying to release the butterfly before she was ready.
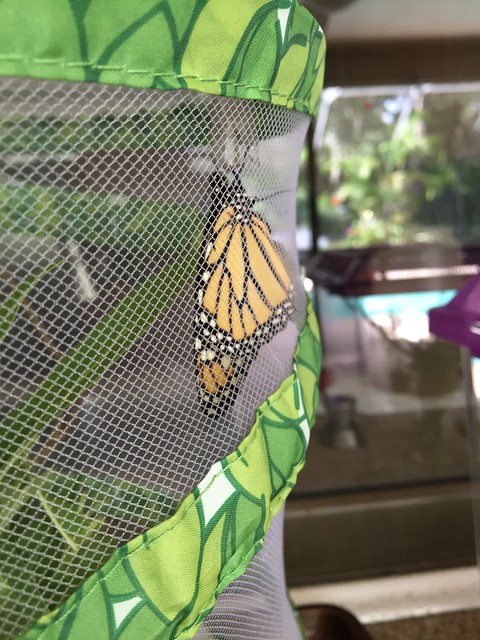
Even though she is out of her chrysalis, those wings are not ready for flying. I tried to take her out and she was very wobbly so I put her right back in her enclosure. Let the butterfly rest up in the habitat for a few hours. They will pump blood into their wings so that they flatten out and also the wings will drip a little as they dry.
When the butterfly starts flapping its wings a bit in the habitat, you know you can safely release them. She came out at around 9 am and I released her at a little after 12 noon.
However, be sure you’re sending them out into the best possible conditions for butterfly success. Don’t release the butterflies if it is below 60 degrees (so not a problem here) or if it is raining.
I read that they won’t need to eat for 24 hours so it’s better to let them hang out in the habitat than try to rush and release them in bad weather or poor conditions. If you are worried about it taking too long, snip some flowers like honeysuckle, phlox, or pentas, or place a slice of orange in the habitat in case they need to start eating.
Again, I’m not an expert. If you’re concerned, do a little homework. ask someone (I texted Jen a ton the first week) or there are many good websites and tons of info on google. I’ll put links down at the bottom of this post.
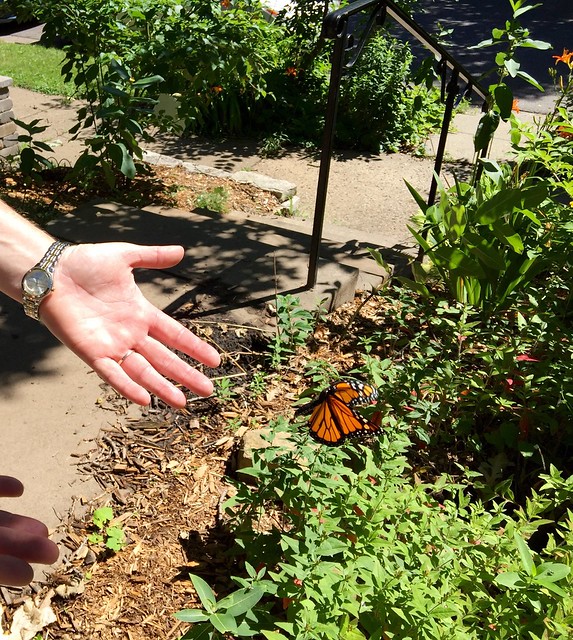
When the butterfly is ready to go, TAKE THE ENTIRE HABITAT OUTSIDE near the milkweed or other nice flowering plants. Carefully remove the lid and be sure not to disturb other chrysalises that might still be hanging out.
Place your finger in front of the butterfly and they will likely climb right on. That was amazing!
Again, if you’re squeamish about touching them, present them with a small stick to climb on.
And away they go! This was in Jen’s yard. At my house, the butterfly flew right over to my patio screen, hung out for a minute to try out those wings, and then was off!
You can remove the used chrysalis from the top of the habitat.
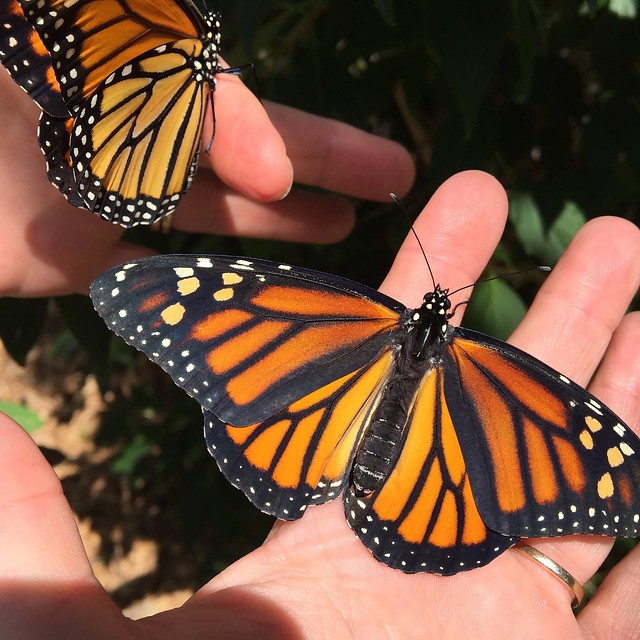
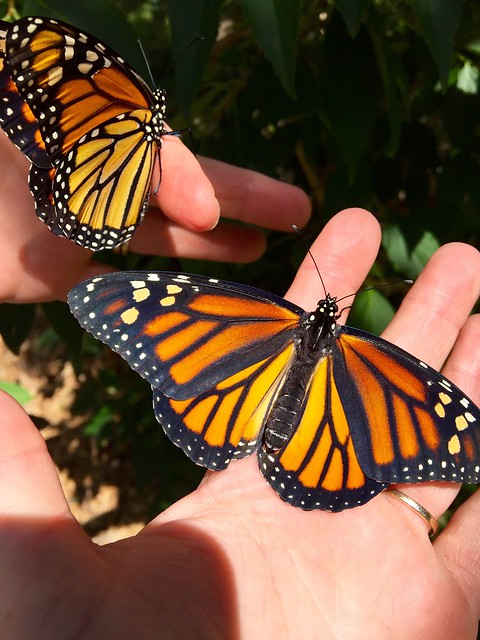
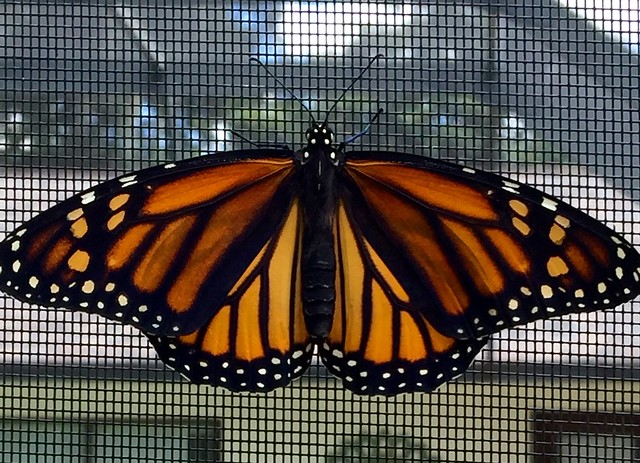
Butterfly #1! It’s a girl!
Male monarchs have 2 small black spots at the bottom of their wings near the body.
As I mentioned, I’ve become a bit obsessed. I have 10 more chrysalises in the habitat right now but I’m so thankful that I was home and able to release the first butterfly.
Those of you who have known me for many years will probably not find this surprising. I was a Girl Scout forever so a project like raising butterflies is right up my alley. In fact, I’m surprised there wasn’t a merit badge for creating butterfly habitats. Maybe I’ll have to make one for myself!
If you have kids, this is a no brainer, fun project for the whole family. If you love gardening, raising butterflies goes hand and hand.
If you are just a person who cares about our environment and wants to do one little thing to make it better…and I’m going to sound corny here…and make YOU feel better, raising butterflies gets my highest recommendation.
I love it. Fly safely, my beautiful new friends!
Some more info:
My chrysalis video – on the Idiot’s Kitchen Facebook Page
And you! If you’ve raised butterflies and have info to add or if I’ve gotten something wrong, please leave a comment so we can all learn more as we go.


2 Responses
I love love love this!!! You’ve inspired me to take my butterfly obsession one step further!! They’re the coolest.
We had 12 total! There must be some secret butterfly schedule because suddenly there are butterflies galore but no more eggs or caterpillars. Can’t wait until next year!