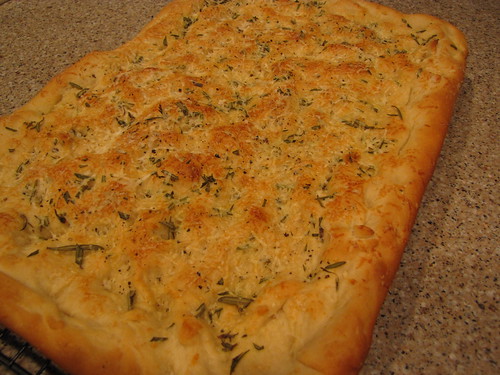
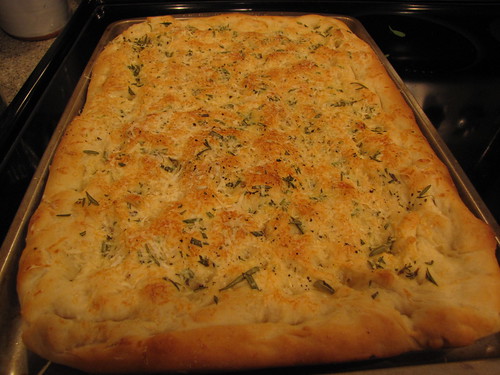
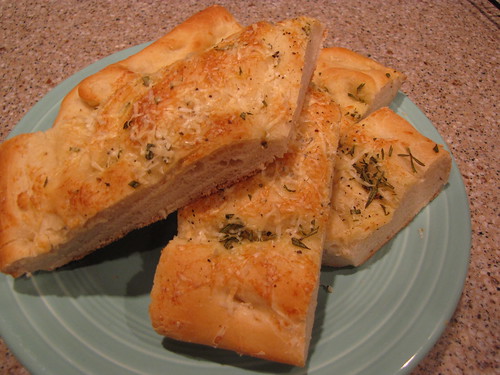
Focaccia. Warm from the oven, golden brown, and fabulous.
It’s pretty obvious, since I have a cooking website, that I love to cook. So when I get really excited about a recipe, you’d better believe it’s something good.
The fact that this contains neither chocolate nor booze makes my love of this recipe all the more surprising.
Who knew that making facaccia could be so delicious and so simple!
This does require a bit of a time commitment since it is made with yeast and has to rise, but it is passive time on your part. You can simply set the dough aside and go about your day. Come back later, shape and flavor the bread, pop it in the oven and prepare yourself to be amazed.
And the possibilities for flavor combinations for your focaccia are endless. I made mine with rosemary and romano cheese but a few olives would be splendid. Sundried tomatoes? Yes, please. Caramelized onions? Absolutely. You get the picture. We could have our own focaccia festival.
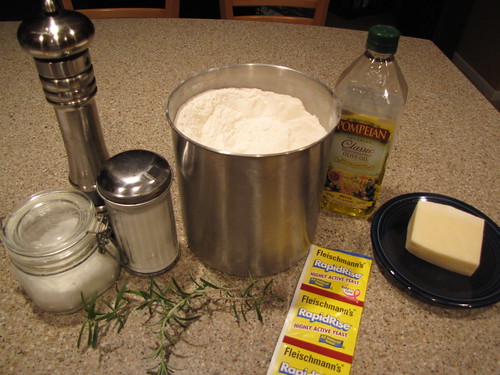
Here’s what you need:
Yeast, Flour, Sugar, Salt, Olive Oil, Rosemary, Romano Cheese, Pepper, and Water (not pictured).
Click here for a Focaccia Shopping List.
If you’re not already a baker, please don’t freak out about the yeast. Yeast gets a bad rap as fussy and hard to work with. There are a few simple things to know about working with yeast and you will be good to go. In spite of all the horror stories that you might have heard, I have never had yeast fail to rise or not do its stuff.
First, and most important, check the date and be sure the yeast has not expired. Really, that’s the only rule.
Second, and last, use water that is warm but not hot. If you want to measure with an instant read thermometer (and I do), warm water is about 110 degrees.
That’s all you really need to know.
I use Rapid Rise yeast because it’s faster and works just as well as slow yeast. I’ve never seen a recipe where you couldn’t use Rapid Rise so why not save yourself a little time.
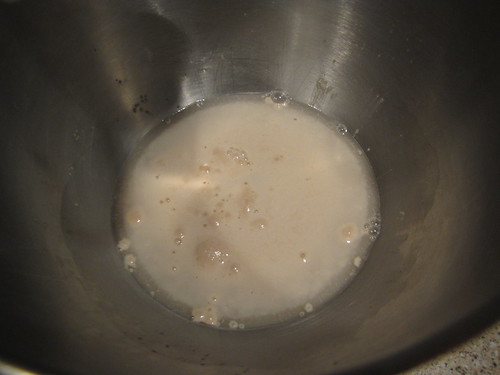
In a large bowl, or the bowl of an electric mixer with a dough hook, mix 1 packet of yeast (2 1/4 teaspoons) with 1 cup of warm (110 degree) water, and 2 Tablespoons sugar. Let them hang out for a minute or two and watch the science experiment unfold.
It starts to get bubbly and a bit funky. Take a whiff. Does it smell yeasty? Good. You’re on the right track.
After 2 or 3 minutes it should be just slightly foamy and bubbly. Turn the mixer on the lowest speed and add 3 1/2 cups of flour and 1 teaspoon of salt to the bowl.
I like to mix my salt into my flour ahead of time to be sure it’s evenly distributed but I don’t have a picture of that…sorry.
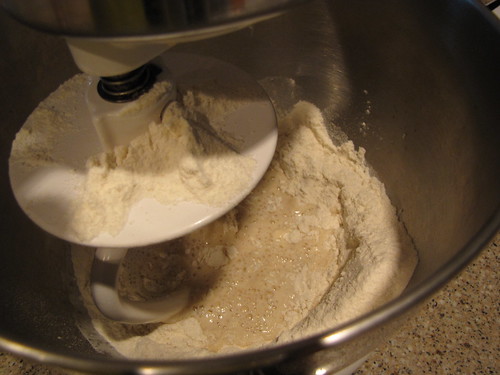
Either stir, stir, stir or let the mixer and the dough hook do the work for you until most of the flour has been absorbed into the yeast mixture. It might be a little dry but that’s okay.
Add 1/4 cup olive oil to the mixture and continue stirring or dough hooking.
Now you have the option to add a bit more flour — up to 1/2 cup more if you need it.
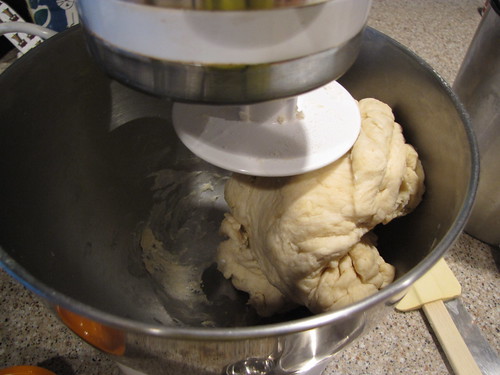
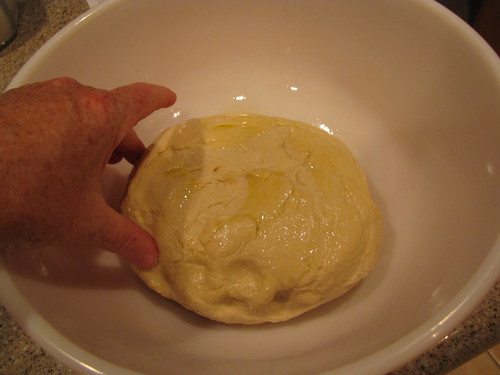
As the dough mixes you will see it come together into a blob. If it starts to stick to the bottom of the bowl – as you can see on the left side of the bowl in the next photo, add a bit more flour. Just add 1 – 2 Tablespoons at a time until it’s holding together in a ball and no longer sticking to the bottom of the bowl.
If you’re mixing in a mixer with a dough hook, let it go for about 10 minutes until it is smooth and elastic.
Confession: even though I have a nice mixer and dough hook, I can never let it go on mixing for more than 5 or 6 minutes. I just feel too left out. I really, really like to knead dough so I liberate my dough from the mixer and finish kneading by hand.
If you don’t have a mixer with a dough hook, you can knead by hand for about 10 minutes and get the same results. You also get a nice upper body work out as a bonus.
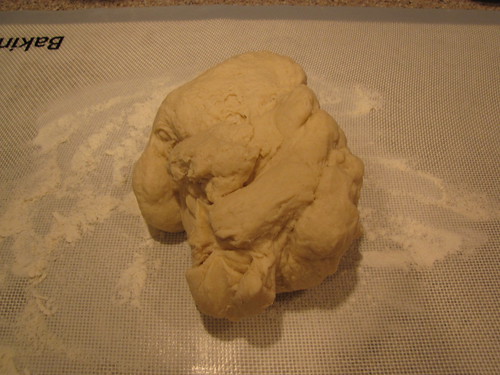
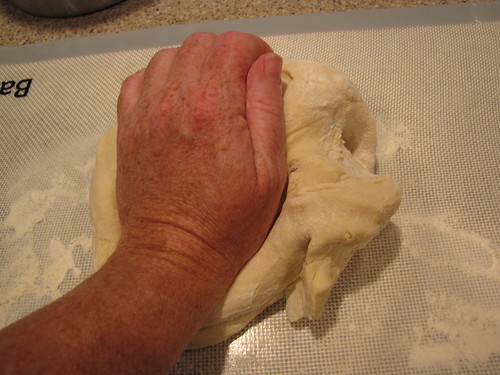
Turn the dough onto a lightly floured work surface and form it into a ball. Using the heal of your hand, press firmly into the dough and then fold the dough back over on itself. Make a quarter turn and press, fold and turn again.
Use both hands since you don’t have to take pictures. You really can’t screw up kneading. Just get in there and press, fold and turn the dough.
You shouldn’t have to keep adding flour. As you knead and the dough becomes elastic, it stops sticking to things. That’s one way you know you’re doing it right.
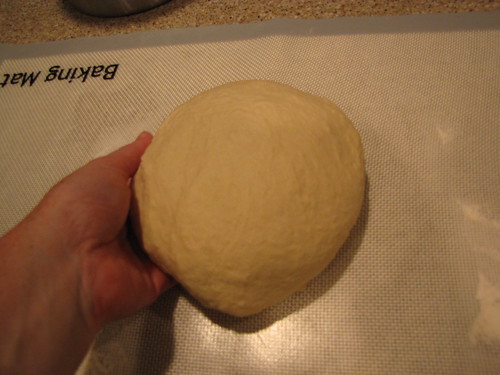
After about 10 minutes you will see that the dough becomes shiny and easily forms itself into a ball.
Take a large mixing bowl and coat the bottom with a bit (about 1 Tablespoon) of olive oil. Put the dough ball in the oiled bowl and turn it over a few times to coat both sides of the dough lightly with oil
Cover the bowl with plastic wrap and let it stand in a warmish, draft free place. When I lived in the frozen north, that was the microwave…obviously turned off. In Florida, or in nicer weather, just put it aside on the counter.
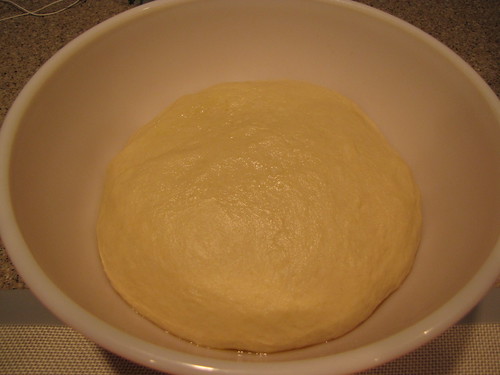
Let it rest for 45 – 60 minutes until it has risen and doubled in size. TA DA! See how puffy and shiny? Smells good too.
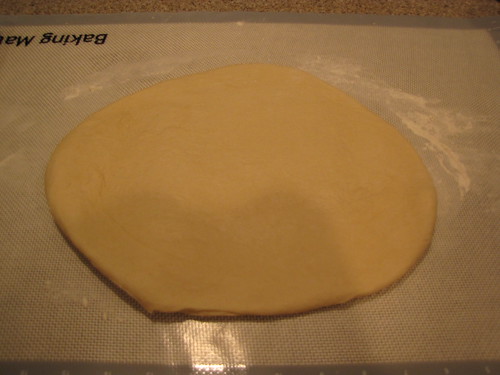
Take the dough out of the bowl and place it back on your floured surface. Using a lightly floured rolling pin, roll the dough out flat into an oblong shape.
This is often easier said than done as sometimes the dough wants to spring back when you roll it out. If that keeps happening, cover the dough with a towel and let it rest about 10 more minutes.
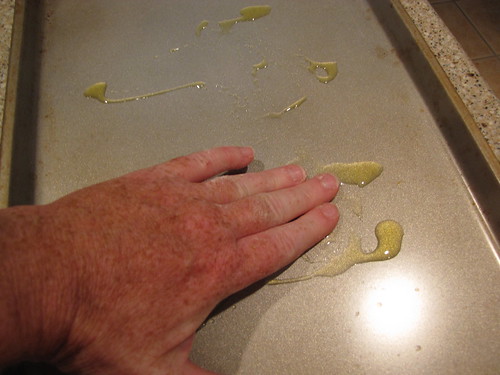
In the meantime, spread olive oil over the surface of a sheet pan.
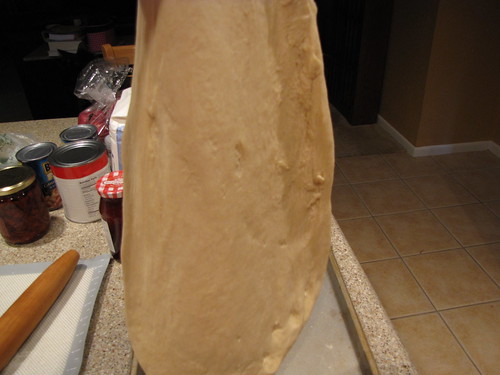
If you are having trouble stretching the dough, try picking it up and let gravity help out. The dough should droop without tearing.
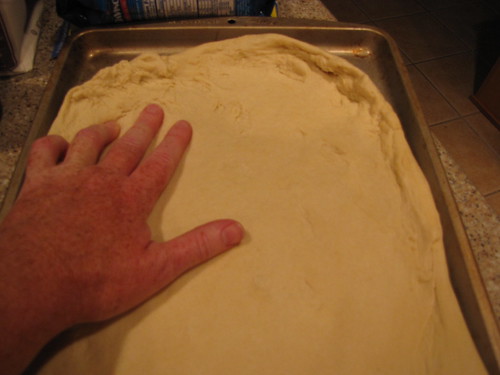
Place the dough in the oiled pan and press it out to the corners. Don’t worry if your dough doesn’t go all the way exactly into the corners. There will be another chance to shape it and pretty it up a little later.
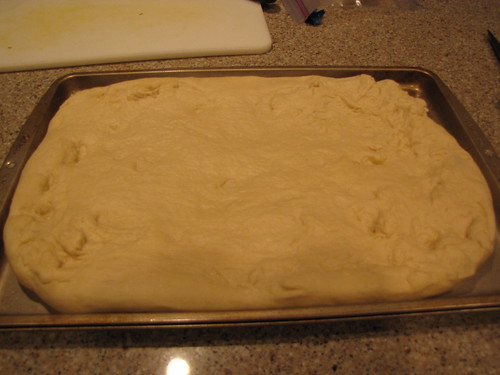
Cover the sheet pan with plastic wrap and let the dough rise again for 20 – 30 minutes. Once again, the dough should puff up and start to fill the pan.
After the dough has risen, it will be MUCH easier to spread to the corners of the pan.
At this point, you’ll need to preheat the oven to 400 degrees.
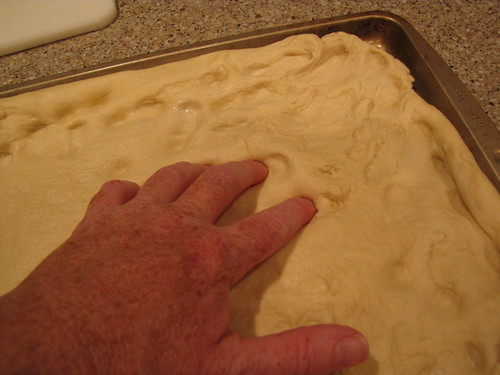
To make the traditional Focaccia texture, press your fingers into the dough to make little dimples. Get right on in there and press away.
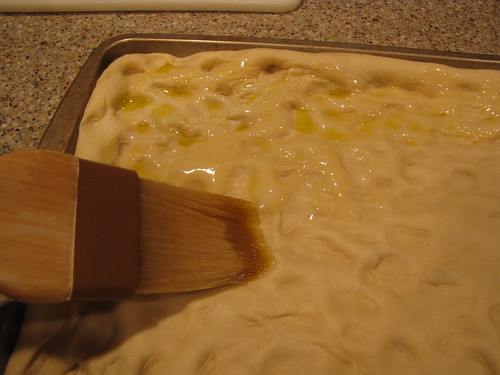
Put about 2 Tablespoons of Olive Oil into a small dish and liberally brush the top of the focaccia dough with the oil.
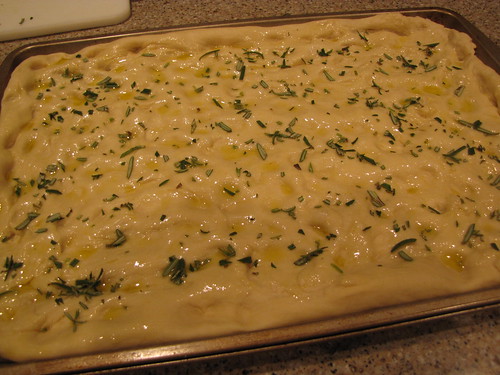
Now for the good stuff — toppings! I’m using chopped fresh rosemary. Don’t use dried as it will burn….
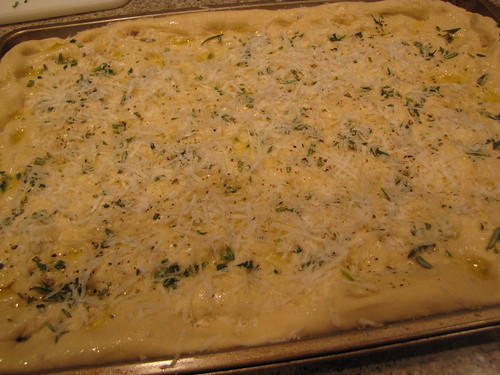
and 1/2 cup finely shredded Romano cheese. I’ve also added some cracked black pepper. If you wanted to, you could use chopped olives, sundried tomatoes, sea salt….lots of good options await you when you make focaccia.
Bake at 400 degrees for 15 minutes until golden, puffed, and beautiful.
I haven’t been this excited to take something out of the oven in a long time. You’ll know why when you make it…..the smell of baking focaccia is heavenly.
Slide it off the pan and onto a cutting board. Let it cool for a few minutes but for the best experience, cut and serve it when it is still warm.
I’d tell you to make soup, but you might just want to spend the evening with this bread and a glass of wine.
Here’s the recipe: Adapted from that cute Tyler Florence.





8 Responses
I brush my focaccia with olive oil when it comes out of the oven too. I bet it is all that olive oil that makes it taste so good. I put coarse kosher salt and fresh rosemary on mine.
Could you make the dough in a bread machine using bread machine yeast? If not, I will totally use the Kitchenaid for making this on the weekend.
Good question. I’ve never used a bread machine but my guess is that you could do all of the pre-baking steps in the bread machine and then put it on a sheet pan, add the dimples and the toppings and bake it in the oven. If you try it, let me know!
I just finished eating a slice with some red wine. It was really good! I used bread flour, because I had some, and used 1 cup water plus a couple tablespoons water to 3.5 cups of flour. I used 2 1/4 teaspoons of bread machine yeast (which is the same thing as rapid rise yeast) and when the dough came out of the bread maker after the dough cycle, I followed your instructions for rolling it out and letting it rise on the cookie sheet. I used olive oil and sea salt and cracked pepper, with one quarter having grated parmesan on it. My kids ate the non-parm part. I would use shredded next time rather than the powdery grated, as it got quite brown. I’m going to serve it with roast pork and potatoes in about 15 minutes! Thanks for posting the recipe, Claudia! I’ll make it again for sure.
O.k., Claudia and all you other Focaccia Bakers out there!!!
This definitely sounds difficult and hard to do, kind of like driving on the New Jersey Turnpike. I admire everyone who bakes because I am not good at it nor am I good at driving. But this bread sure looks delicious! Claudia, save me a piece next time, will you?
One envelope of yeast is 2 1/4 tsp. The first time I made this, I used 2 tsp.; the extra 1/4 tsp. made a big difference when rising.
I made it both times in a bread machine on the dough cycle; proofing the yeast first in the bread pan, adding the dry ingredients and the olive oil last.
Thanks for catching that Wes! Yes, use the extra 1/4 teaspoon for really fluffy dough. (I’ll go back and update the recipe.)